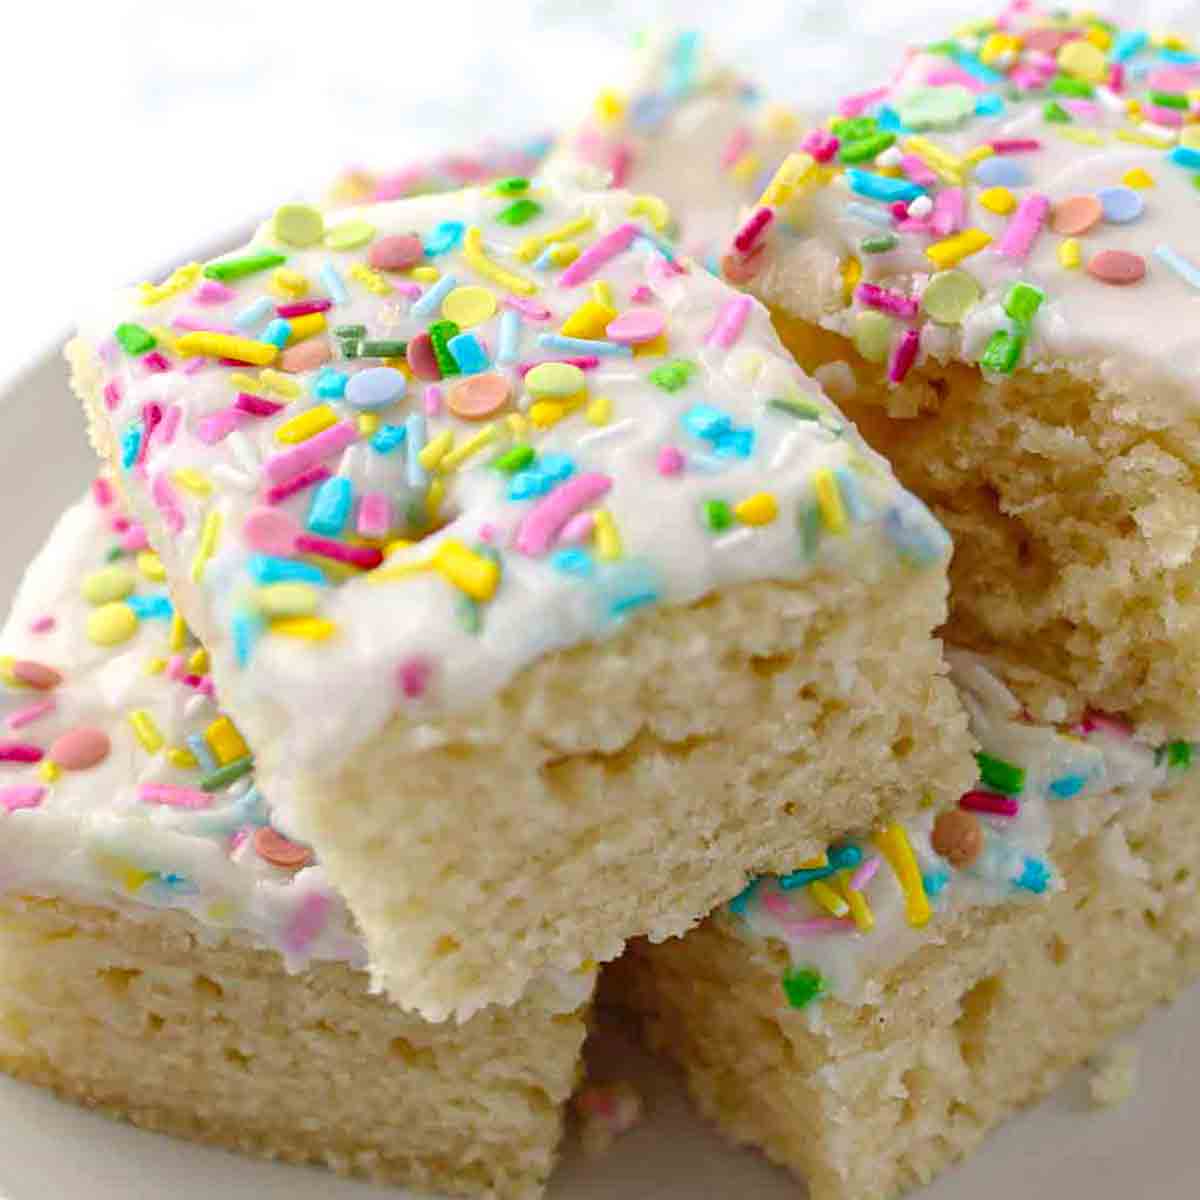
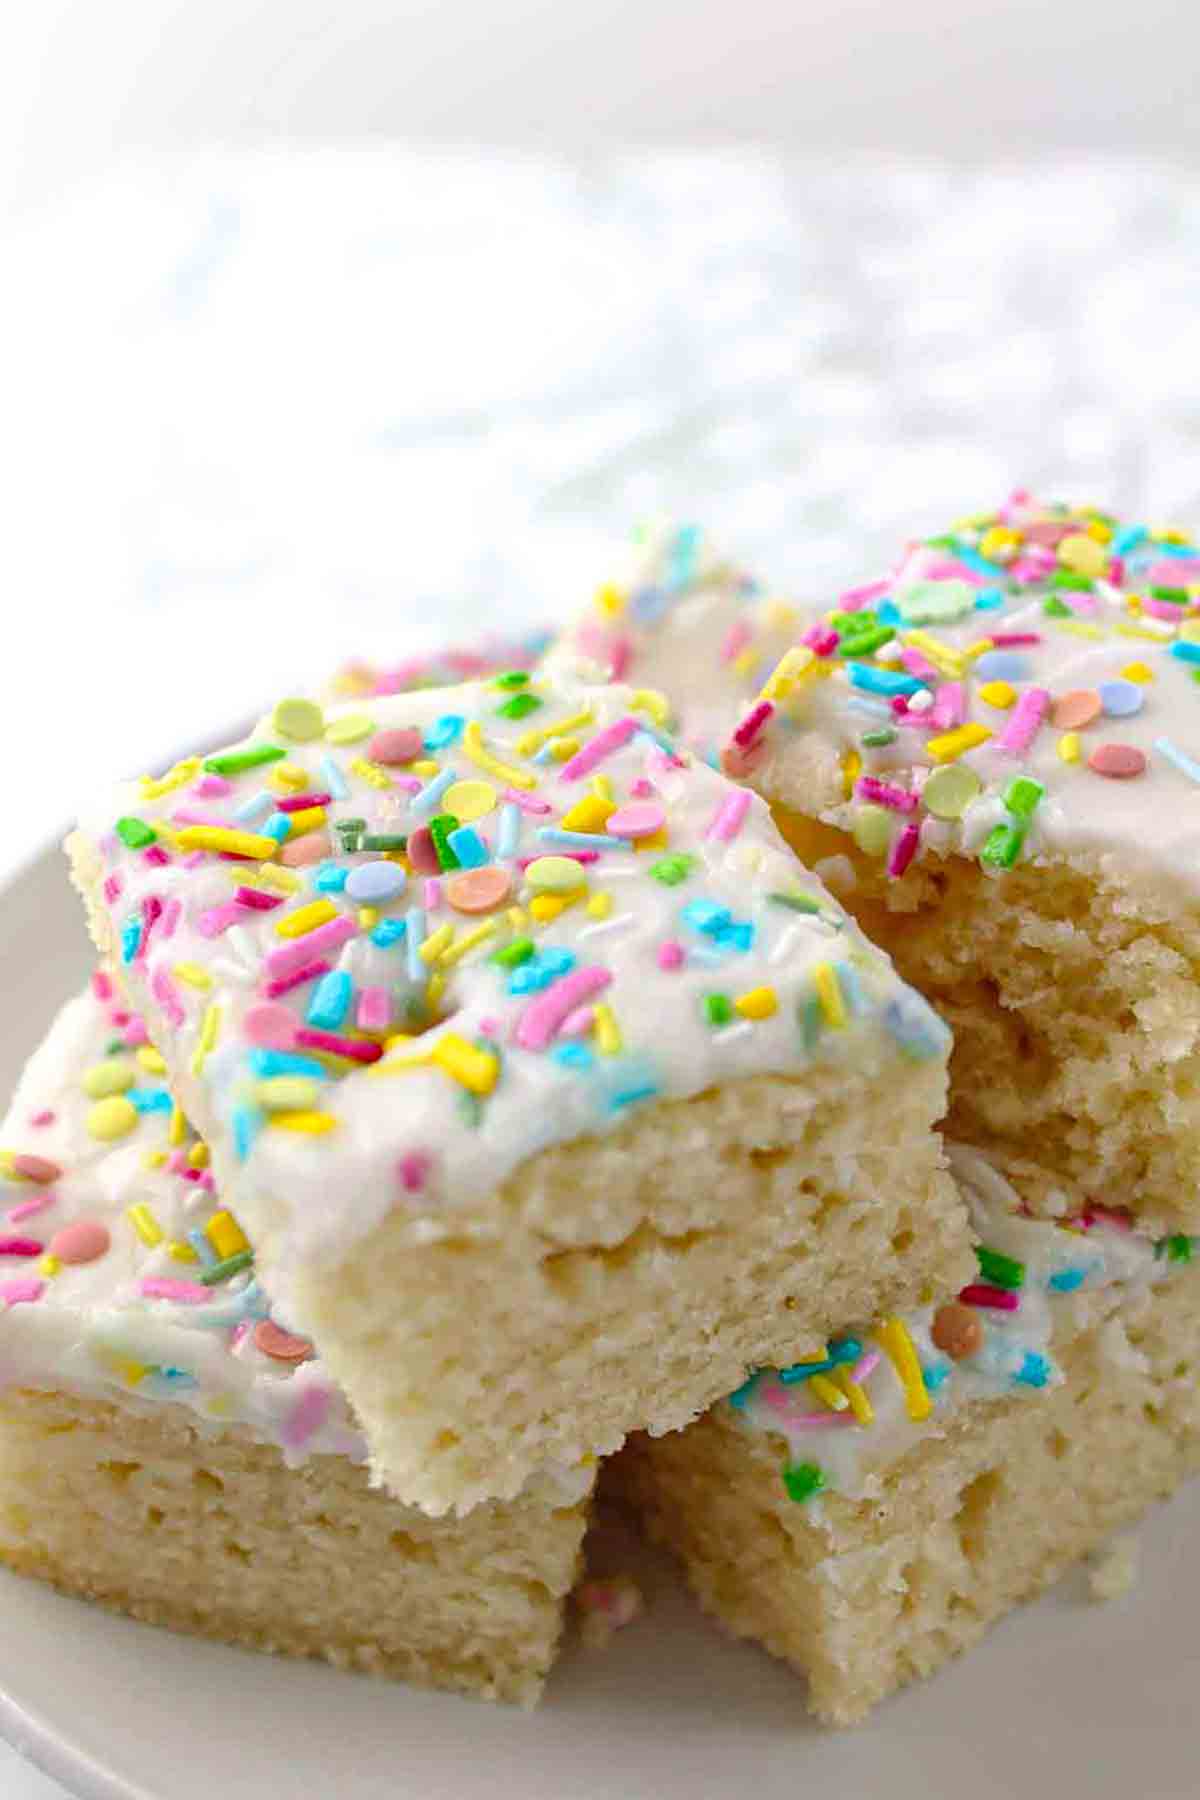
This vegan vanilla sheet cake is reminiscent of the UK’s well-known school dinner cake! A fluffy, eggless square sponge cake topped with white icing and sprinkles that tastes delicious served with warm custard!
Was it just me, or did anyone else absolutely LOVE school dinners?
I know they used to have a pretty bad reputation among my classmates but I always secretly loved them. Especially the desserts! I guess I’ve always been a sugar fiend at heart…
Oh dear.
Some of the best desserts I can remember are the caramel tart, jam and coconut sponge, chocolate sponge and PINK custard.
But the thing that always sticks out the most to me is the squares of vanilla sprinkle sponge cake, also known as Tottenham cake. It was almost always served with warm custard and it was SO comforting. Definitely not healthy food for a growing child but oh my gosh, I miss those days so much.
Anyways, since I hadn’t had that delicious square cake in approximately 15 years I decided to make my own version. A school dinner cake without eggs or dairy.
Although it took me many attempts to get my vanilla sheet cake recipe just perfect, this is probably one of the simpler recipes on the blog. You just put everything together in one bowl, bake, ice, add some sprinkles and you’re done!
I also love this recipe because there are no complicated ingredients such as flax eggs. This easy recipe uses the same ingredients that I used to bake with before I went vegan, just without the eggs.
Which sprinkles are vegan?
If you’re a new vegan, you may not know that a lot of cake decorations contain products derived from animals and insects. Common non-vegan ingredients to look for are milk & milk powder, eggs & egg white powder, carmine, red 40, shellac, beeswax and honey.
I personally use Dr. Oetker Unicorn Confetti sprinkles for most of my baking because they look beautiful on pretty much every dessert. They’re my go-to sprinkles because they’re available in most supermarkets here in the UK and I know that they’re vegan-friendly.
I’ve also used Baking Time Club sprinkles in the past with great results. The service was amazing and they have a huge selection of vegan-friendly cake decorations. Highly recommend them!
How to make vegan vanilla sheet cake
I adapted this square sponge cake recipe from my recently updated eggless vanilla cupcakes recipe. It took a few tries and a couple of slight adjustments to get it just right and perfectly fluffy, but I got there in the end!
Step 1:
The first step is to preheat your oven to 180°C / 350°F. You’ll also need to line an 8 x 10-inch rectangular baking tray with parchment paper.
Step 2:
In a small cup or bowl, mix together 250ml (1 cup) of soy milk and 2 teaspoons of apple cider vinegar. Set it aside for a few minutes.
I find that I get best results with soy milk in vegan baking but you can try another dairy-free milk if you’d prefer. Also, if you don’t have apple cider vinegar, you can substitute it for lemon juice or white vinegar.
Step 3:
Add of 230g (1 + ¾ cups) of self-raising flour into a large bowl along with 1/2 teaspoon of baking soda and 180g (3/4 cup + 2 tablespoons) of caster sugar. Give everything a good mix.
Step 4:
To the same bowl, add in 95ml (1/3 cup + 1 tablespoon) of vegetable oil, the milk and vinegar mixture from earlier, and 2 teaspoons of vanilla extract. Mix together until smooth.
*I like to use a neutral-tasting oil such as rapeseed or canola for best results. I find other types of oil can sometimes be a little overpowering in the final flavour.
Step 5:
Transfer the eggless cake batter into your pre-lined tray and use the back of a wooden spoon to spread it around evenly.
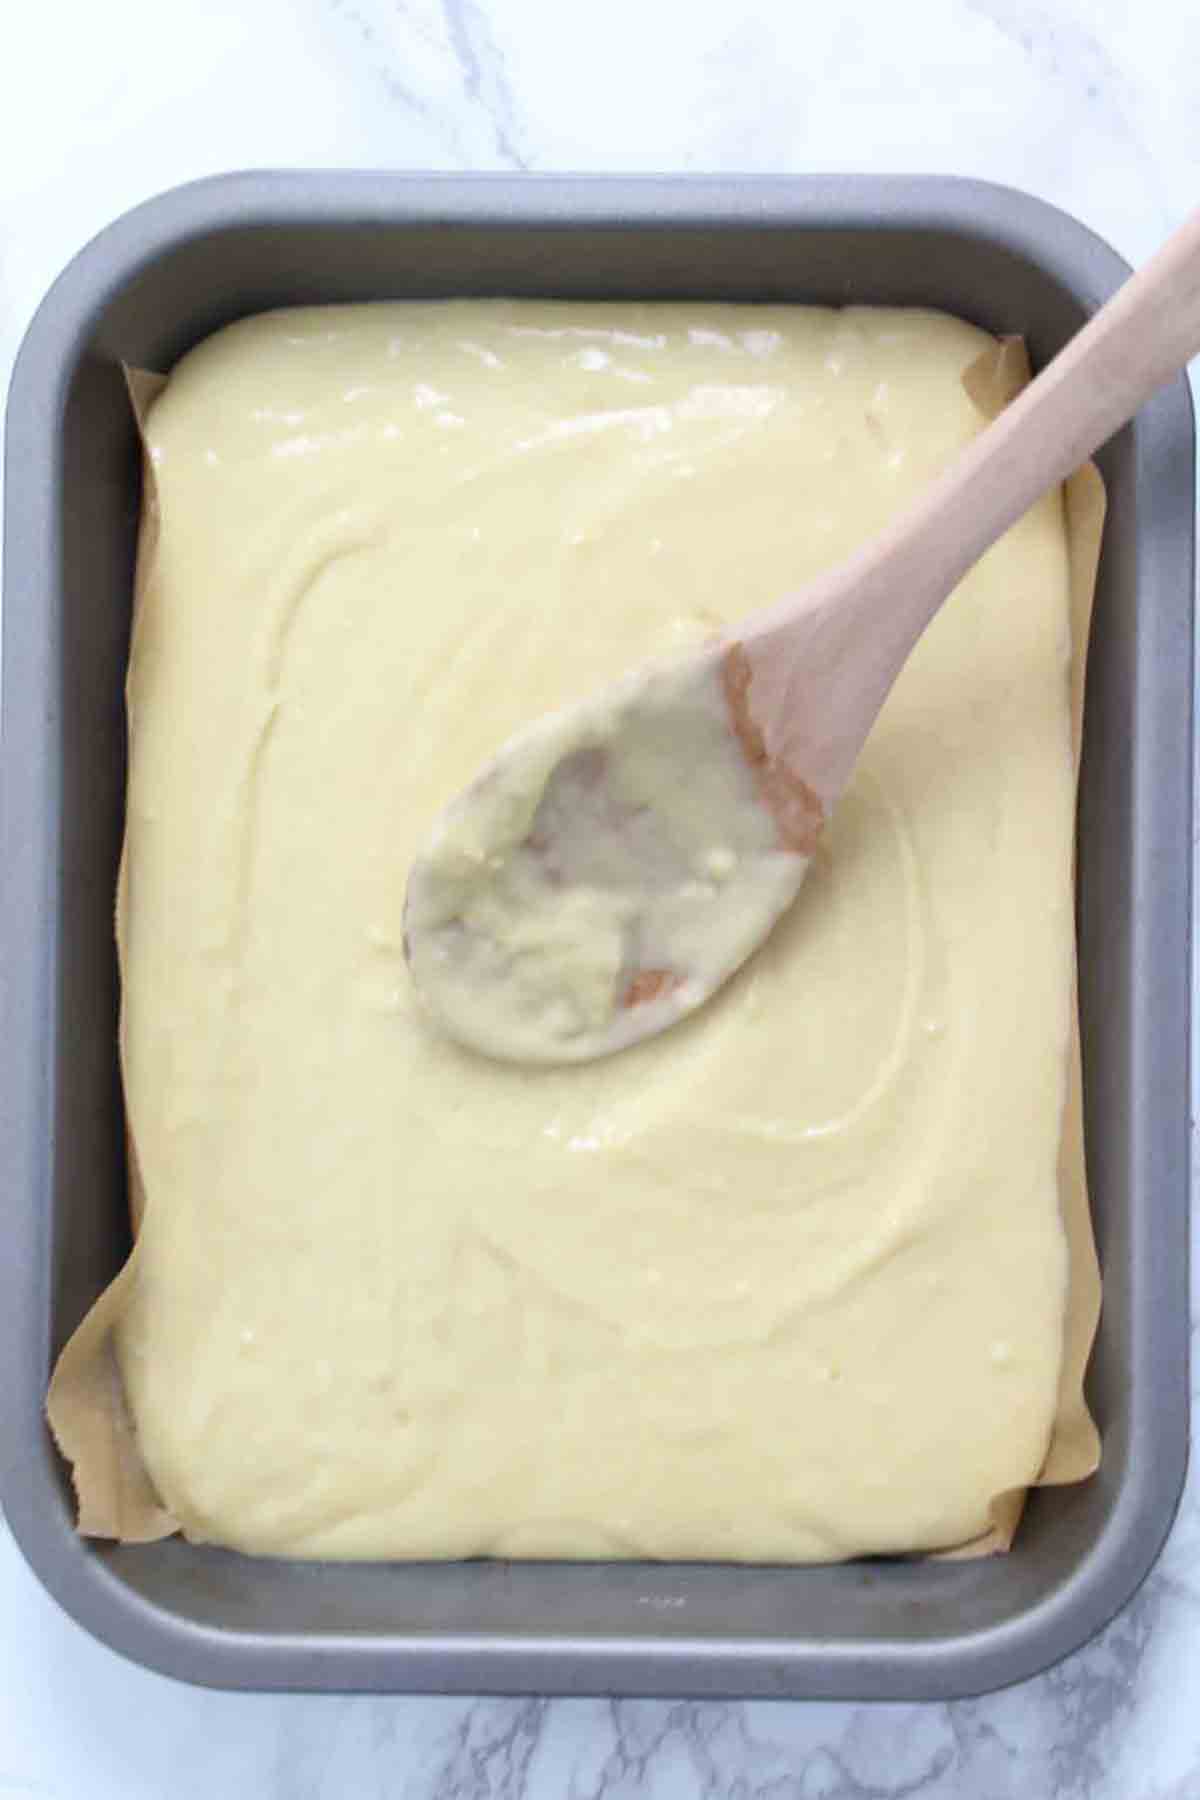
Bake for 22-25 minutes. You’ll know it’s ready when a toothpick through the center comes out clean.
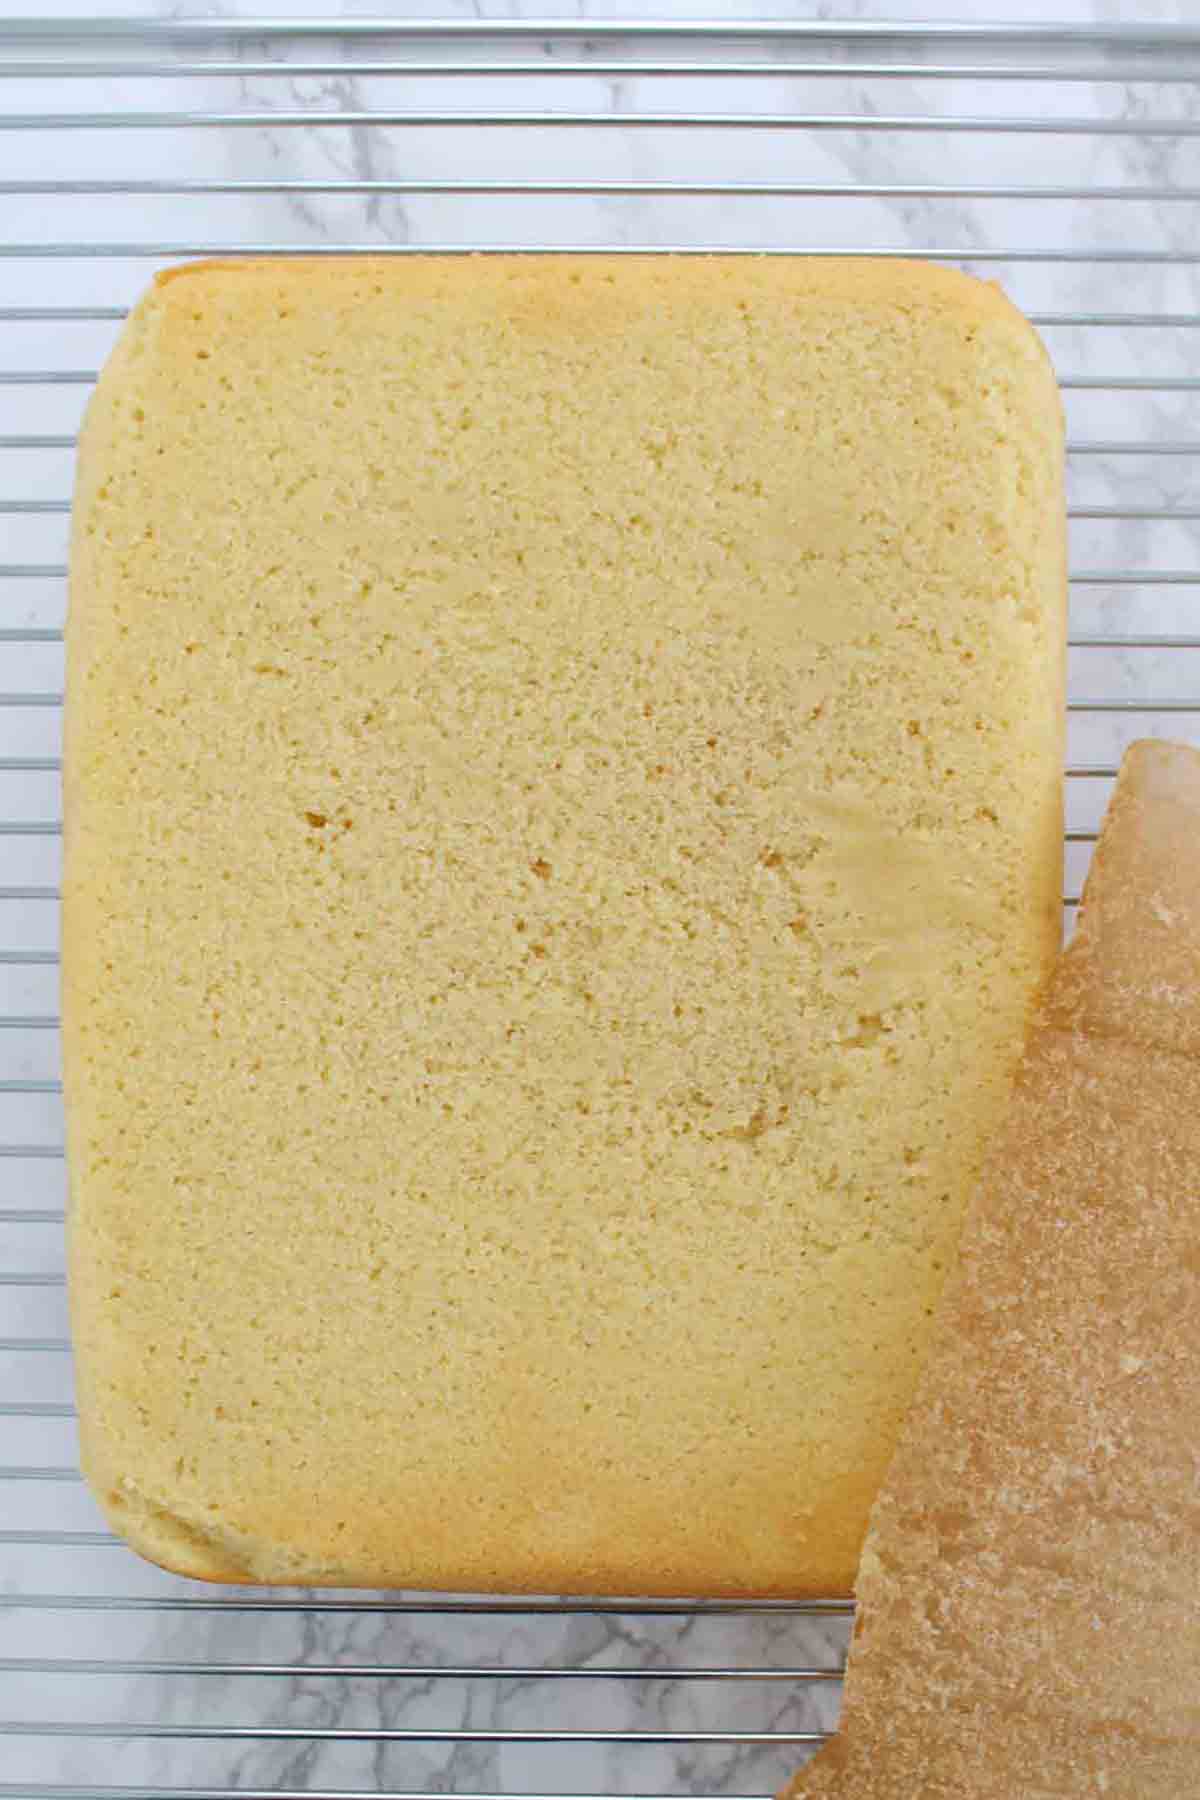
Step 6:
Allow the cake to cool in the tin for 10 minutes, then gently transfer it to a wire rack. You can do this by placing the wire rack over the cake tin then flipping it upside down.
Remove the baking paper from the bottom of the cake and leave it to cool completely.
Step 7:
Once your eggless sheet cake has cooled, it’s time to prepare the icing.
In a bowl, mix together 200g (1 + 2/3 cups) of icing sugar and 3 tablespoons of cold water until smooth. It’s easiest to do this using a small metal spoon. You want it to be thick but runny enough to spread easily, and it should be totally white rather than transparent.
If you want your icing thinner, you can add more water but be careful to only add very small amounts at one time. If you want it thicker, just add more powdered sugar.
Step 8:
Spoon the icing onto the cooled sheet cake and gently spread it out using a palette knife or the back of your spoon.
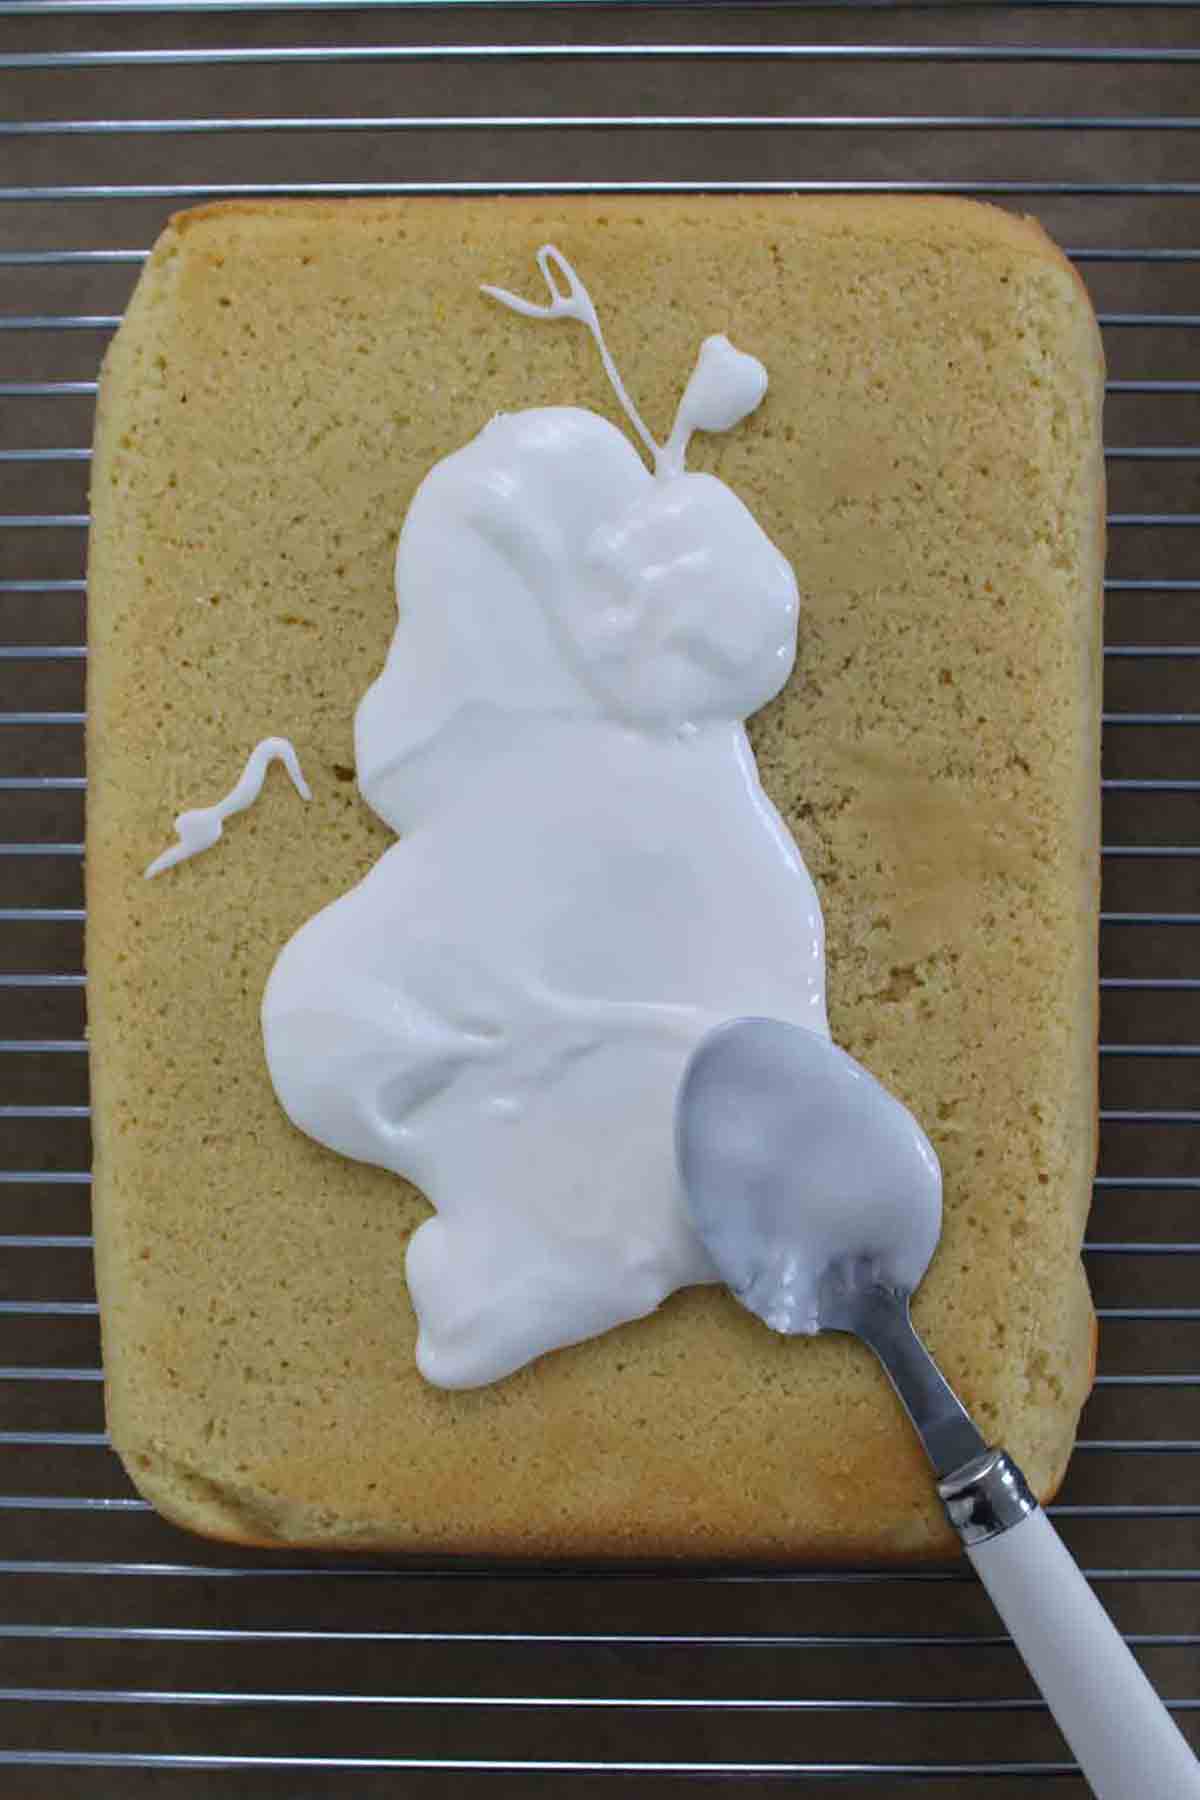
I like to place a large tray lined with baking paper underneath the wire rack when I do this. It catches any drips and makes for easy clean up!
Step 9:
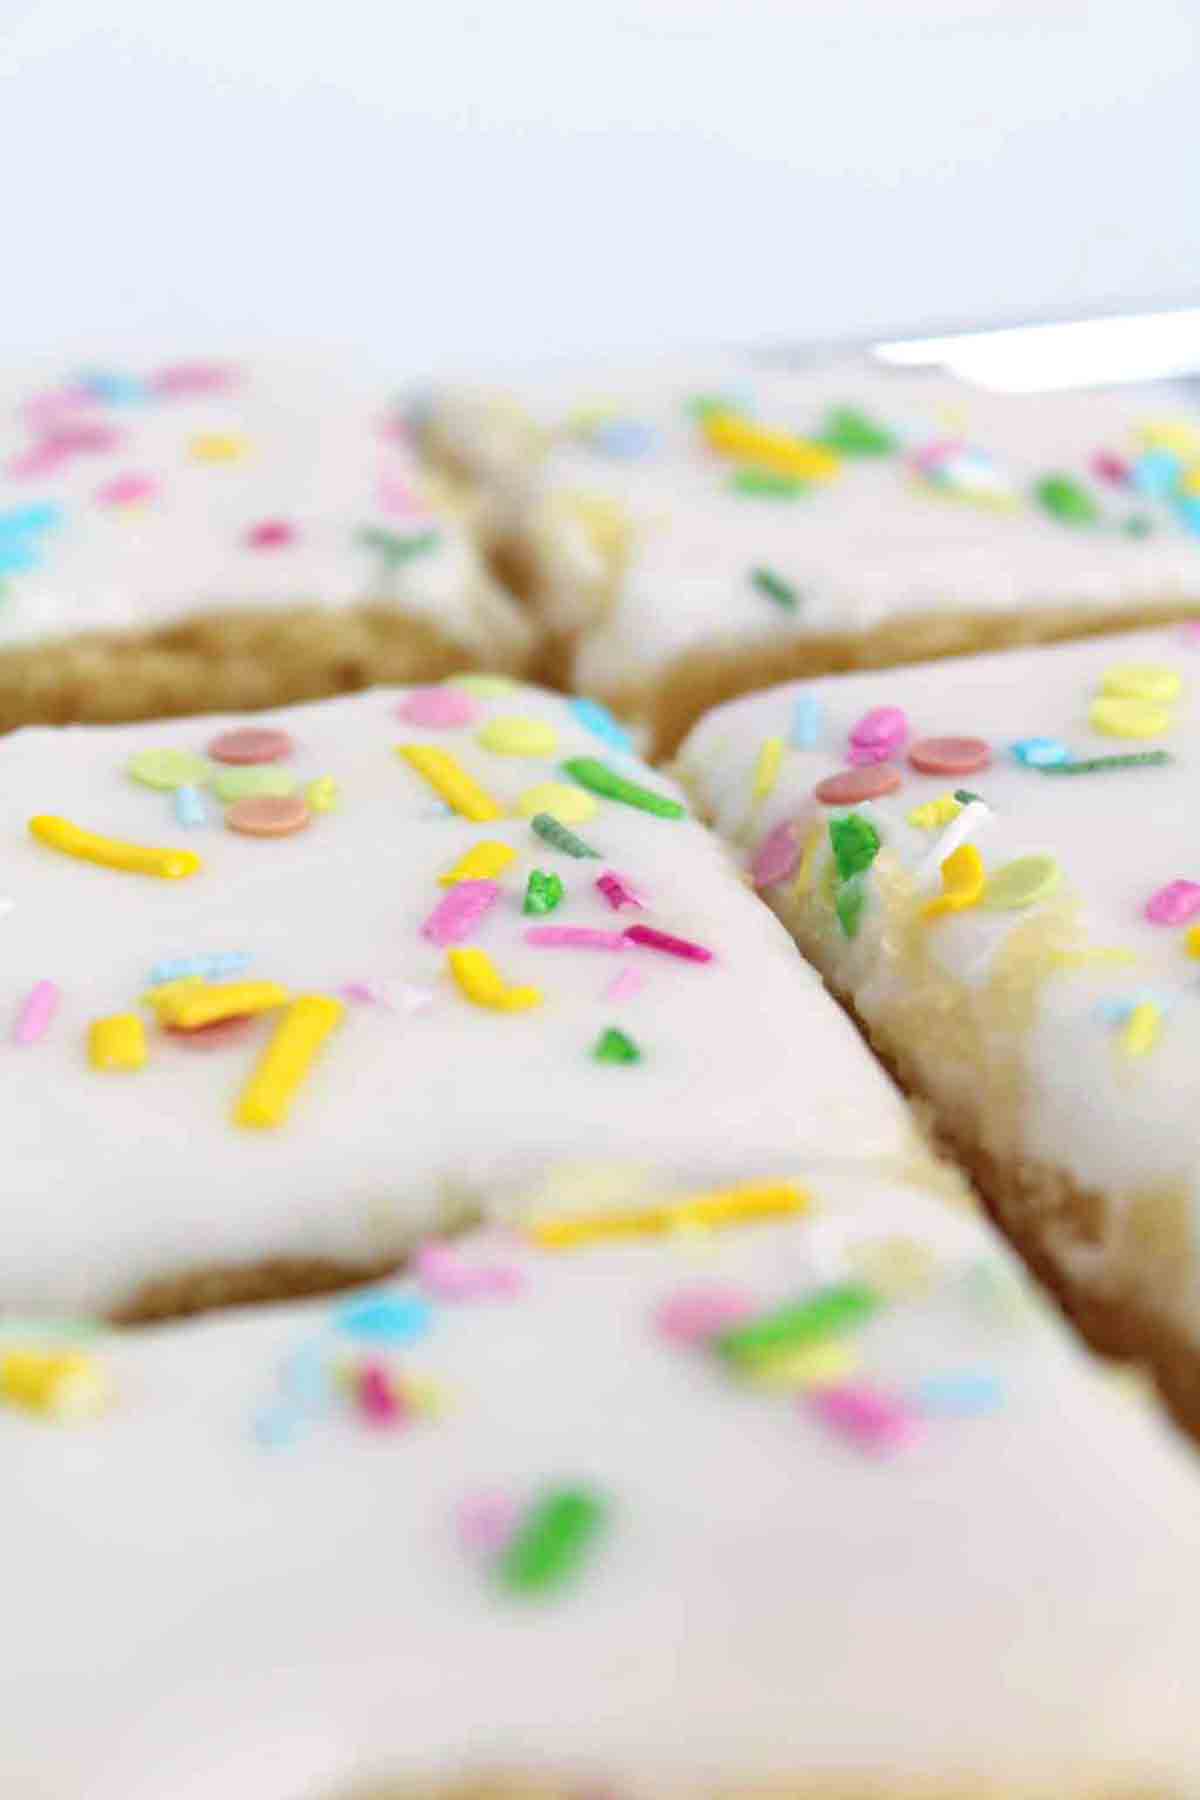
Once the icing is spread evenly over the cake, add your sprinkles. I used a few tablespoons on mine but you can add as much or as little as you like.
Step 10:
Allow the cake to sit at room temperature for 60 minutes before serving. This will give the icing time to set and prevent it from sticking to your knife when you cut it.
FAQ:
This dairy-free vanilla sprinkle cake should last up to 5 days. Keep the square sponge slices in an airtight container and store at room temperature to keep them fluffy and light.
Yes! This basic sponge is great for freezing and defrosts really well. You can freeze it as a whole sheet or in smaller, individual-sized squares. Either wrap it up in plastic wrap or place slices into an airtight container for up to 2 months.
When you’re ready to eat, just transfer your vegan sprinkle cake slices onto a plate and allow them to sit at room temperature for a few hours until they are fully thawed.
More vegan cake recipes
I hope my take on vegan school dinner sponge cake helps to bring back some good memories for you! If you make it yourself, please let me know how you get on by leaving a comment and rating below. Happy baking! xo
Vegan Vanilla Sheet Cake
Easy vegan square sponge cake similar to the popular UK school dinner cake.
Ingredients
- 250 ml Soy milk (1 Cup)
- 2 Teaspoons Apple cider vinegar (sub for white vinegar or lemon juice)
- 230 g Self-raising flour (1 + ¾ cups)
- ½ Teaspoon Baking soda
- 180 g Caster sugar (¾ Cup + 2 tablespoons)
- 95 ml Neutral tasting oil such as canola/rapeseed (⅓ Cup + 1 tablespoon)
- 2 Teaspoons Vanilla extract
For the topping:
- 200 g Icing sugar (1+⅔ cups)
- 3 tablespoons Cold water
- A few Tablespoons Vegan-friendly sprinkles (see my vegan sprinkles guide for specific brands)
Instructions
-
Preheat your oven to 180°C/350°F (160°C/325°F if using fan or convection oven) and line an 8 x 10 inch rectangular baking tin.
-
In a small cup or bowl, mix the soy milk and apple cider vinegar together. Set it aside for a few minutes. This will act as vegan buttermilk in this recipe.
-
In a large bowl, mix together the flour, baking soda and caster sugar.
-
Add the vegan buttermilk, the oil and the vanilla extract to the bowl. Mix well until smooth, making sure there’s no dry mixture stuck to the bottom of the bowl.
-
Transfer the cake batter into your tin and bake for around 22-25 minutes. You can check that it’s cooked all the way through by inserting a toothpick through the center. If it comes out clean, the cake is ready.
-
Allow the cake to cool in the tin for around 10 minutes, then gently flip it out onto a wire rack to cool completely.
-
When the cake is completely cold, prepare your icing by mixing the icing sugar and water together. It should be white and thick but slightly runny and spreadable. Add more powdered sugar for a thicker icing or more water for a thinner one.
-
Spoon the icing onto the cake and use a palette knife or the back of a spoon to spread it out evenly.
-
Decorate with your sprinkles of choice and leave the cake to stand at room temperature for 60 minutes. This will allow the icing to set properly and prevent it from sticking to your knife as you cut it.
-
Cut into square slices and enjoy alone or with warm vegan custard.
Recipe Notes
- Can be stored in an airtight container at room temperature for 3-5 days.
T
Sunday 10th of May 2026
I can’t bake but I made two of these for my little one’s birthday and nearly everyone (99% of whom are not vegan) asked for he recipe! Absolute hit.
Chloe
Sunday 10th of May 2026
Thank you so much for your comment. So happy to hear the cake was enjoyed! :)
Angela Evans
Thursday 8th of January 2026
I’ve made this cake many, many times. I sometimes top it with raspberry jam and coconut. I find soya milk reacts better with the cider vinegar and produces a light springy sponge. Oat milk has not been as successful in my experience. Baked by lo thank you.xAngela
Chloe
Friday 9th of January 2026
Thank for the feedback Angela. Glad you like the cake! :)
Jayne Maynard
Sunday 21st of December 2025
hello
I haven't made the school cake but I'm a vegan and I'm gluten intolerant. could I substitute the flour for a gluten free flour? if so would it be self raising all plain? I couldn't see that anyone had tried it or asked this question before. thank you
Jayne M
Chloe
Monday 22nd of December 2025
Hi Jayne! I'd recommend following the recipe for my gluten-free lemon cake (without the lemon of course). Self-raising flour is always best for these cakes :)
Naomi
Sunday 1st of June 2025
Made this for my partners birthday, it’s amazing thank you so much!
Chloe
Sunday 8th of June 2025
Great to hear, thanks Naomi!
Laura
Sunday 3rd of November 2024
I need a egg free cake so can I used cows milk on this?
Chloe
Sunday 3rd of November 2024
Yes :)