Vegan Chocolate Truffles (Dairy-Free)
Looking for a last minute Valentine’s gift? These homemade dairy-free and vegan chocolate truffles will WOW that special someone. They’re gluten-free too and can be made with just two ingredients!
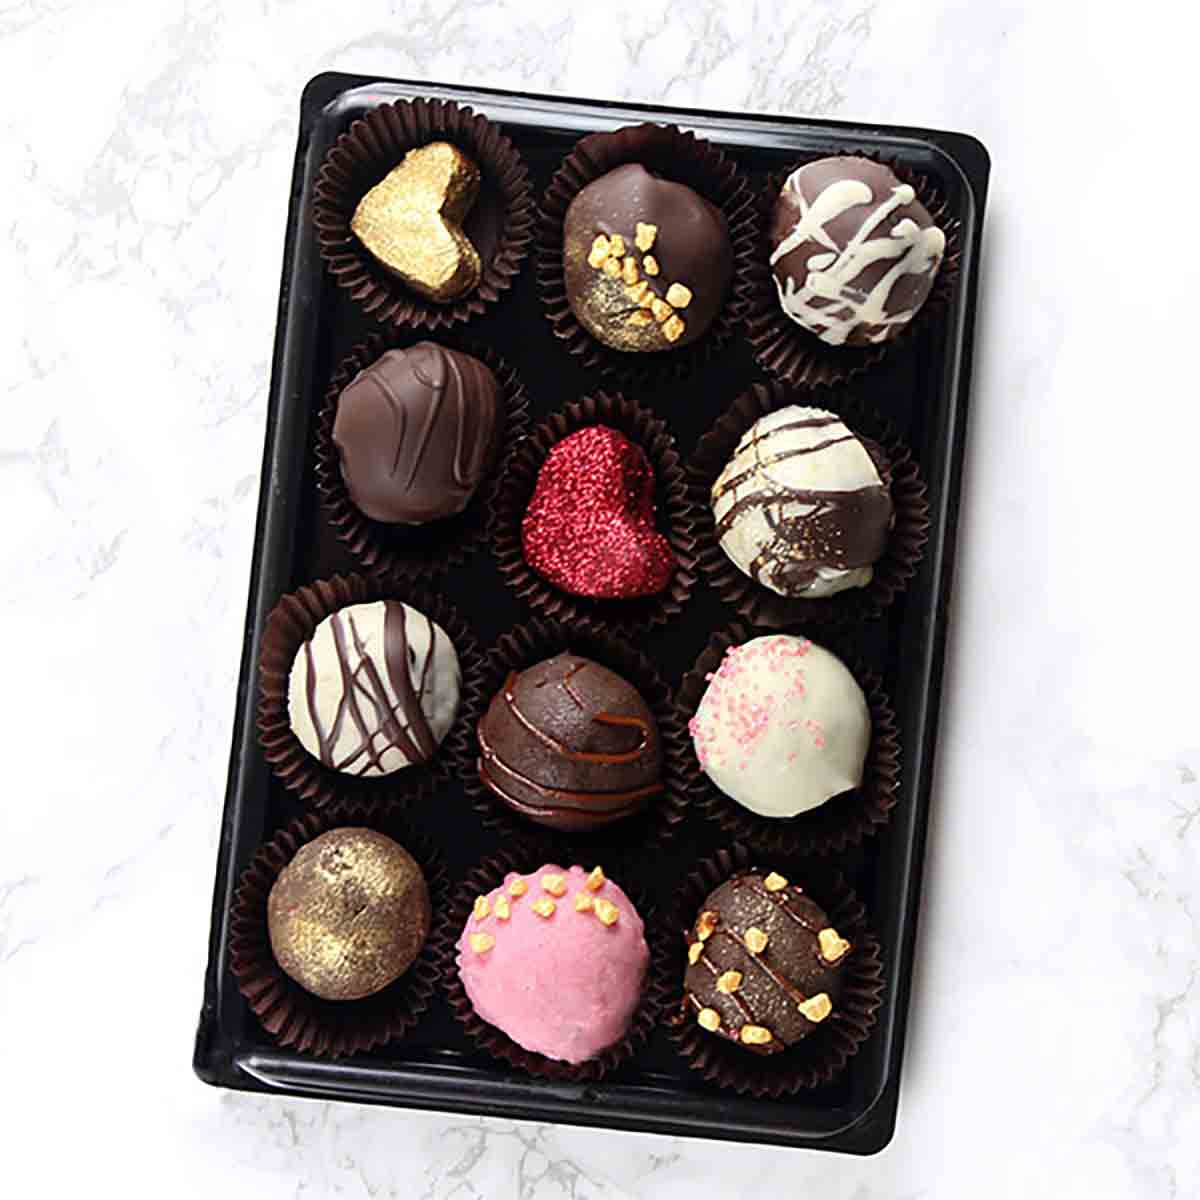
It’s almost Valentine’s Day so I thought that called for some tasty Valentine’s vegan chocolate truffles. A super easy, 2-ingredient recipe that can be decorated however you like.
I’m not too much into the commercial side of Valentine’s Day but I do love a good edible gift, and these dairy-free truffles are just that. Gift them to your partner, a family member, a friend, or just make them as a gift to yourself. They are quite rich and luxurious, so they should last a while!
I hope you love these dairy-free truffles as much as I do! Let me show you how to make them.
How To Make Vegan Chocolate Truffles
Step 1:
To make your very own vegan truffles, you need to start by melting 240g of dairy-free dark chocolate. I like Tesco classic dark chocolate because of the high cocoa content, which makes for creamier truffles. The darker the chocolate, the more bitter the truffles will be, but I find the sweet chocolate coating balances them out nicely. Check out my vegan chocolate post to see all the different types of chocolate available to buy.
You can melt the chocolate in the microwave if you prefer but I like to do it over the stove to reduce the risk of burning chocolate.
Step 2:
When the chocolate has completely melted, set it aside.
In a small (separate) pot, warm 100ml of tinned coconut milk over medium-low heat on the stove. Once you can see little bubbles forming at the sides, remove it from the heat and immediately pour it on top of the melted chocolate.
You can use either light or full-fat tinned coconut milk for this recipe. I prefer the creamy truffle texture the light coconut milk gives but if you prefer a firmer texture, use full-fat coconut milk. The drinking type of coconut milk that comes in a carton will not work for this recipe as it’s mostly made up of water!
Step 3:
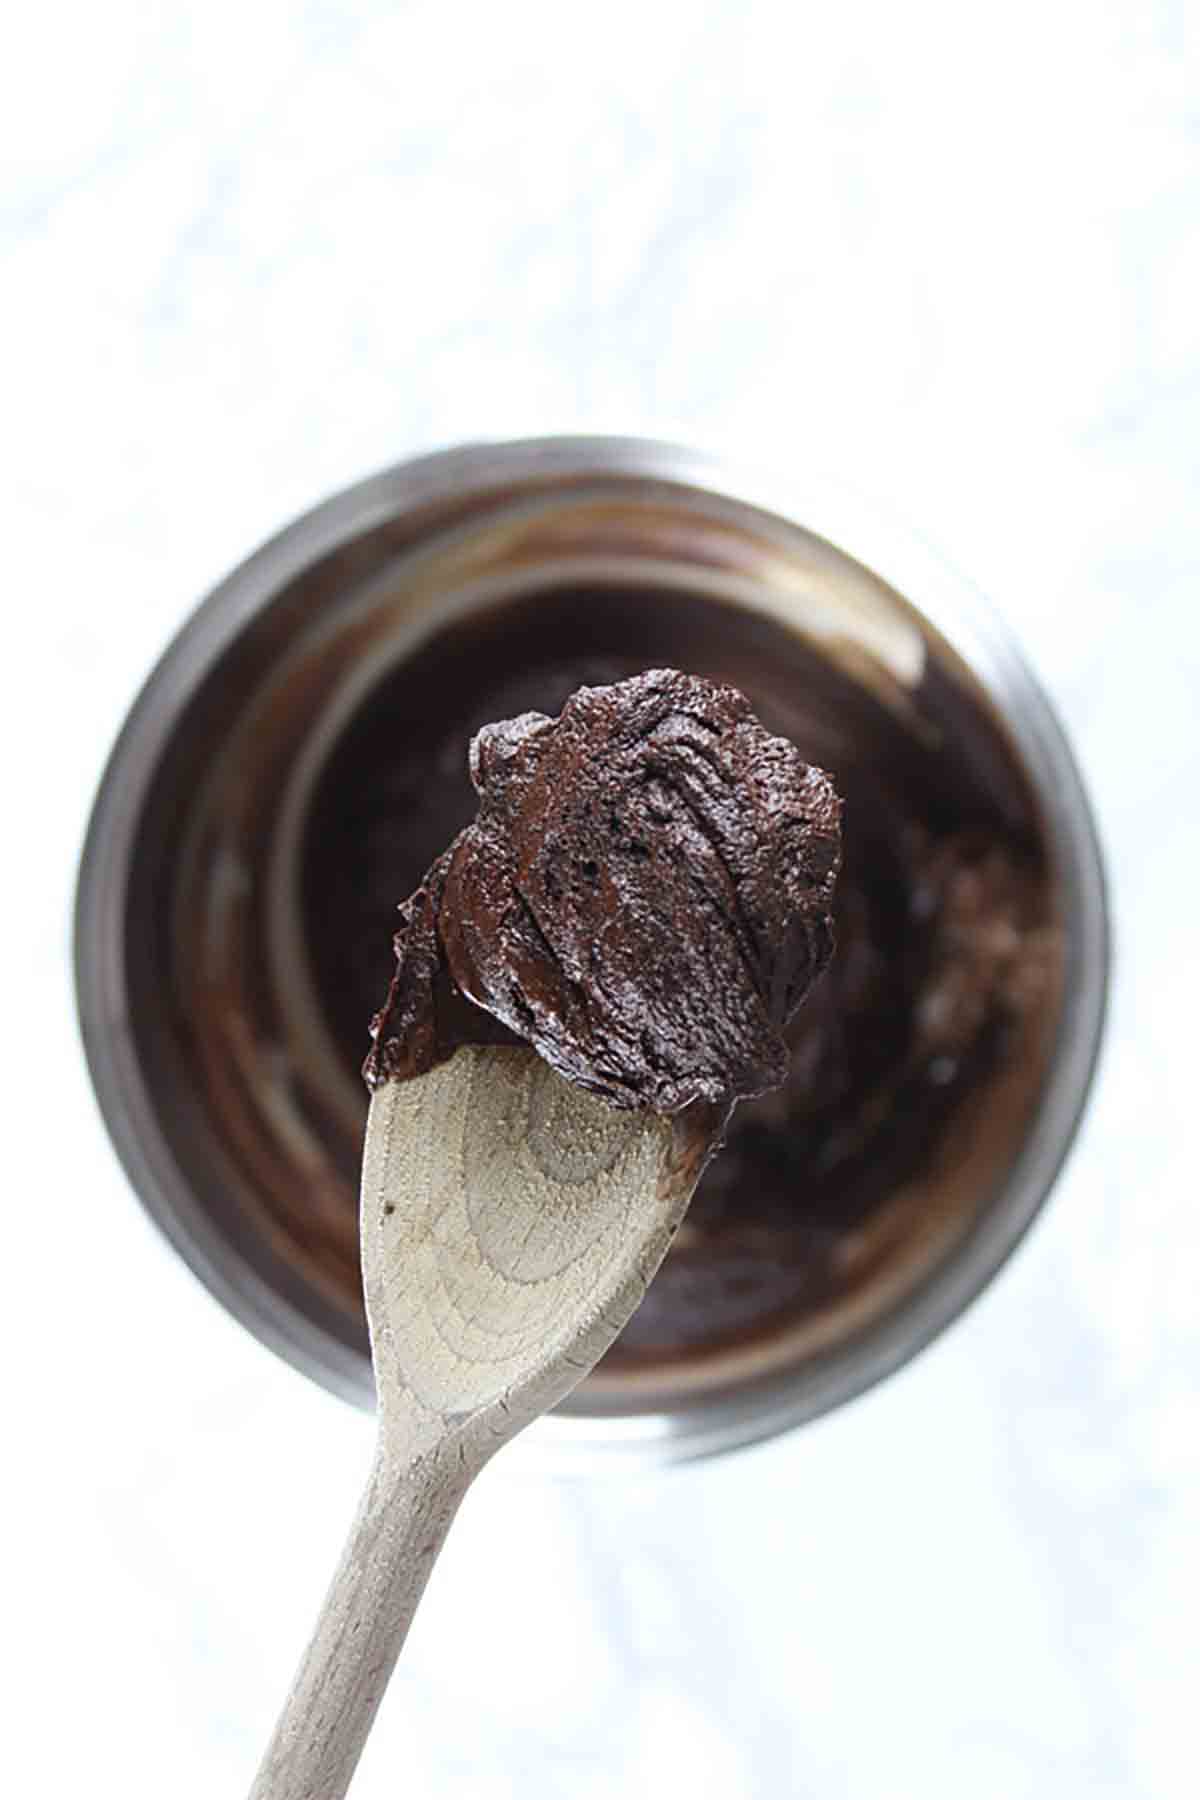
Gently mix the hot coconut milk and the melted chocolate together to form a thick, glossy mixture, as pictured below.
Step 4:
Spoon the truffle mixture into a lined bowl or tub and refrigerate for 2-3 hours. The mixture should now be firm but malleable. Scoop the mixture, 1 tablespoon at a time, and roll into small balls. You should end up with 12-15 vegan chocolate truffles. You can also use a small cookie cutter if you want heart-shaped truffles.
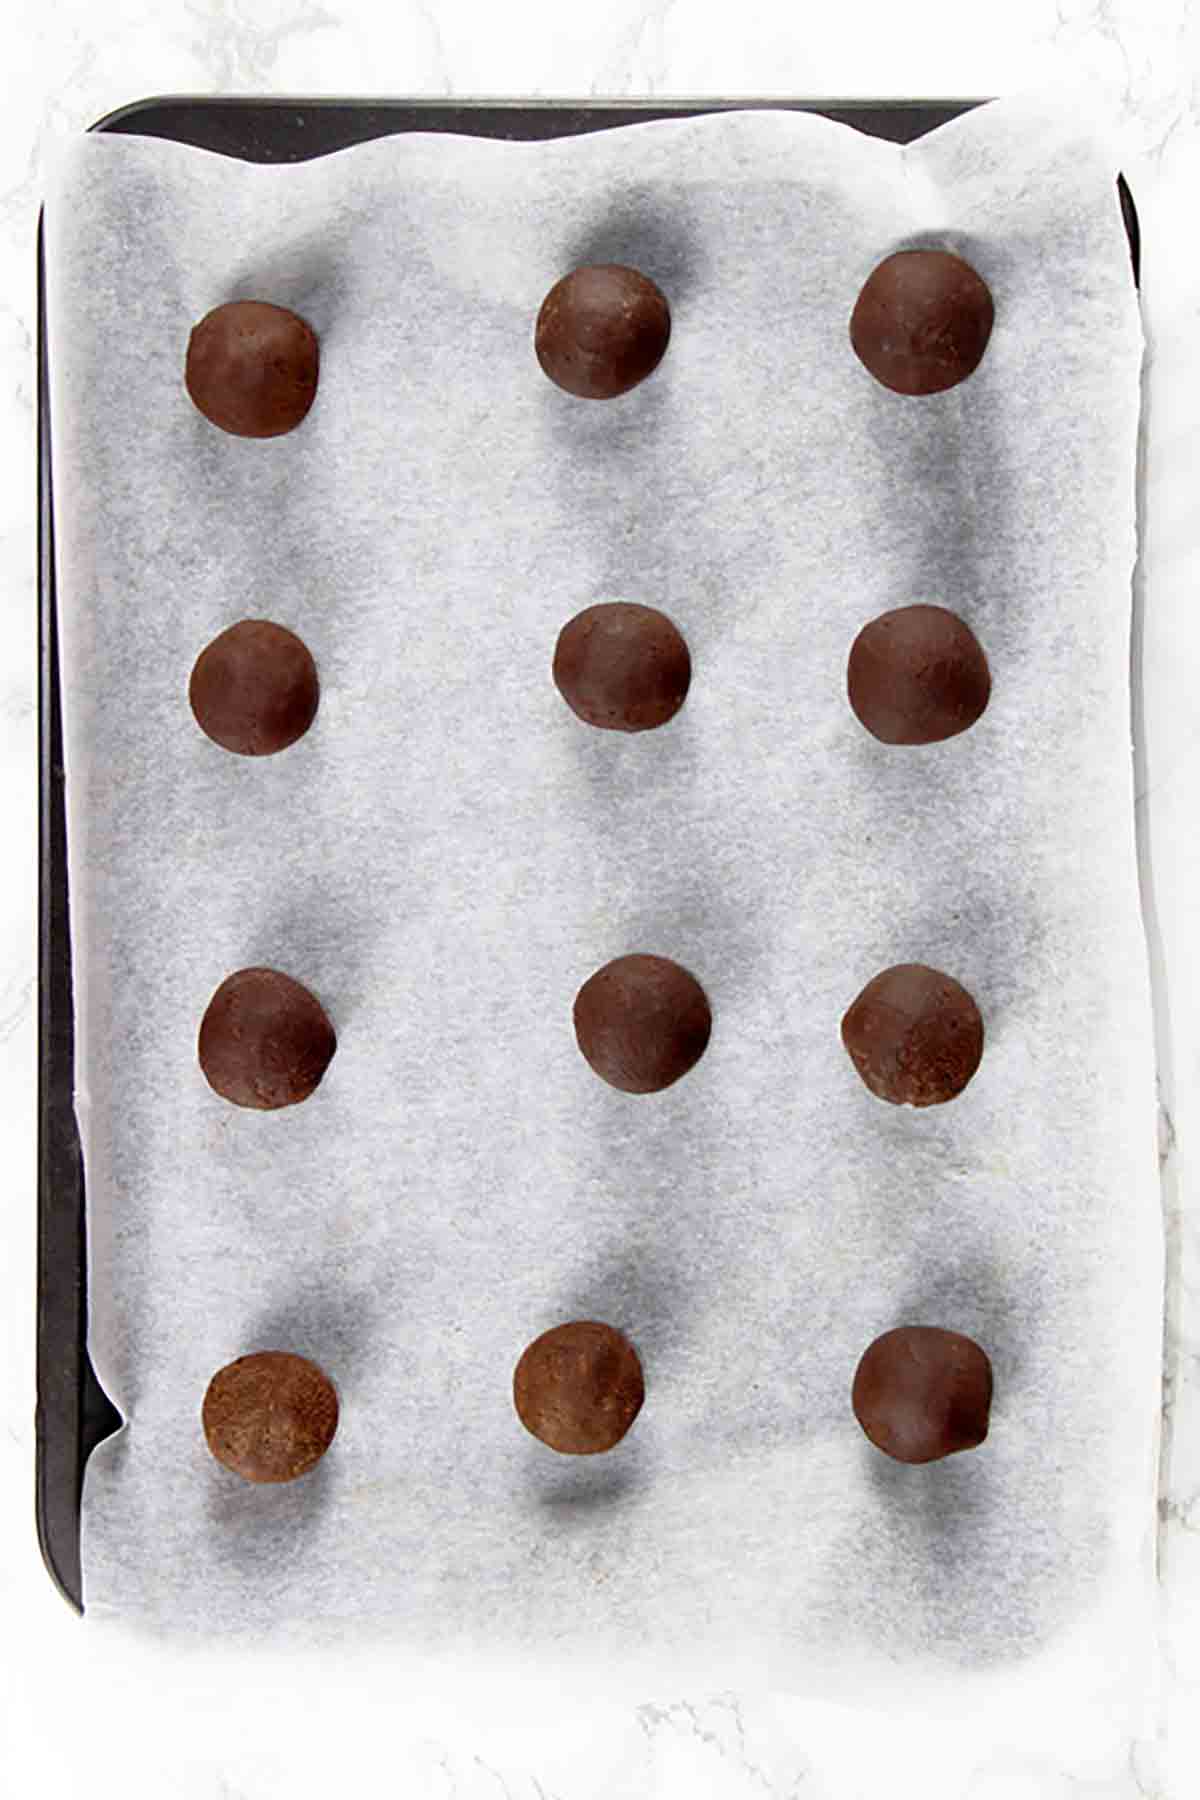
If you find that the mixture is too soft when you take it out of the fridge, you can pop it back in the fridge for a bit longer until it’s firm enough to roll. If it’s too firm, let it sit out at room temperature for a while until it softens enough for you to roll into balls.
Once you’ve rolled your dairy-free truffles, you can coat them in chocolate or you can eat them as is, which would make them a low sugar, lower carb dessert. If you fancy decorating your truffles, let me show you how I did mine.
How to decorate vegan chocolate truffles
Decorating chocolate truffles can be as easy or as complex as you like. You can coat them in some melted chocolate and call it a day, or you can go all out and have beautifully shiny, glitzy decorated dairy-free truffles. The choice is yours!
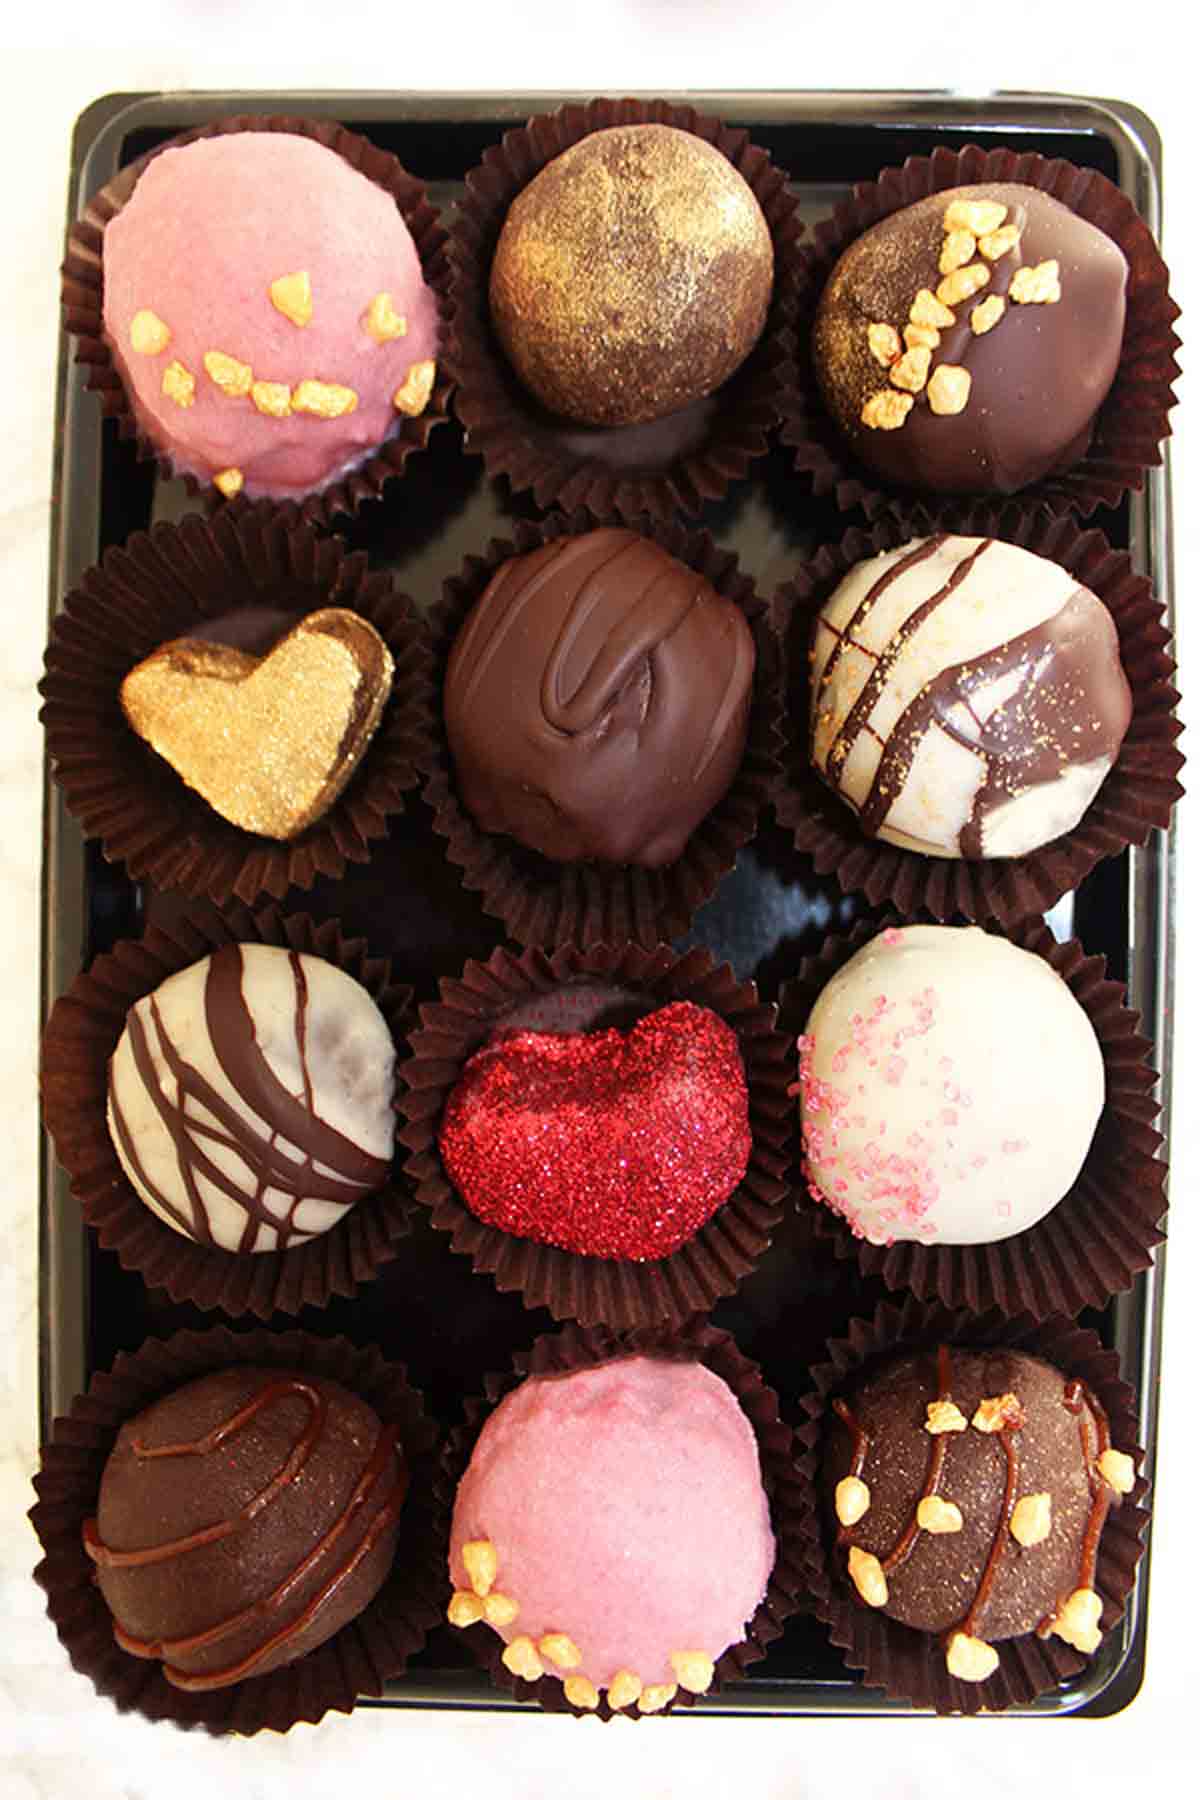
I wanted mine to look like a classic box of chocolates- the types of Valentine’s truffles that you see on movies. Sadly I couldn’t find a heart-shaped box to put my decorated truffles in but I am still very pleased with how they turned out.
To coat the truffles, I used a combo of white and dark chocolate. I also added some pink food colouring to my leftover white chocolate, which made some super cute pink Valentine’s chocolate truffles!
Because white chocolate is quite finicky, I’d recommend against using a liquid food colouring. A paste or gel will work best- I used PME food colouring gels.
You might need to coat the truffles more than once, depending on the consistency of your chocolate. Just make sure the first coat has set completely before you add the second.
To set your vegan Valentine’s truffles, place them onto a cooling rack with baking paper underneath, which will catch any chocolate excess. Once your truffles are adequately coated, place them into a small paper case (I used petit four cases) for the true chocolate-box look! You can use some skewers to transfer them without smudging the melted chocolate.
Extra vegan truffle decorations
Now your truffles are coated with chocolate, you can add some extra decorations to make them look even more fancy.
A popular decoration for vegan chocolate truffles is a simple chocolate drizzle. You can drizzle melted chocolate over your coated truffle using a teaspoon or a piping bag with a small writing nozzle. The other vegan-friendly truffle decorations I used were edible gold glitter, edible red glitter and gold sugar crystals.
You will need to add these extras while the coating is still a bit wet, to help them stick. However, the drizzle should only be done when the coating is fully set, as it will melt together otherwise.
Top tips
- Choose high-quality dark chocolate. Anything around 60% is perfect but remember the higher in cocoa the chocolate is, the more bitter your truffles will be.
- Make sure the coconut milk is hot enough before you pour it onto the chocolate. You’ll know it’s hot enough when you see bubbles forming at the edges.
- If you leave your truffle mix in the fridge for too long and it becomes too hard, let it sit out at room temperature for a while until it’s soft enough to shape.
- Once you’ve finished coating and decorating your vegan truffles, store in the fridge to keep them at their best.
- Omit the chocolate coating and decorations for a healthier, low sugar treat!
I hope you enjoy these dairy-free vegan chocolate truffles for Valentine’s Day! As always, if you make this recipe, leave a review below and please tag me on Instagram @bakedbyclo so I can see and share it! xo

Vegan Chocolate Truffles (Dairy-Free)
Easy homemade vegan Valentine's truffles that make a great gift, with just 2 main ingredients!
Ingredients
For the truffles:
- 240 g Vegan dark chocolate (60-70%)
- 100 ml Tinned coconut milk (light is best but full-fat will work too)
To coat:
- 300 g Vegan chocolate (white and/or dark)
- Pink or red gel food colouring (for making pink chocolate- I use PME)
To decorate:
- Vegan cake decorations of choice
Instructions
For the truffles:
-
Melt the dark chocolate in a pot over a low heat. Once melted, remove it from the heat.
-
In a separate pot, gently heat the coconut milk until small bubbles start to form at the sides.
-
Pour the hot coconut milk over the melted chocolate and mix gently until well combined.
-
Place the truffle mix into a lined bowl and refrigerate for around 2-3 hours. It should be firm but malleable.
-
Scoop out 1 tablespoon of the mixture at a time and roll into balls. Alternatively, you can use a small cookie cutter to create heart-shaped truffles for Valentine's.
For the coating:
-
Melt the chocolate for the coating. If making pink chocolate, stir a small amount of the food gel into white chocolate.
-
Coat each truffle in your melted chocolate, then transfer them to a wire rack with baking paper underneath. Leave for 5 minutes to let any excess chocolate drip off then use skewers to transfer them to Petit Four cases.
-
Add any desired decorations while the coating is still slightly wet (unless you're doing a chocolate drizzle, in which case you should let the coating dry first).
-
Place back in the fridge until the coating has set and enjoy!
Recipe Notes
- If the truffle mixture is too soft, leave it in the fridge for longer. If it’s too firm, let it sit at room temperature for a while to soften.
- Store in an airtight container in the fridge for up to 1 week.


Helena
Friday 11th of February 2022
Great recipe and really easy. Covered mine in ichoc white choc. Next time I would like to have them with caramel in the middle do you know how I can do this? Thanks
Chloe
Friday 11th of February 2022
Hi Helena! Glad you liked the recipe. I have a caramel truffle recipe in the works and hope to have it on the blog soon! 😀
becky
Tuesday 18th of January 2022
why did mine not get sticky? can't really form into balls
Chloe
Thursday 20th of January 2022
Hi Becky. Do you mean they're too soft or too hard?