Vegan Coconut Whipped Cream
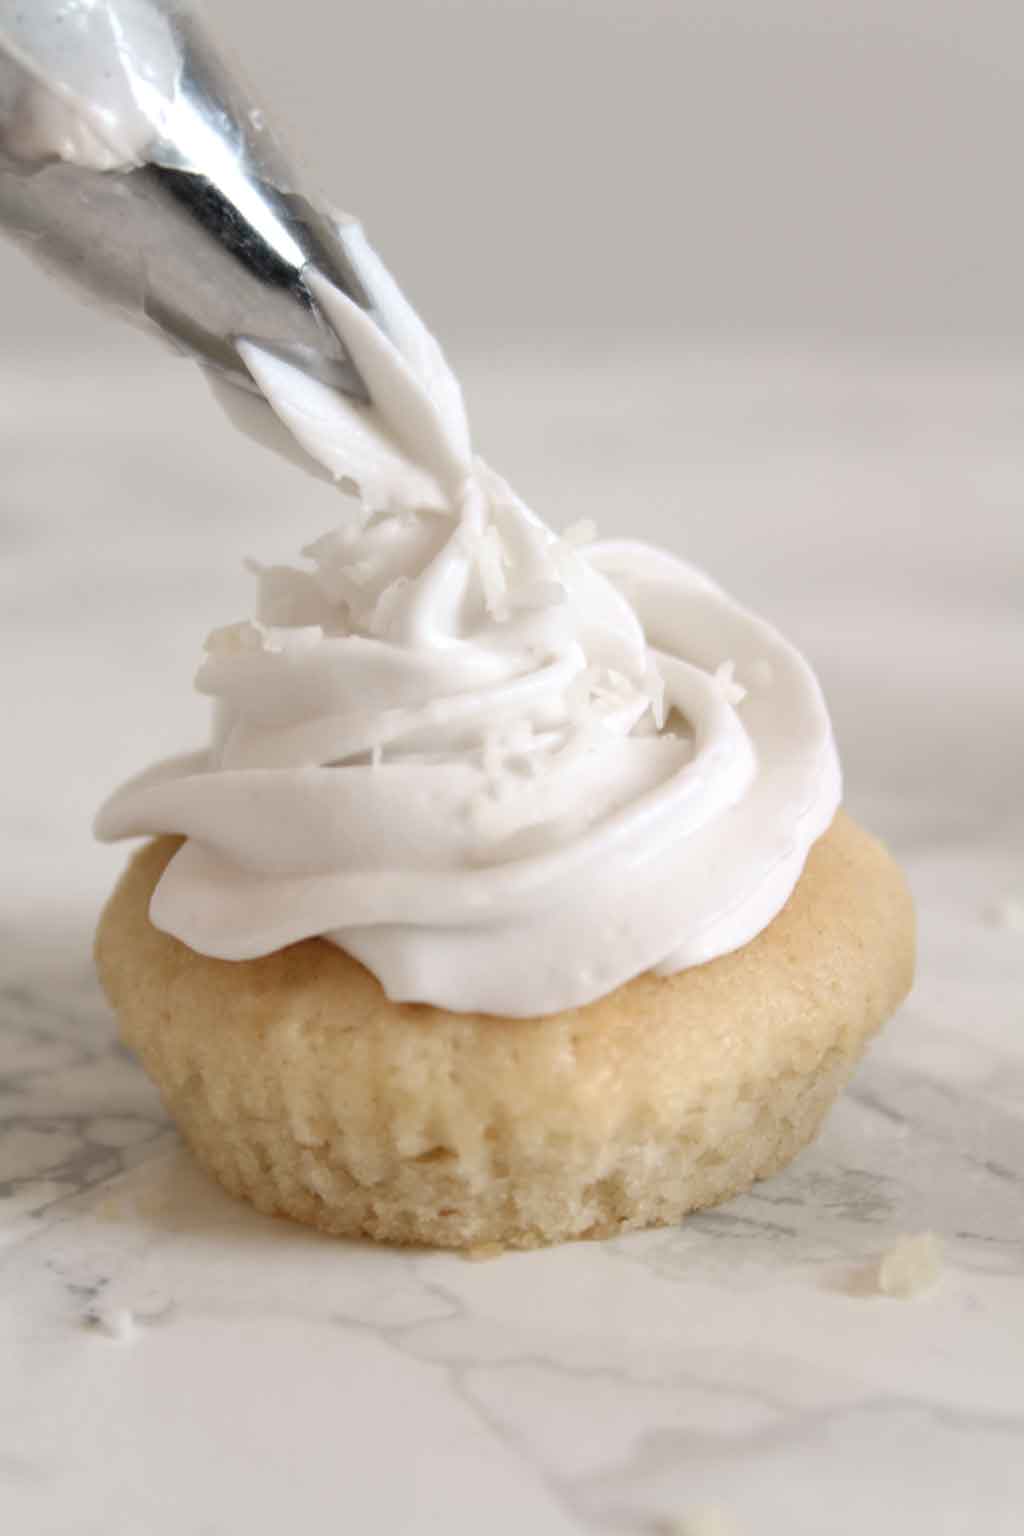
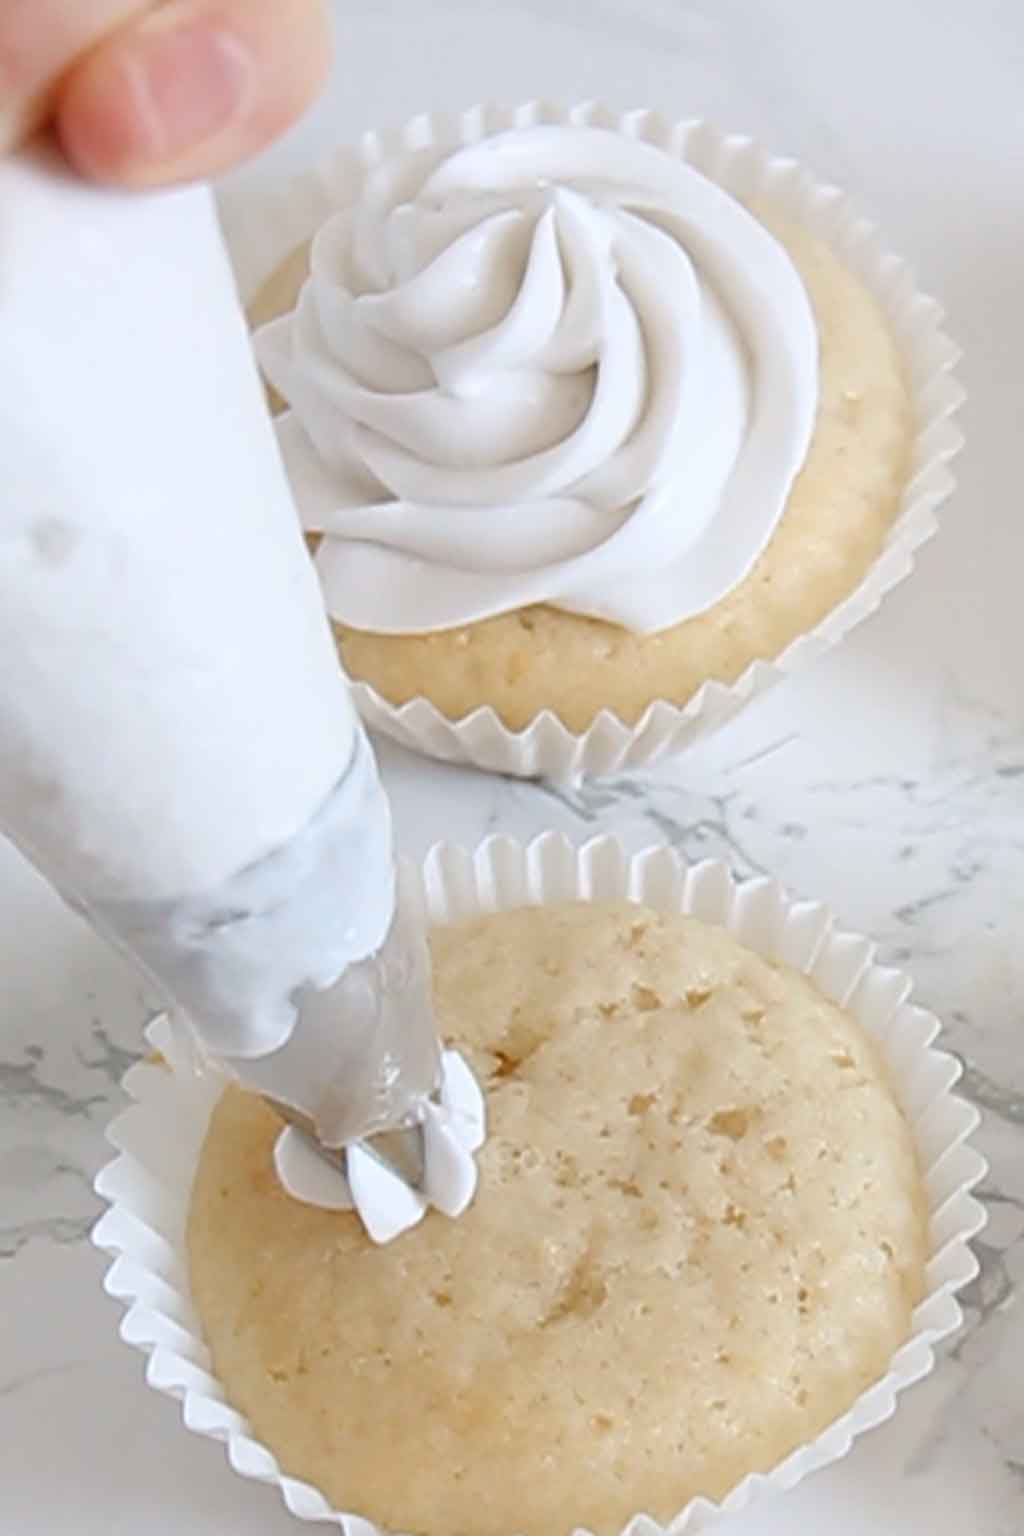
This vegan coconut whipped cream is smooth, light and fluffy, and is firm enough to pipe onto cupcakes. It’s a great alternative to dairy whipped cream and a handy ingredient for vegan baking!
You guys…
I finally perfected it. The creamiest, fluffiest, smoothest vegan whipped cream.
I have tried many, MANY times to get the perfect vegan coconut whipped cream. And I’ve failed miserably just as many times.
It was always either rock hard, a puddle of liquid or very grainy. None of which are suitable as a whipped cream alternative.
But the other week, I nailed it. And I nailed it multiple times in a row, too. Woohoo!
I’ve seen that many other people also struggle with getting their whipped cream consistency just right. So I thought I’d make a whole post dedicated to some of the mistakes I was making and the things that helped me get there in the end.
Choose the right kind of coconut milk
When first trying to make vegan whipped cream, I’d buy the same brand of coconut milk over and over again and fail each time. But it never occurred to me that that specific brand could be the problem.
Well, luckily for me, when I last wanted to make some whipped coconut cream, my usual brand was sold out. So I picked up the only brand they had left.
And what do you know, it worked SO much better!
I then found out that guar gum, a common coconut milk ingredient (and one that was in my usual brand) is a huge culprit for whipping problems!
So, if you can, find a coconut milk that has no guar gum added to it. It’s best to try to find one with as few ingredients as possible.
And, not to state the obvious, but it must be full-fat coconut milk too as the fat content is essential for the perfect whip.
Which brand is best?
I personally have had the most success with Amoy. I’m pretty sure they are a UK-based brand so if you’re elsewhere in the world, here are the ingredients so you can find a similar one near you:
Coconut Extract (55%), Water, Thickener – Carboxy Methyl Cellulose, Emulsifier – Polysorbate 60
Like I said before, check there’s no guar gum added and you should be good to go!
Chill, chill and chill!
The most CRUCIAL part of making vegan whipped cream is to keep everything as cold as possible.
Put the coconut milk in the fridge overnight
Part of this process involves separating the coconut fat (cream) from the coconut water and to do this, the can needs to be refrigerated. The cream will rise to the top when it’s cool enough.
I did originally try to fast track this process and tried to separate my cream after only 2 hours but sadly, it didn’t work. The cream and water weren’t separated enough yet so I ended up with an emulsified mess.
So patience is key here! I’d recommend waiting around at least 24 hours before trying to separate the cream.
The longer you can keep them in the fridge before separating, the easier it’ll be to whip the cream.
Cold equipment is important!
Once you’ve got the creamy part in a bowl, put it in the fridge for a further 30 minutes. For the same length of time, place a clean bowl and mixers into the freezer too.
I tried this recipe with and without a cold bowl & mixers. It worked MUCH better using the equipment after it had sat in the freezer for a while.
The colder everything is at the time of whipping, the more firm the fat will be and the better it’ll whip.
Add in sugar a little bit at a time
Of course, sugar is not essential for this recipe. You can definitely make vegan whipped coconut cream without sweetener of any kind.
I find that coconut cream is naturally quite sweet anyway so I usually only add 2 tablespoons of icing sugar per can of coconut milk. This produces a sweet (but not overpowering) cream that is very similar to sweetened dairy cream.
Try pairing this with:
You can coconut cream as a substitute for just about anything you’d use traditional dairy whipped cream for. I’ve got a few lovely dessert recipes on my blog that will taste wonderful paired with coconut whipped cream.
The sweetness of the cream this way is perfect for topping cupcakes with and I think it is a refreshing change to traditional super sweet frosting.
However, if you would like to add more sugar, I’d encourage you to add it in a little bit at a time.
Add 1 tablespoon, whisk it in and see how you like the taste and texture before adding in another. If you add too much sugar at once, the cream will collapse and not whip as nicely.
How to make vegan coconut whipped cream
If you get the preparation right, this is actually one of the easiest recipes in the world!
Step 1:
Place two 400ml/14oz cans of full-fat coconut milk in the fridge overnight.
Step 2:
Remove the cans from the fridge and scoop out the coconut cream from the top of each can. Place it into a bowl and return it to the fridge for 30 minutes.
The coconut water that’s leftover can be saved for use in another recipe or in smoothies.
Step 3:
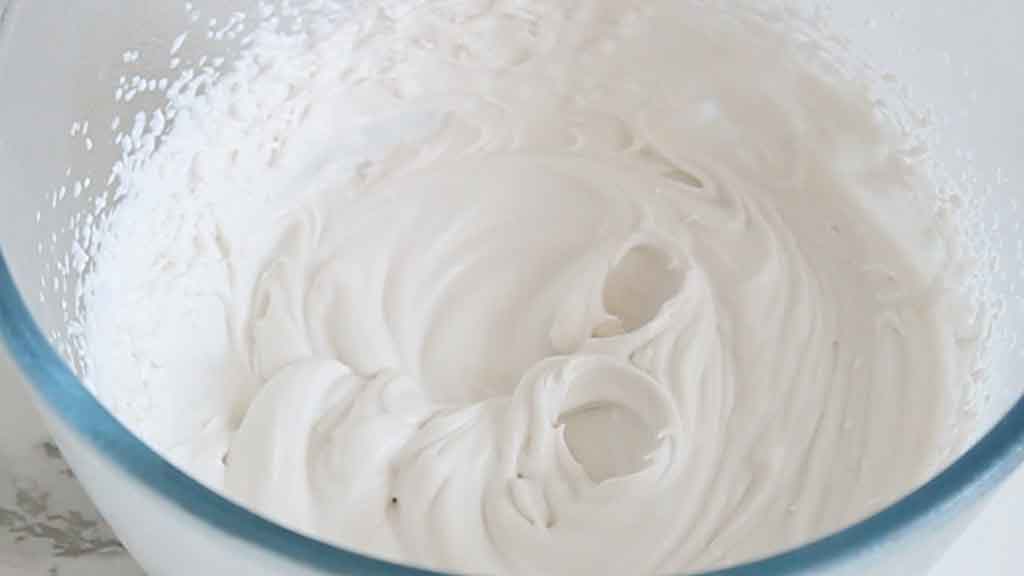
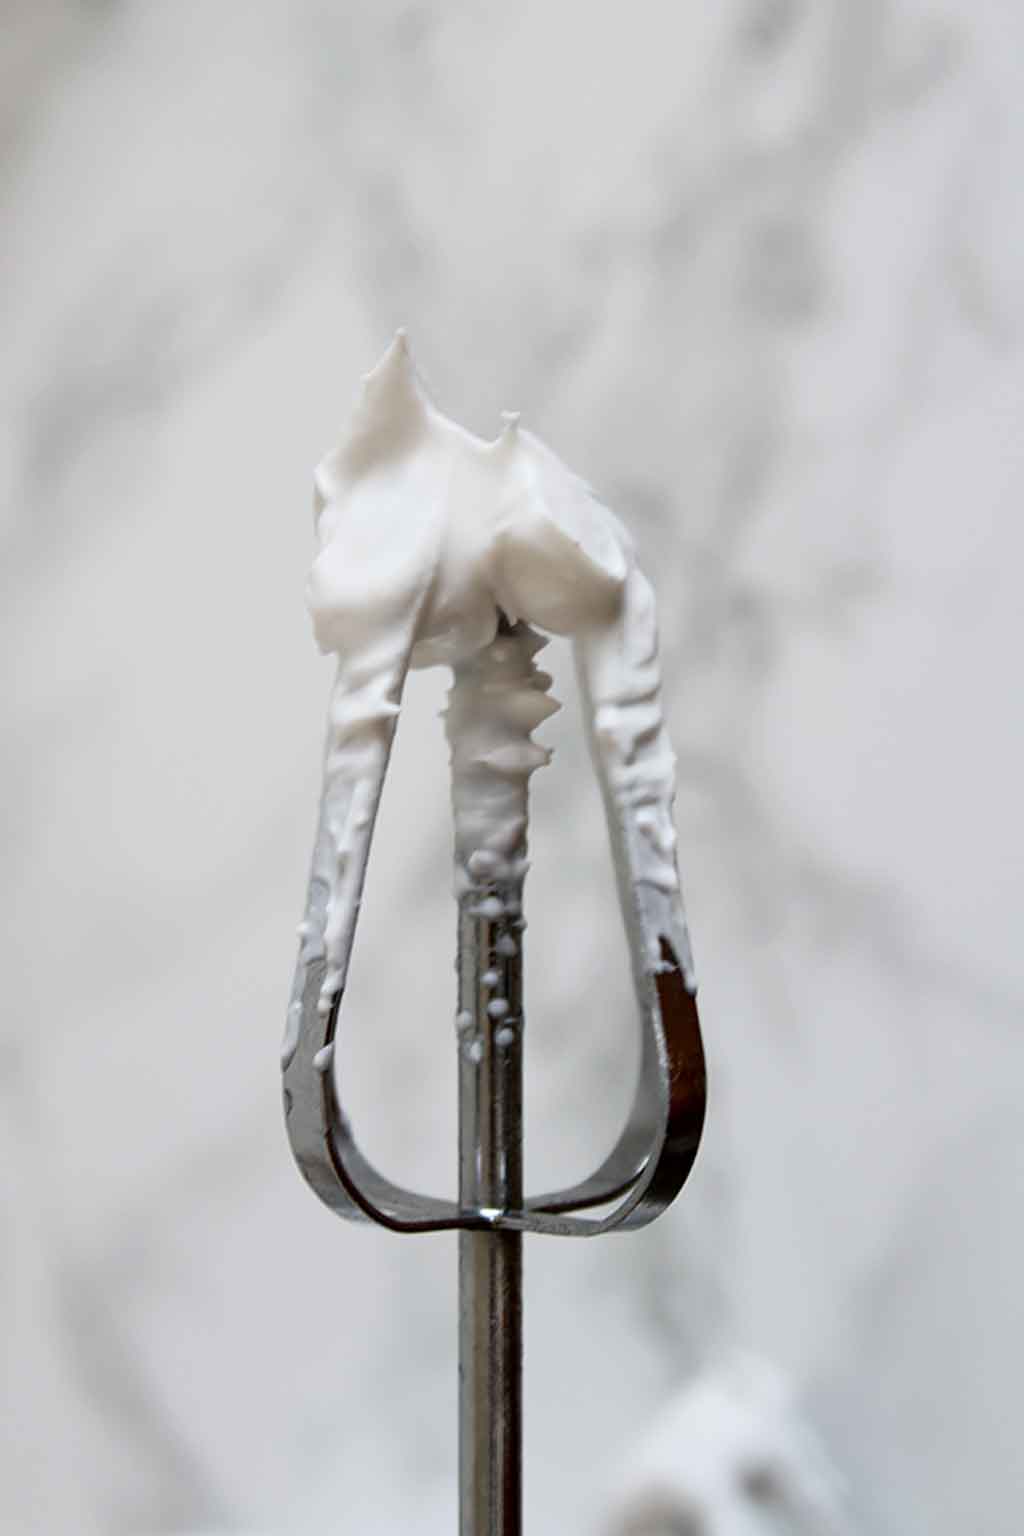
Whip up the chilled coconut cream in a cold bowl using cold beaters until it holds firm peaks. You should be able to turn the bowl upside down without it moving.
Step 4:
If you’d like it sweetened, add icing sugar in 1 tablespoon at a time until it’s sweet enough for you. Don’t add it all in at once as too much will make it runny and you won’t be able to whip it.
How long does vegan whipped cream last for?
Covered and stored in the fridge, it will last for at least a week! It hasn’t ever made it past that point in our house before but I’m confident it would last longer.
I hope these tips help you to nail your whipped coconut cream first time. Be sure to tell me how you get on by leaving a rating and comment below and do let me know if you made any adaptions! xo

Vegan Coconut Whipped Cream
A dairy-free alternative to double cream and whipping cream.
Ingredients
- 2 Cans Full-fat coconut milk
- 4 Tablespoons Icing sugar (optional)
Instructions
-
Place your cans of coconut milk in the fridge and chill for 24 hours.
-
Remove the cans from the fridge and open them gently, making sure not to shake them.
-
Scoop the white, creamy part from the top of each can and place it into a bowl, trying not to get any water at all in there.*
-
Place the bowl of coconut cream into the fridge for 30 minutes. At the same time, place a mixing bowl and beaters into the freezer.
-
After the 30 minutes is up, remove the cream from the fridge and mixing bowl and beaters from the freezer. Transfer the cream into the mixing bowl and whisk on high speed until the cream becomes thick and holds stiff peaks. Take care not to mix beyond this point or it will become runny again.
-
Add the icing sugar a little bit at a time and whisk it in briefly before adding the rest.
-
Store, covered, in the fridge for up to 1 week.
Recipe Notes
- Use full-fat coconut milk without guar gum for the best results. I use Amoy.
- *You can save the water for later use in other recipes like smoothies.
- The amount of sugar called for in this recipe produces a lightly sweetened cream which is similar to traditional sweetened double cream. If you want it sweeter, just add more icing sugar, but do it a little bit at a time.
- This recipe yields enough to frost 15-18 cupcakes.


Kshitija cholera
Monday 2nd of August 2021
Can we spread the whipped cream in cake after whipping and then make design also with it thanks u for the recipe please guide
Chloe
Monday 2nd of August 2021
Hey Kshitija! Yes, it's very similar to dairy whipped cream and is sturdy enough to hold its shape when piped :)
Jennifer Butt
Monday 10th of May 2021
If I ice the cake the day before will it still keep its integrity?
Chloe
Tuesday 11th of May 2021
Hi Jennifer! If you keep it in the fridge, it'll be fine :)