Vegan Sugar Cookies
These vegan sugar cookies are sweet and soft with just the right amount of crunch. Perfect for Christmas, Easter or any other special occasion. Decorate them with eggless royal icing for a super cute edible treat!

With Christmas just around the corner, I thought it’d be the perfect time to try my hand at some sugar cookies.
And I’m so happy with how they turned out!
Sugar cookies are more of a “thing” in the USA than they are here in Scotland, but I’ve always wanted to try them so I thought, why not?!
I read somewhere that the ratio for these cookies should be equal parts of butter and sugar, 50% more flour and 1 egg. But obviously, these are eggless sugar cookies…
I replaced the egg with baking soda and soy milk and replaced the butter with vegan margarine but that ratio didn’t quite work out for me. The dough was far too sticky.
I had to make a few adjustments and ended up using a lot more flour than I planned to. But the end result was delicious!
They’re soft with just the right amount of sweetness and they hold their shape really well while baking. I think they taste like a softer version of my shortbread cookies.
Want more vegan Christmas desserts? Try these:
How to make vegan sugar cookies
Step 1:
Preheat your oven to 180°C/350°F and make sure you have a non-stick (or greased) baking sheet to hand.
If you’re using a fan or convection oven, the oven needs to be a bit cooler. Set it to 160°C/325°F.
Step 2:
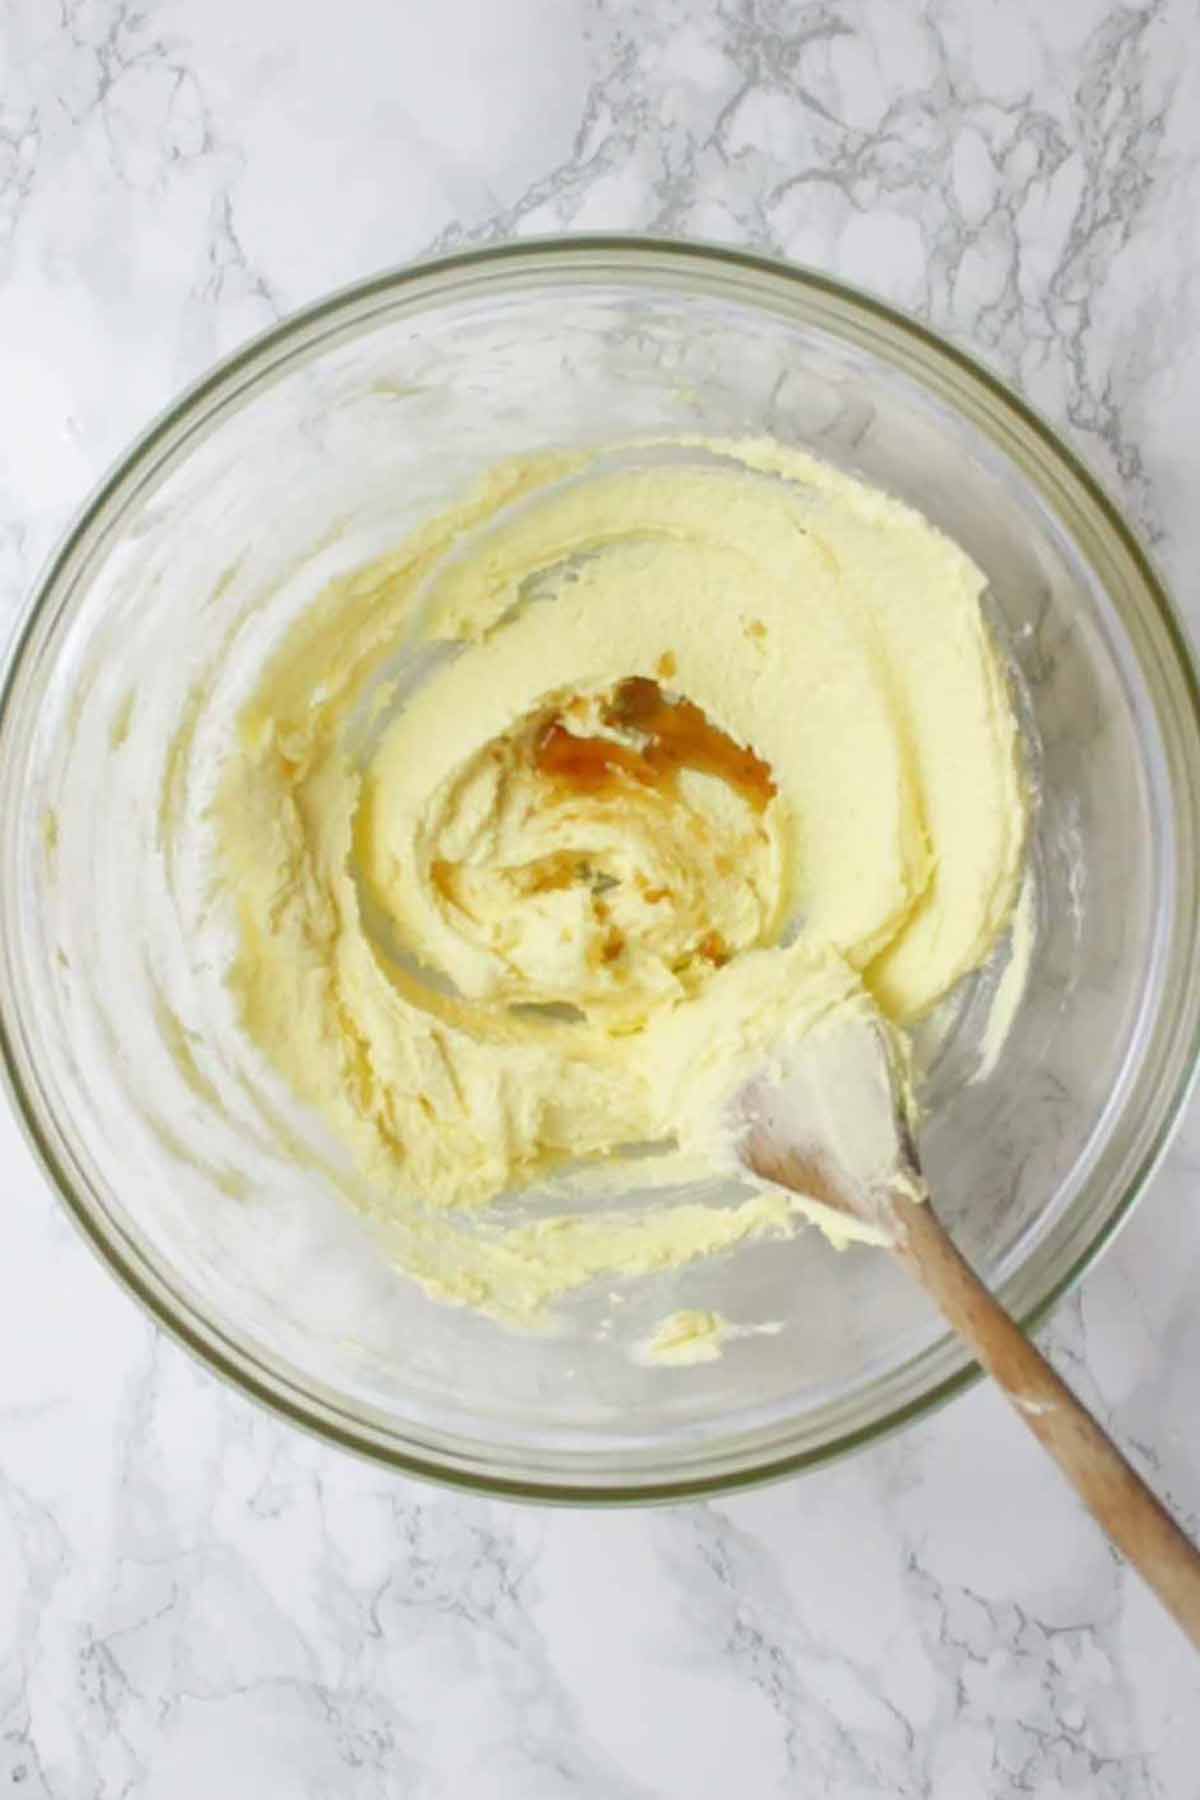
To a large bowl, add 150g (1/2 cup + 2 tablespoons) of dairy-free margarine and 150g of caster sugar (3/4 cup). Use a wooden spoon to mix it together until combined. Caster sugar is vegan in the UK but make sure to buy organic if you’re from the US.
It’s important to use margarine for this recipe, the soft spreadable kind. If you use the blocky kind, your dough may end up too dry.
Step 3:
Add 2 teaspoons of vanilla extract and mix in well.

Step 4:
Next, add 290g of all-purpose flour (2+1/4 cups) to the bowl along with 1/2 a teaspoon of baking soda and 2 tablespoons of unsweetened soy milk (room temperature).
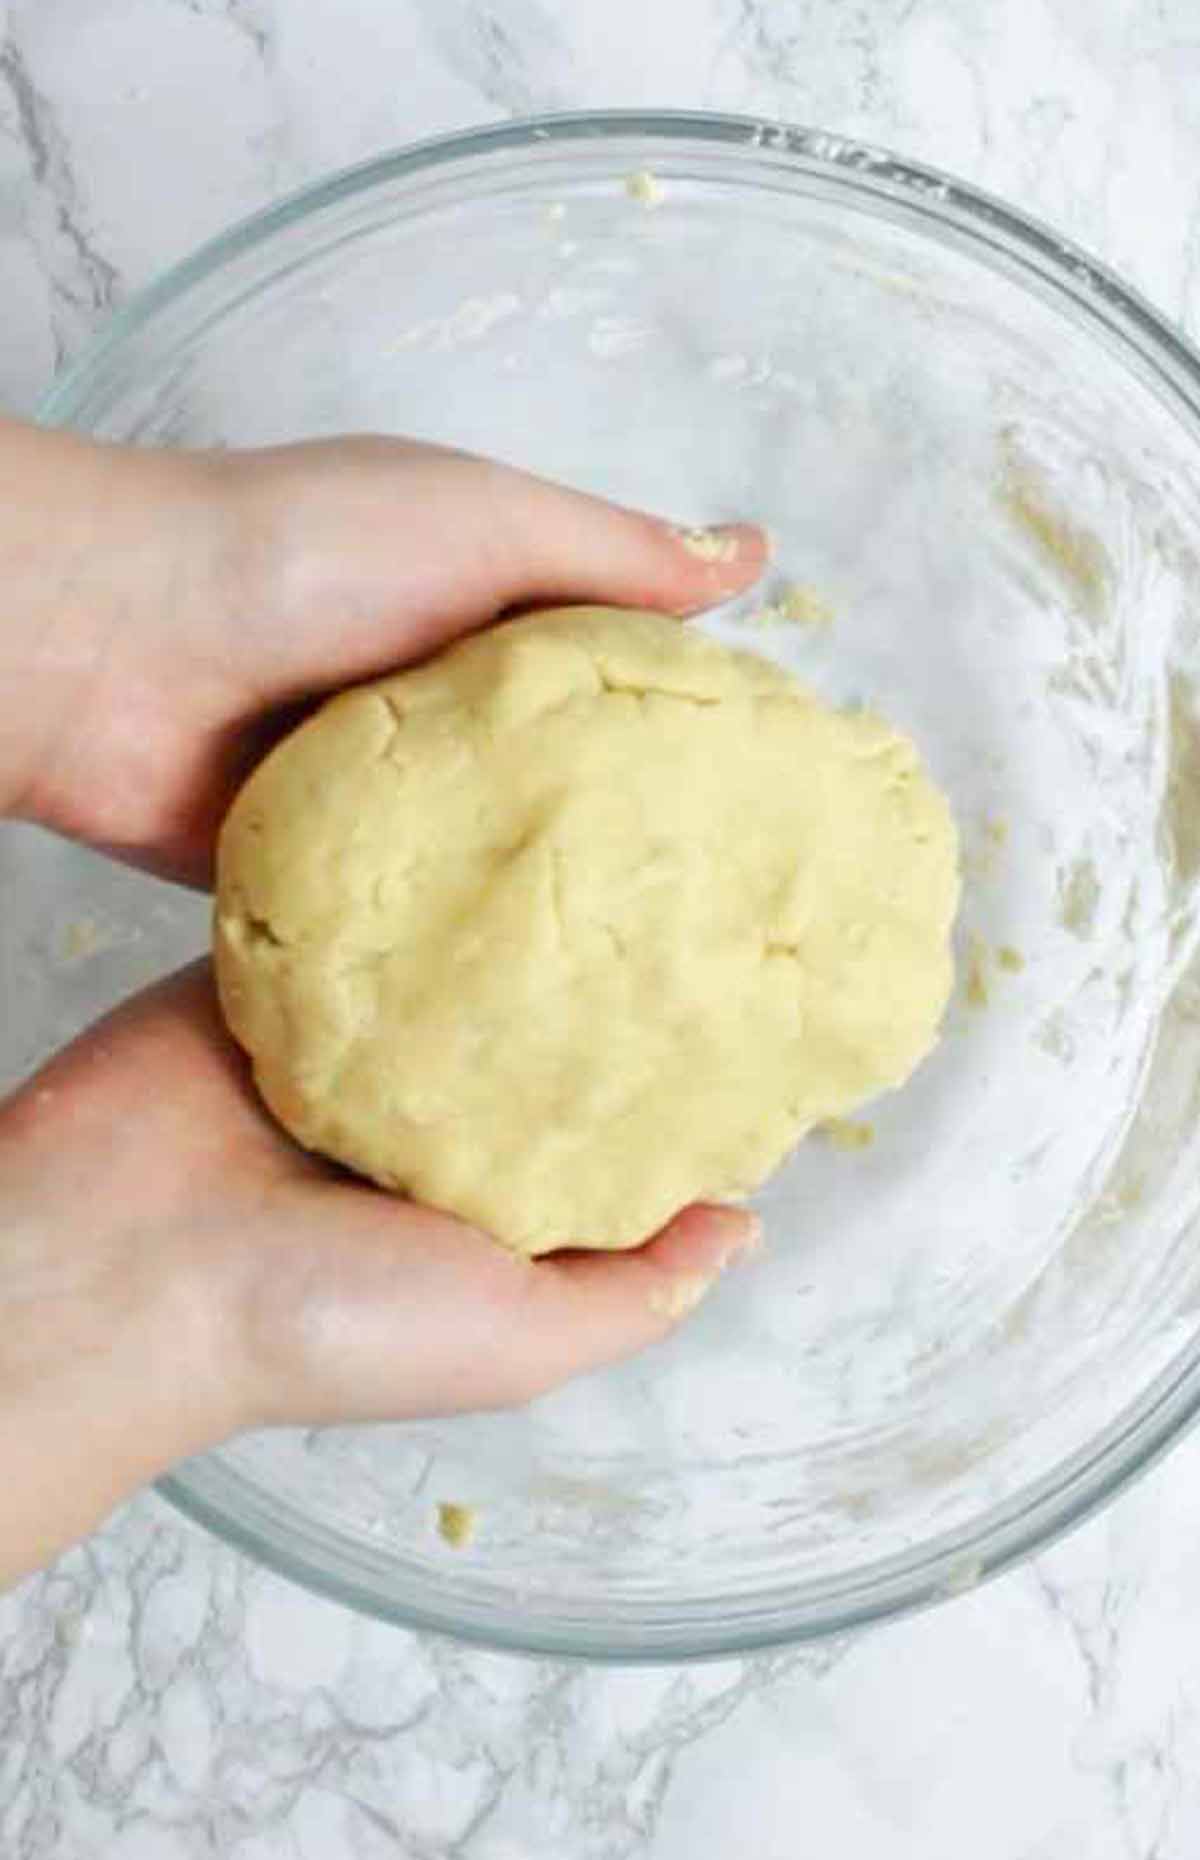
Use your spoon to mix it together and when it begins to stick, use your hands to press it into a ball of vegan sugar cookie dough.
The dough might look a bit crumbly at this point but don’t worry!

Step 5:
Wrap the dough in cling film or tin foil and place it in the fridge for 30 minutes.
Step 6:
Once the dough has chilled, unwrap it and use your hands to soften it a little.
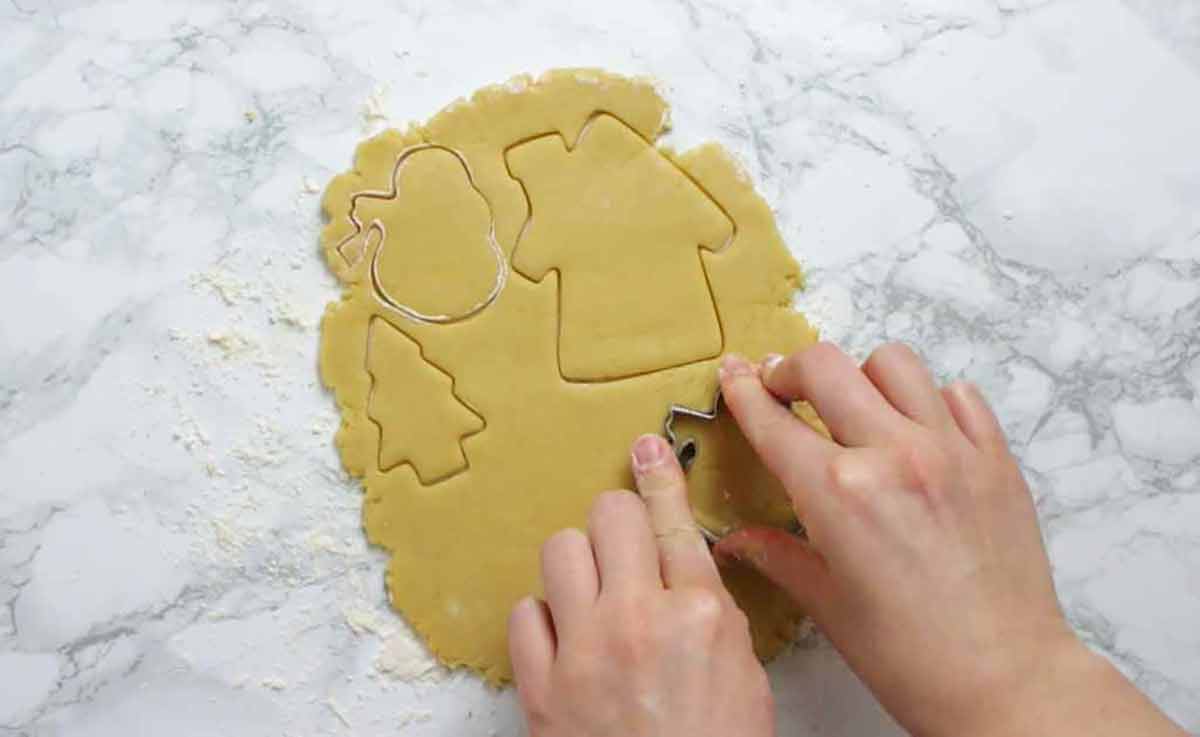
Flour your work surface and rolling pin then roll out the cookie dough to around 1/4 of an inch thick.
Step 7:
Dip your cookie cutter into some flour to avoid sticking, cut out your desired shapes and transfer them to your baking sheet.

Step 8:
Bake the cookies for 10-15 minutes. If your cookies are larger, they may need an extra couple of minutes in the oven.
You’ll know they’re done when they become firm at the edges and have tiny cracks all over them. Don’t let them brown otherwise they will be too hard and crunchy once they cool.
Leave the cookies to cool completely before removing them from the tray.
Decorating eggless sugar cookies
For the cookies shown in the picture, I used my vegan royal icing recipe which uses aqua faba instead of egg whites.
If you don’t want to use royal icing, you can make a simple water icing with 400g of icing sugar and 6-7 tablespoons of water.
For both types of icing, you’ll know it’s the right consistency for piping once you can run a toothpick through it and it slowly disappears. The line you make shouldn’t stay there for a long time nor should it disappear quickly- rather somewhere in between.
I separated the icing into a few small bowls and added the colours. I use PME food gel as they contain no animal products and they give the most vibrant colours out of any others I have tried.
Once I had my different colours of icing, I transferred them to piping bags with a Wilton #3 tip at the bottom of each and piped my designs onto the cookies.
After each “layer” of icing, allow it to set completely otherwise the colours, patterns or designs will bleed into each other.
I used Dr. Oetker unicorn sprinkles as my Christmas tree lights and star, and I used Tesco edible glitter to add a bit of shimmer onto the roof of my gingerbread houses.
FAQ:
These will last for up to 5 days if stored in an airtight container at room temperature.
Yes. Once they have cooled completely, place them in an airtight container. I recommend freezing them un-iced and adding the icing once you defrost them.
If you’re stacking them on top of one another, place a sheet of baking paper in between each layer so that the cookies don’t stick together once frozen.
When you’re ready to defrost, transfer the cookies to a plate or wire rack and let them sit and room temperature for a few hours.
The consistency of the dough will vary depending on which type of vegan margarine you use.
Let it chill in the fridge before altering the recipe but if it’s too dry after chilling, add a splash of soy milk. If it’s too wet or sticks to your hands, add more flour.

Top tips
- The dough may feel a bit crumbly when first pressing it together. Let it chill in the fridge for 30 minutes then check the consistency again before adding more flour or soy milk if you think you need it.
- Use the softer margarine-style of dairy-free butter rather than blocky style for best results.
- Don’t let vegan sugar cookies brown. Otherwise, they will be crunchy instead of soft once they have cooled down. You’ll know they’re ready when they have tiny cracks all over them.
- Larger cookies will need to be baked a few minutes longer.
- If icing designs onto the cookies, let each layer of icing set before adding the next. This will stop the colours from bleeding into each other.
I hope you enjoy these eggless sugar cookies and have loads of fun decorating them! Let me know if you make them at home by leaving a comment or rating below. And be sure to check out the rest of my vegan cookie recipes!
Happy baking! xo

Vegan Sugar Cookies
Dairy-free sugar cookies decorated with vegan royal icing.
Ingredients
- 150 g Vegan margarine (½ cup + 2 tablespoons)
- 150 g Caster sugar (¾ cup)
- 2 Teaspoons Vanilla extract
- 290 g All-purpose flour (2+¼ cups)
- ½ Teaspoon Baking soda
- 2 Tablespoons Soy milk
For the icing:
- 400 g Icing sugar (3+¼ cups)
- 6 tablespoons Cold water
- Food colouring of choice (make sure it's vegan-friendly)
or:
- 1 batch Vegan royal icing
Instructions
-
Preheat your oven to 180°C/350°F (160°C/325°F if using a fan or convection oven). Line a baking sheet with baking paper.
-
In a large bowl, mix together the vegan margarine and sugar until combined. Add the vanilla and mix again.
-
Add in the flour, baking soda and soy milk. Mix everything together with your spoon and when it starts to stick, use your hands to form a dough. It may feel a bit crumbly at this point but don't worry as it will hold together once chilled.
-
Wrap the dough in cling film or tinfoil and place it in the fridge for 30 minutes.
-
Once chilled, unwrap the dough and use your hands to soften it slightly.
-
Roll it out on a floured surface until it's around ¼ of an inch thick. Dip your cookie cutter in flour to prevent sticking and cut out your shapes.
-
Transfer them to your baking sheet and bake for 10-15 minutes. Large cookies may take a few minutes longer. You'll know they're ready when they feel firm at the edges and have tiny cracks all over them. Don't let them brown otherwise they will be too crunchy.
-
Let them cool completely on the tray.
-
Prepare the icing by mixing the icing sugar and water together in a bowl. Add more water or icing sugar as required (see notes). If using royal icing, follow the instructions on that post.
-
Divide the icing up into bowls and add your desired colour to each bowl. Transfer into piping bags and decorate the cookies. Let each layer of icing set before adding the next.
Recipe Notes
- Store in an airtight container at room temperature for up to 5 days.
- If the dough is too crumbly after being refrigerated, add an extra splash of soy milk. If it’s too wet, add more flour.
- To test if the icing is the correct consistency for piping, run a toothpick through the centre of the icing in the bowl. You want the line to disappear slowly. If it doesn’t disappear or disappears too slowly, add more water. If it disappears too quickly, add more icing sugar.


