Need an eggless topping for your sugar cookies this Christmas? This vegan royal icing is just the thing! With just 3 simple ingredients and less than 5 minutes of prep time, it couldn’t be easier to make!

If you’ve followed my blog for any length of time, you may remember my vegan pavlova recipe. I recently remade (and improved) that recipe, and it got me back into experimenting with aqua faba again. It got me wondering what else I could make with this weird and wonderful liquid.
In case you don’t know, aqua faba is the liquid that’s left over from canned chickpeas, affectionately known as “chickpea water”, LOL. It can be whisked up and used as a pretty much identical substitute for egg whites- that includes making meringues, macarons and lots of other tasty vegan treats.
Since it’s coming up to Christmas, I thought it’d be fun to use it to make some egg-free royal icing! I’ve seen countless cookie designs over the years and oh my gosh, some of these people are so talented! I’ve seen literal Christmas SCENES painted onto cookies with icing.
I have to admit that I’m not quite as gifted- I just about managed a few swirls and dots when I first started piping my icing (see image below). But I remade the cookies again and I’m happy with how my gingerbread houses, snowmen and Christmas trees turned out! Practice makes perfect, right?

Royal icing that dries hard
I love this recipe so much because you’ll literally never be able to tell the difference between traditional royal icing and vegan royal icing. This one pipes the same, spreads the same and dries hard too!
Since I first created this recipe, I’ve made countless batches of cookies to go with it. Everyone who’s tried it has been impressed! My absolute favourite cookie to have with the icing right now is shortbread, but sugar cookies are another obvious fave too!
Because the icing hardens, it’s super easy to layer different designs and colours. You just need to let each layer set before adding the next. If you’re adding sprinkles of any kind, make sure to add them before the icing sets. Otherwise, they’ll just roll straight off the sides.
Adding colours
I would strongly recommend using gel colours to brighten up your icing! I find that the liquid ones just aren’t as vibrant and you end up needing to use WAY more to get the desired colour, which sort of ruins the consistency.
The gels I use are called “PME concentrated food paste”, and I got them from Hobbycraft. I’ve written an entire post about the best vegan food colouring out there but as a simple rule, always use gel over liquid if possible!
How To Make Vegan Royal Icing step-by-step
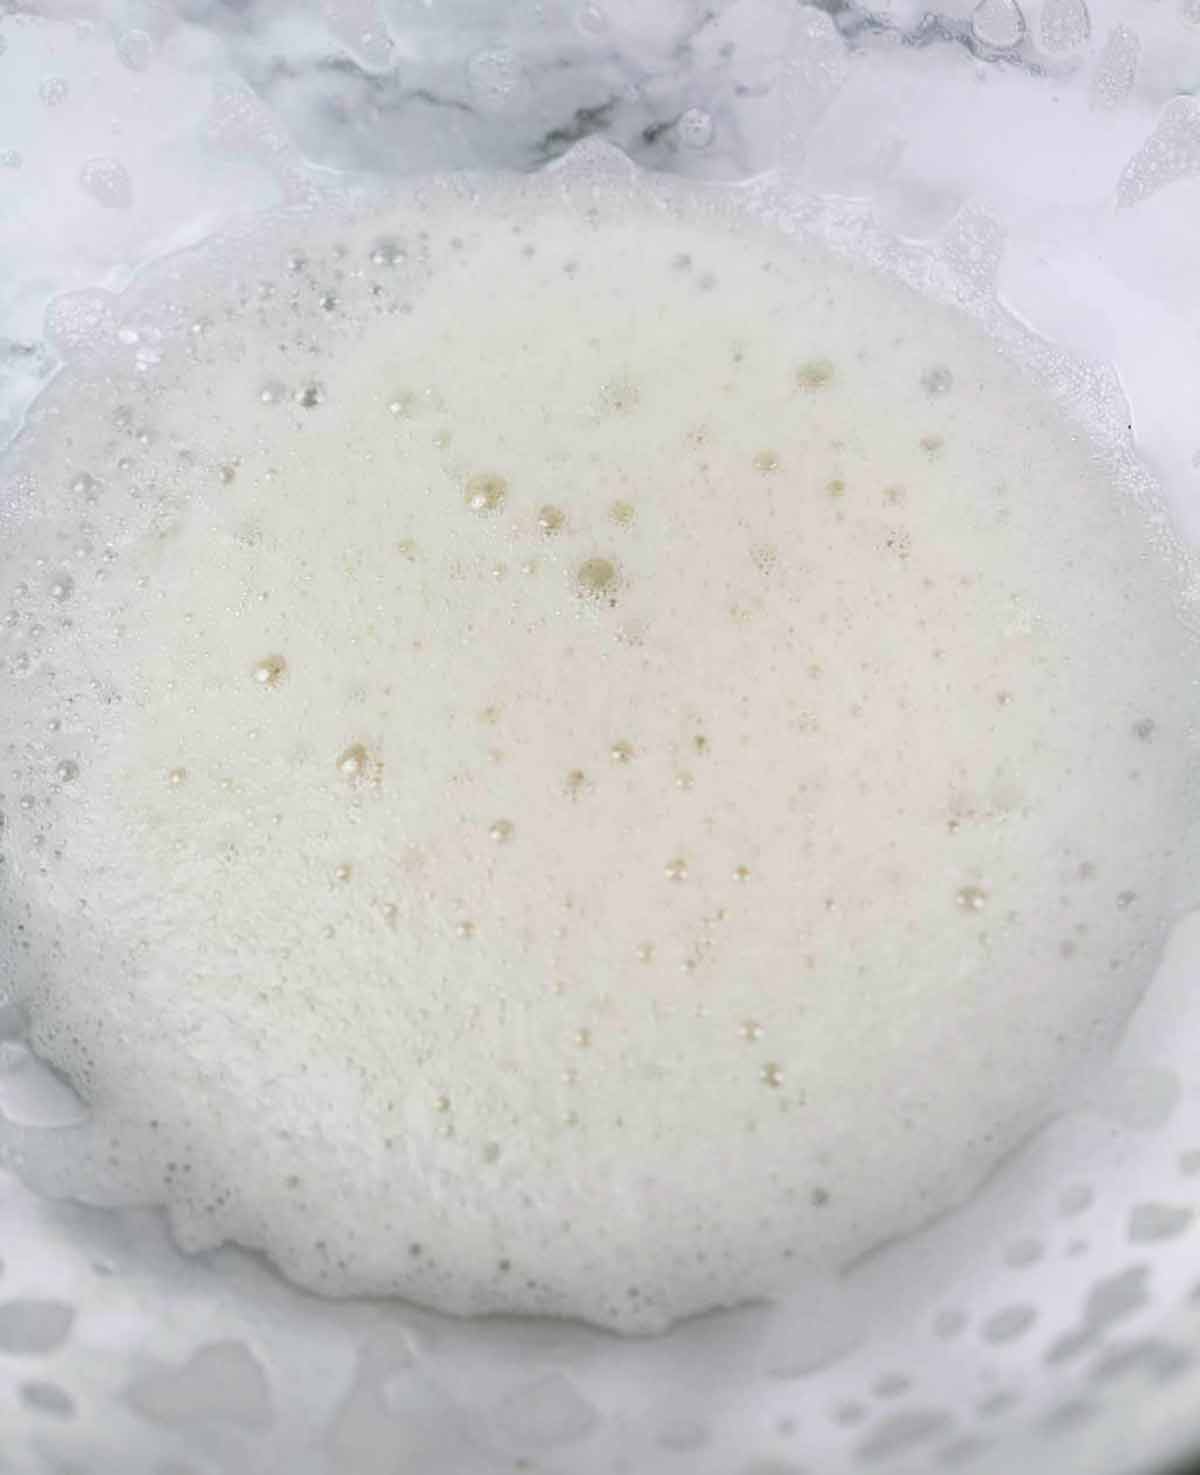
Step 1: The first step is to get your aqua faba. For this recipe, you’ll need 5 tablespoons of it. I recommend using tinned chickpeas for ease, unless you cook a lot of chickpeas anyway.
Place the aqua faba in a bowl along with 1/4 of a teaspoon of cream of tartar (because we’re making royal icing without eggs, we need something to stabilise it). I also like to add 1/2 a teaspoon of vanilla extract at this point to enhance the flavour, but this isn’t totally necessary and it’ll taste just fine without it!
Step 2: Using an electric whisk or stand mixer, whisk up the ingredients for a few minutes, until the mixture becomes pale and frothy.
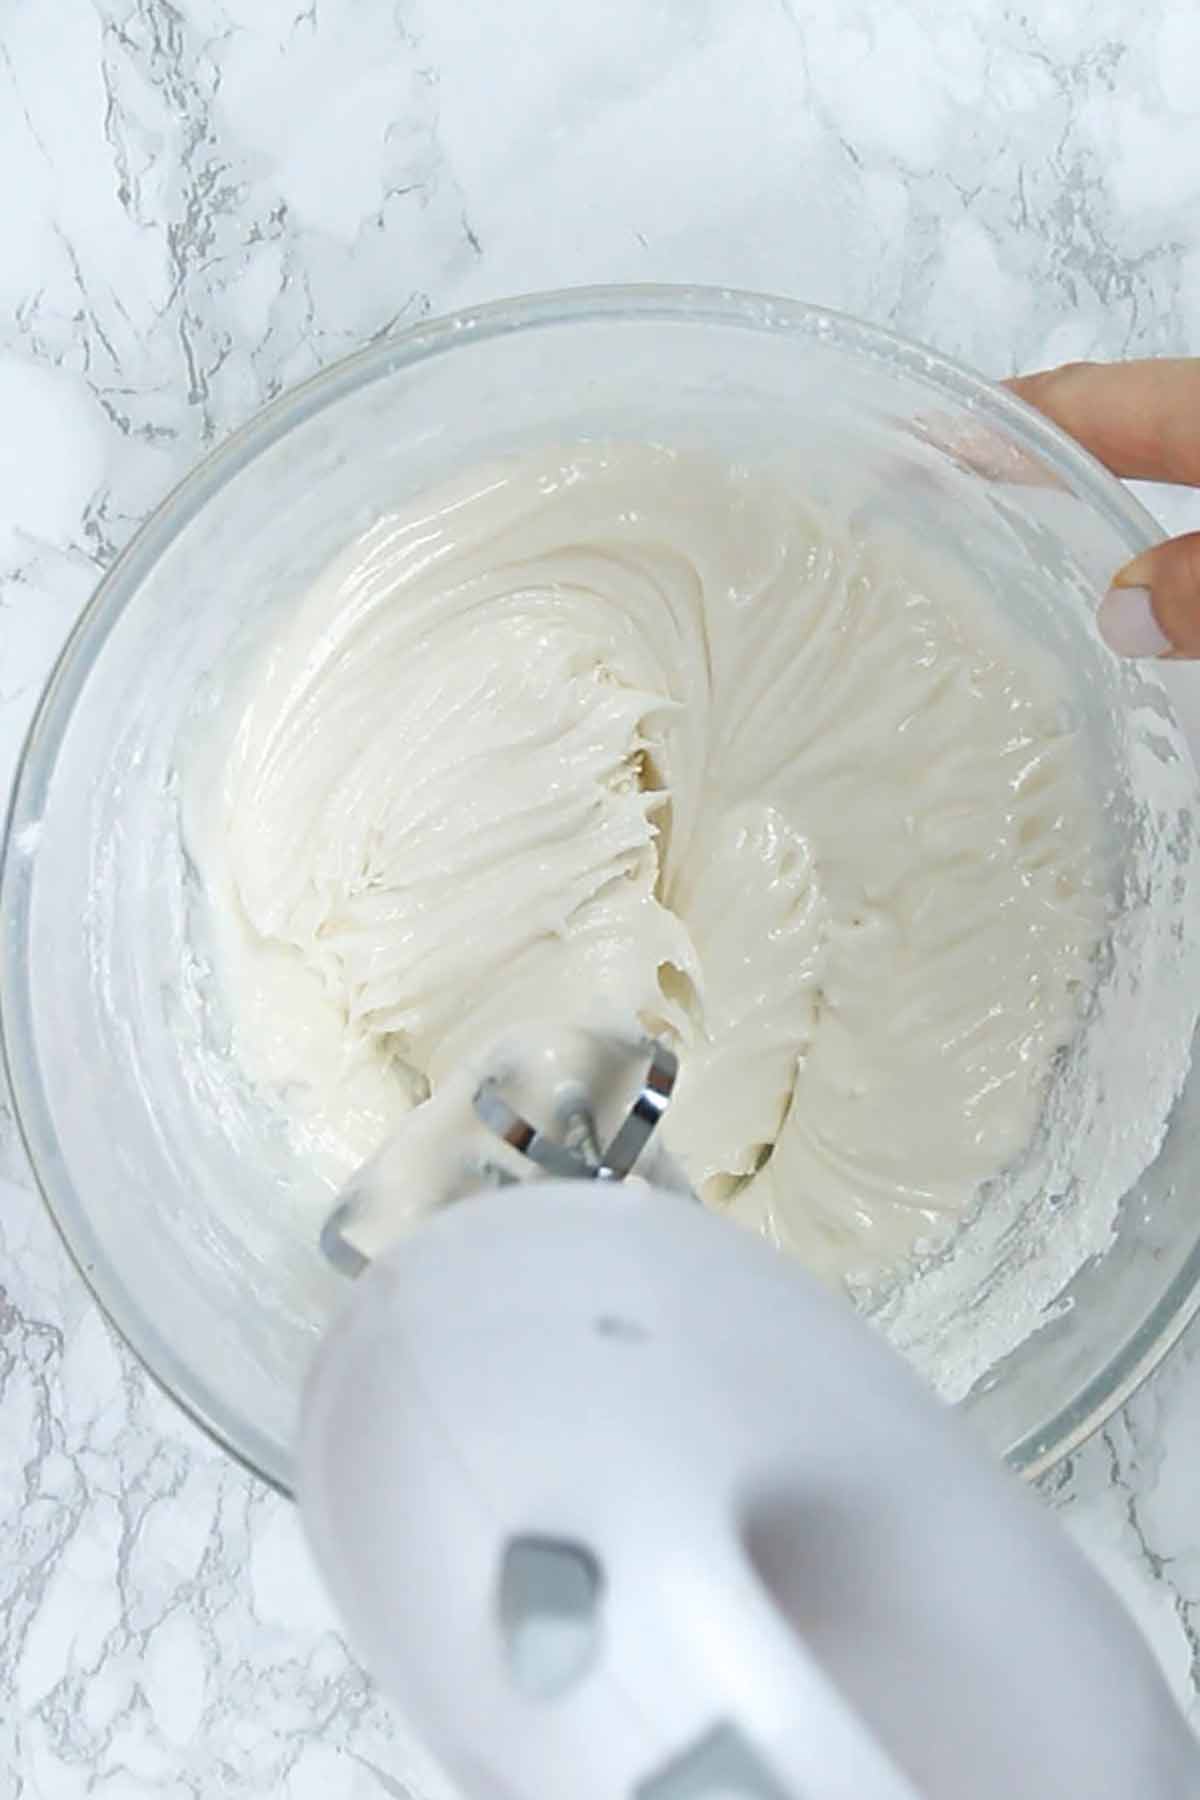
Step 3: Measure out 450g of icing sugar (3+1/2 cups). Slowly add in half of it and gently mix it in using a wooden spoon. If you’re using a hand mixer, don’t go straight in with it before mixing it by hand first. Otherwise (and I’m speaking from experience), you’ll end up looking like a snowman because the sugar will go everywhere!
Related post: Is sugar vegan?
Step 4: Add the remaining half of the icing sugar and gently mix it in again. Once it’s all mixed in, I like to give it a final whisk with my electric mixer to make sure it’s perfectly combined.
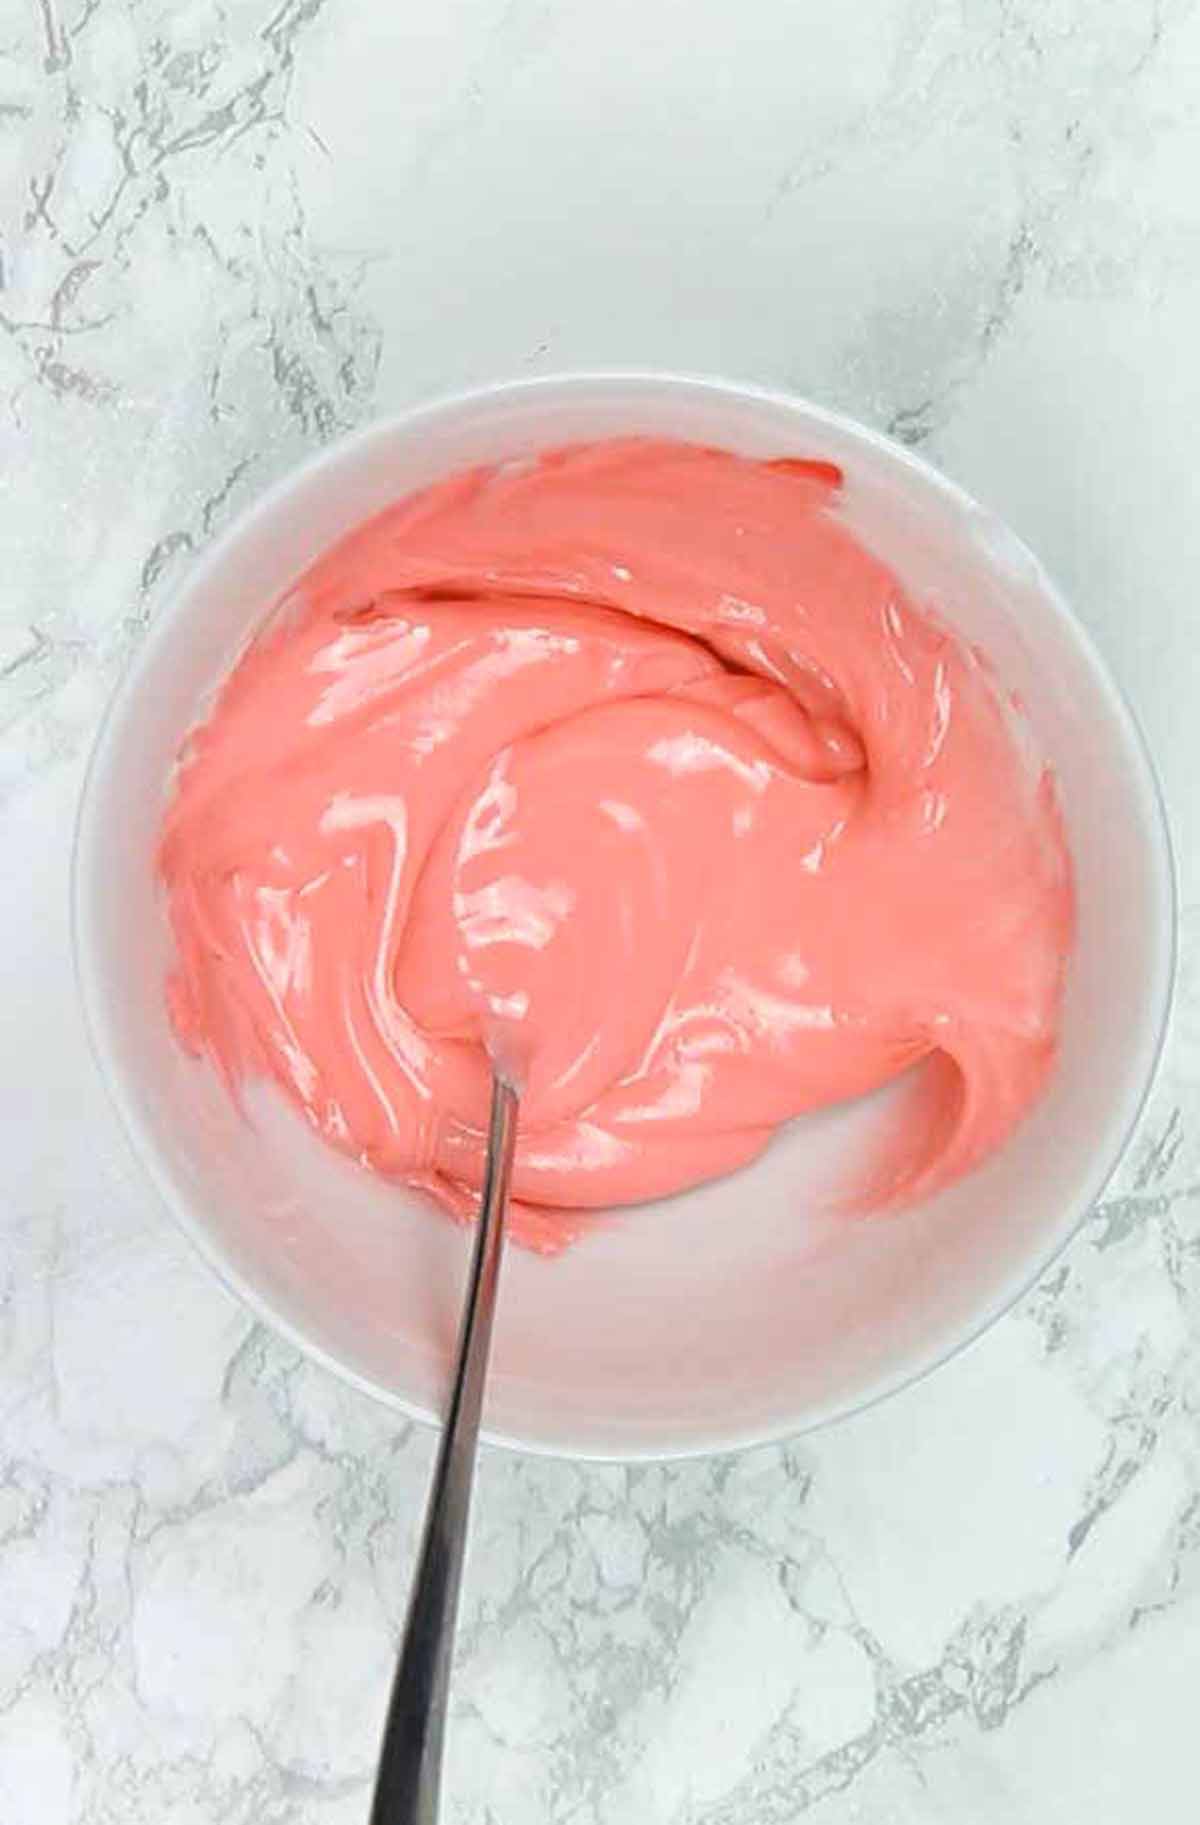
Step 5: For coloured royal icing, add in your gels now. Use a toothpick to add a little bit, mix it in with a spoon then add more if required. For multiple colours, divide the icing up into several small bowls before adding a different gel to each bowl. Note that gel colours are super strong so it’s best to add a little at a time. You can always add more but it’s hard to undo if you add too much.
Step 6: Once you’ve added your colours, transfer the icing into a piping bag (or bags) with a small nozzle at the bottom then pipe onto your cookies as desired.
Tips for decorating
To help the icing set in place better, I recommend first outlining the cookie and leaving that to set for about 10-15 minutes first. Then, go back and fill it in. By making an outline first, you are creating a barrier of sorts and this will stop the royal icing from bleeding into the other colours. You will also need to let the icing set between each different colour if you’re doing a layered design.
You’ll need a slightly thinner icing to do the ‘filling in’ so that it spreads more easily. To thin the icing out, add a little aqua faba (or water, or lemon juice) at a time until you get your desired consistency. To thicken it up, just add more icing sugar.
If you’re not doing any fancy decorating, you can also simply spread the icing on using the back of a spoon. Just make sure you leave a little bit of space around the edges to stop the icing from dripping down the side of your cookies.
Recipes to use with royal icing
I’m sure lots of you will be making your royal icing for gingerbread houses and cookies but I thought I’d make a small list of my favourite recipes to pair it with, in case you’re in need of inspiration!
- Vegan gingerbread house
- Sugar cookies
- Empire biscuits (my favourite)
- Gingerbread cookies
- Lemon drizzle cake
FAQs
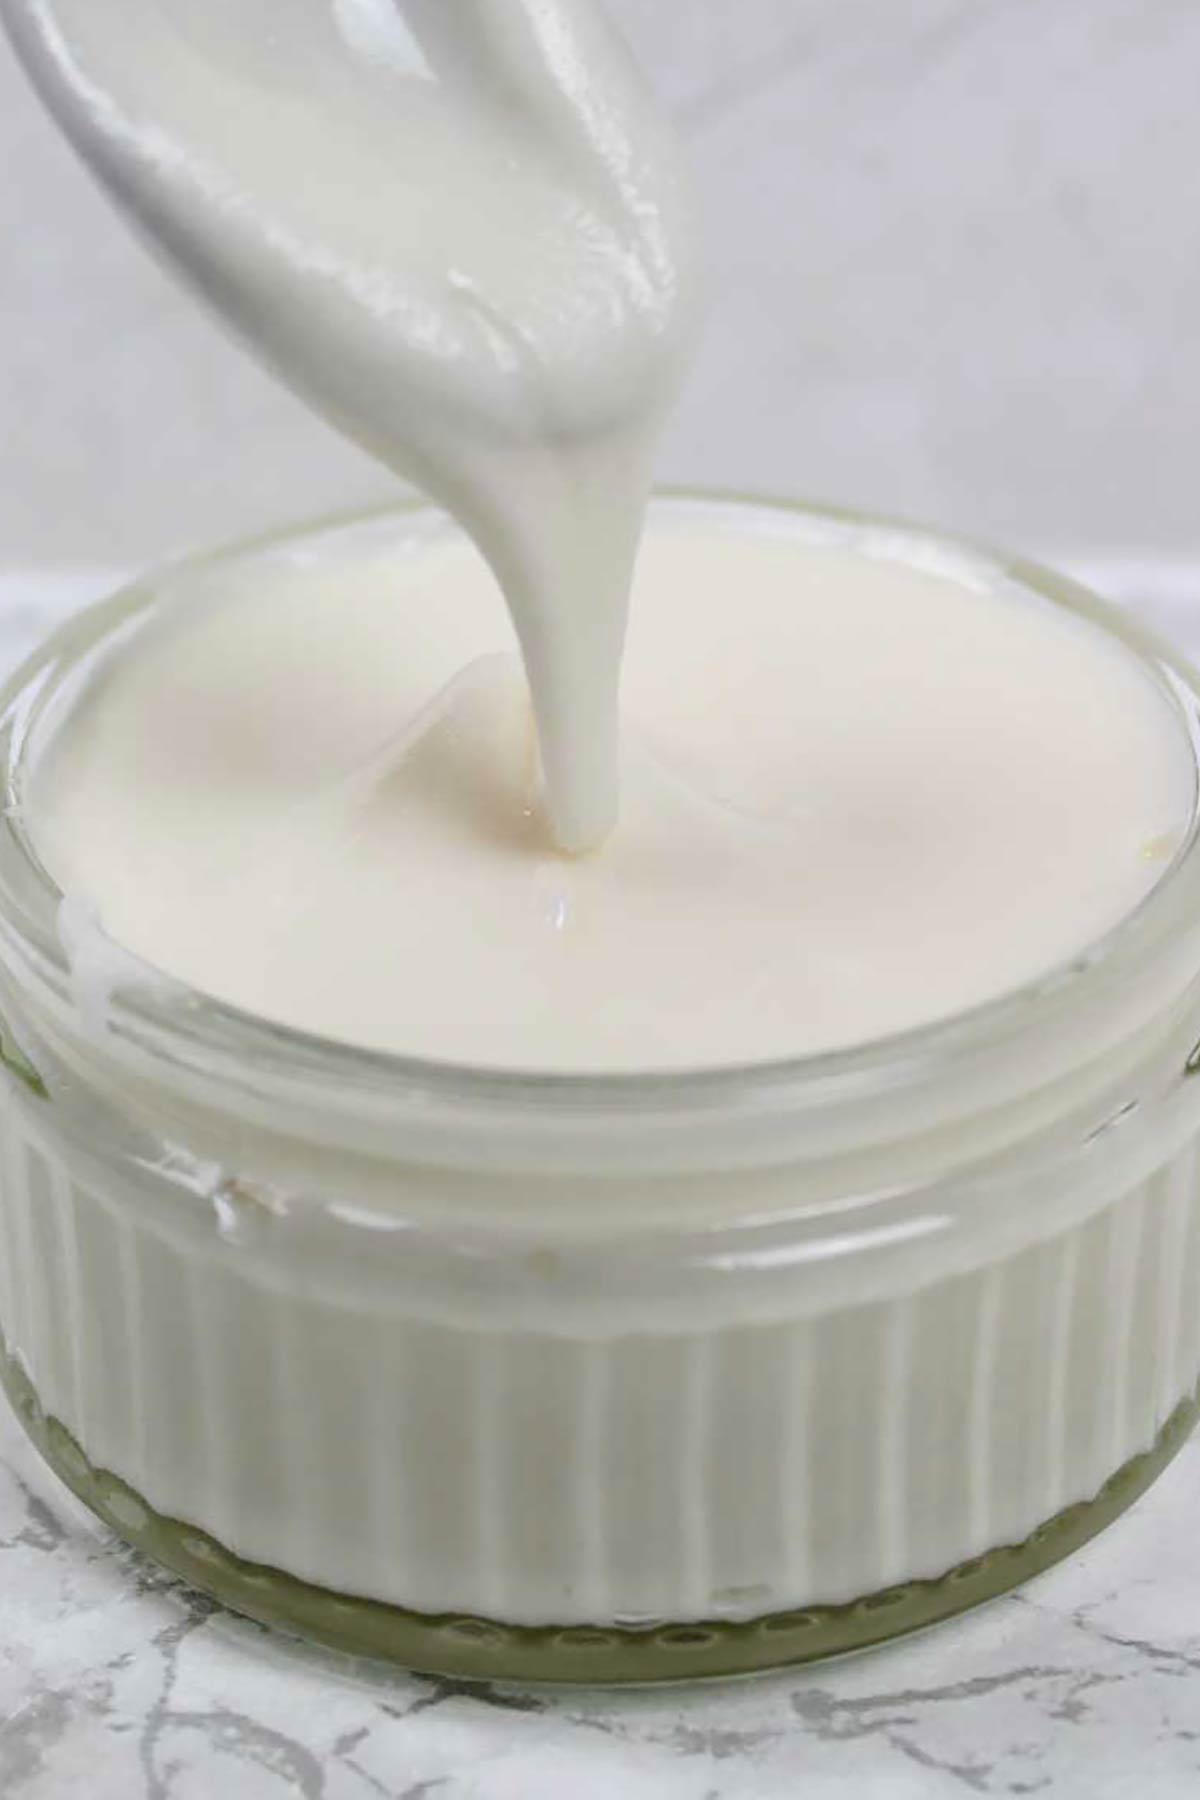
The great thing about this recipe is that it lasts for quite a long time! So if you have any leftovers, you don’t need to throw them away. You can store it at room temperature or in the fridge in ziplock bags, an airtight container or a bowl with some cling film over the top.
It will last at least a week at room temperature and up to 3 weeks in the fridge if you store it properly. You’ll need to give it a good mix before using it again, as the liquid tends to separate from the sugar. But other than that, it’s good to go!
This icing freezes very well for a long time so this is a great option if you don’t know when you’ll need it next. When you’re ready to use your frozen icing, leave it to sit at room temperature for a few hours until it’s completely thawed. Again, it’s likely that the liquid will separate so just make sure to give it a good mix before using. You might also need to add a little more icing sugar as defrosting can make it runnier.
After mixing it in the bowl, run a toothpick through it. The line from the toothpick should disappear in around 5 seconds. If it doesn’t disappear or disappears too slowly, add a little bit more water. If it disappears immediately, add more icing sugar. And if it’s not spreading properly when you pipe it onto your cookies, you can use a toothpick to gently move it into place.

More vegan icing recipes:
- Lemon buttercream
- Dark chocolate ganache
- Cream cheese frosting
- Coconut whipped cream
- Biscoff buttercream
I hope you like my vegan royal icing recipe and have lots of fun experimenting with different colours. Be sure to share any of your creations with me on Instagram, or let me know how you get on by leaving a comment and/or rating below. Enjoy!

Vegan Royal Icing
Eggless royal icing that can be made easily without corn syrup or egg replacer. Hardens just like the traditional version, and can be used for gingerbread houses, cookies and more.
Ingredients
- 450 g Icing sugar (powdered sugar, 3+½ cups)
- 5 Tablespoons Aqua faba (the liquid from canned chickpeas)
- ¼ Teaspoon Cream of tartar (or ½ teaspoon lemon juice)
- ½ Teaspoon Vanilla extract (optional)
- Vegan gel food colouring (optional)
Instructions
-
Place the aqua faba, cream of tartar and vanilla into a large bowl. Use an electric whisk or stand mixer to mix it up until frothy.
-
Add in half of the icing sugar and gently stir it in using a wooden spoon. Add the rest of the icing sugar and repeat.
-
Whisk it up again briefly, to make sure everything's well combined.
-
If adding colour to the icing, separate it into small bowls (1 for each colour). Use a toothpick to add the colouring a little bit at a time until you reach your desired colour.
-
Pipe or spoon the icing onto your cookies. Let each colour harden on the cookie before piping on the next if creating a layered design.
Recipe Video
Recipe Notes
- If you want to test the consistency before piping it onto your cookies, run a toothpick through the bowl of icing. You want the line to disappear slowly, in around 5 seconds or so. If it doesn’t disappear at all or goes away very slowly, add more water. If it goes away too quickly, add more icing sugar. You can also use a toothpick to guide it into place after piping it.
- Store at room temperature or in the fridge in zip lock bags, an airtight container or a bowl with some cling film over the top. It will last at least a week at room temperature and 3 weeks in the fridge.
Lisa
Saturday 21st of December 2024
Can you paint over this once it dries?
Chloe
Wednesday 25th of December 2024
I haven't tried but I think so
Katie
Wednesday 20th of March 2024
Would this be OK to draw on with edible cake pens after it hardens? Thanks:)
Chloe
Wednesday 20th of March 2024
Hey Katie! I have never tried it (only painting) but it does dry quite hard so I imagine it would be OK.
Dara
Monday 28th of November 2022
Worked a treat for our sugar cookies thank you so much for the recipe x
Jane Gregory
Thursday 16th of June 2022
Brilliant recipe! thank you Clo! :) X I will credit you when I post my image
Chloe
Friday 17th of June 2022
Thanks so much, Jane! Glad you like the recipe :)
Daisy
Friday 19th of February 2021
For the “icing powdered sugar” is that just powdered sugar ? Thank you just want to confirm I’m gathering up ingredients to make this
Chloe
Friday 19th of February 2021
Hi Daisy! Yes, it's just powdered sugar :)