Vegan Banoffee Pie
Vegan banoffee pie is one of the easiest no-bake desserts you can make. It consists of a crunchy biscuit base, a slathering of thick caramel and a layer of sliced bananas, all topped off with dairy-free whipped cream.
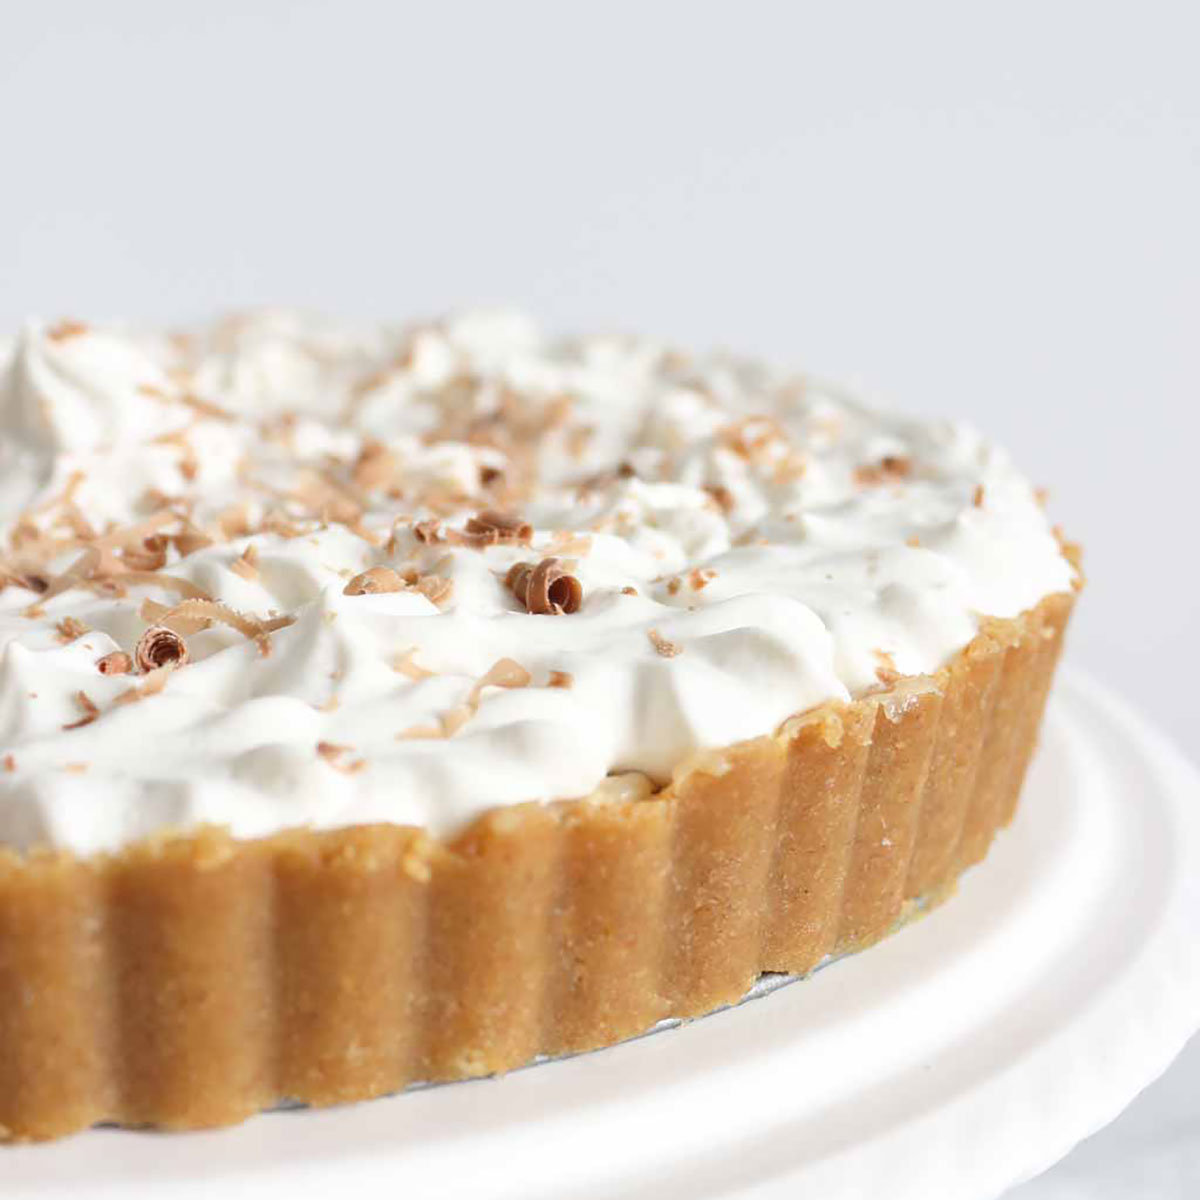
You guys! It’s finally here.
Dairy-free banoffee pie! Yum.
I’m working my way through veganising the best British bakes out there and next up is this delicious vegan banoffee pie. I think it’s one of the best ones yet!
It’s quick and easy, tastes delicious and you don’t need an oven to make it! What’s not to love?
Related post: 25 sweet vegan pie recipes
What is banoffee pie?
Just in case you don’t know what banoffee is, it is a mixture of banana and toffee. Contrary to popular belief, it doesn’t contain any coffee!
So basically, it’s a banana and toffee pie.
But it’s not just any old pie!
Traditionally, this recipe is usually made with a biscuit base rather than with shortcrust or puff pastry. It’s more similar to cheesecake than a conventional pie because of this.
It’s also topped with a layer of smooth whipped cream and usually some chocolate shavings too.
If you’ve never had it before, it might sound like an odd combo. But trust me, you NEED to try this recipe!
No condensed milk needed!
Because this recipe contains no dairy, I had to make the caramel part without the typical condensed milk (dairy) too!
I know there are coconut condensed milks you can buy but not everyone is able to do that. And of course, you can make your own but I’ll leave that recipe for another day.
Because this is such a simple dessert, I didn’t want to over complicate things with the filling.
This caramel recipe is quick, contains just a few ingredients and takes just 5 minutes to make. No boiling for hours and no candy thermometer needed.
If you have a candy thermometer to hand and fancy something slightly more complex, check out my vegan condensed milk caramel recipe.
What to use for a vegan biscuit base?
The base for this recipe consists of a mix of biscuits and melted vegan margarine.
I used Digestive biscuits for the most authentic flavour but you can use any other type of neutral-tasting cookie such as Graham Crackers or Hobnobs.
As with anything else, make sure to double-check that whatever type of cookies you choose are vegan-friendly. I’ve found that many brands of Digestive biscuits are suitable for vegans but some companies like to sneak milk or honey in there.
I used Lovett’s Digestives for this recipe and I believe McVities are now vegan following a recent recipe change.
Want more vegan British baking recipes? Try these:
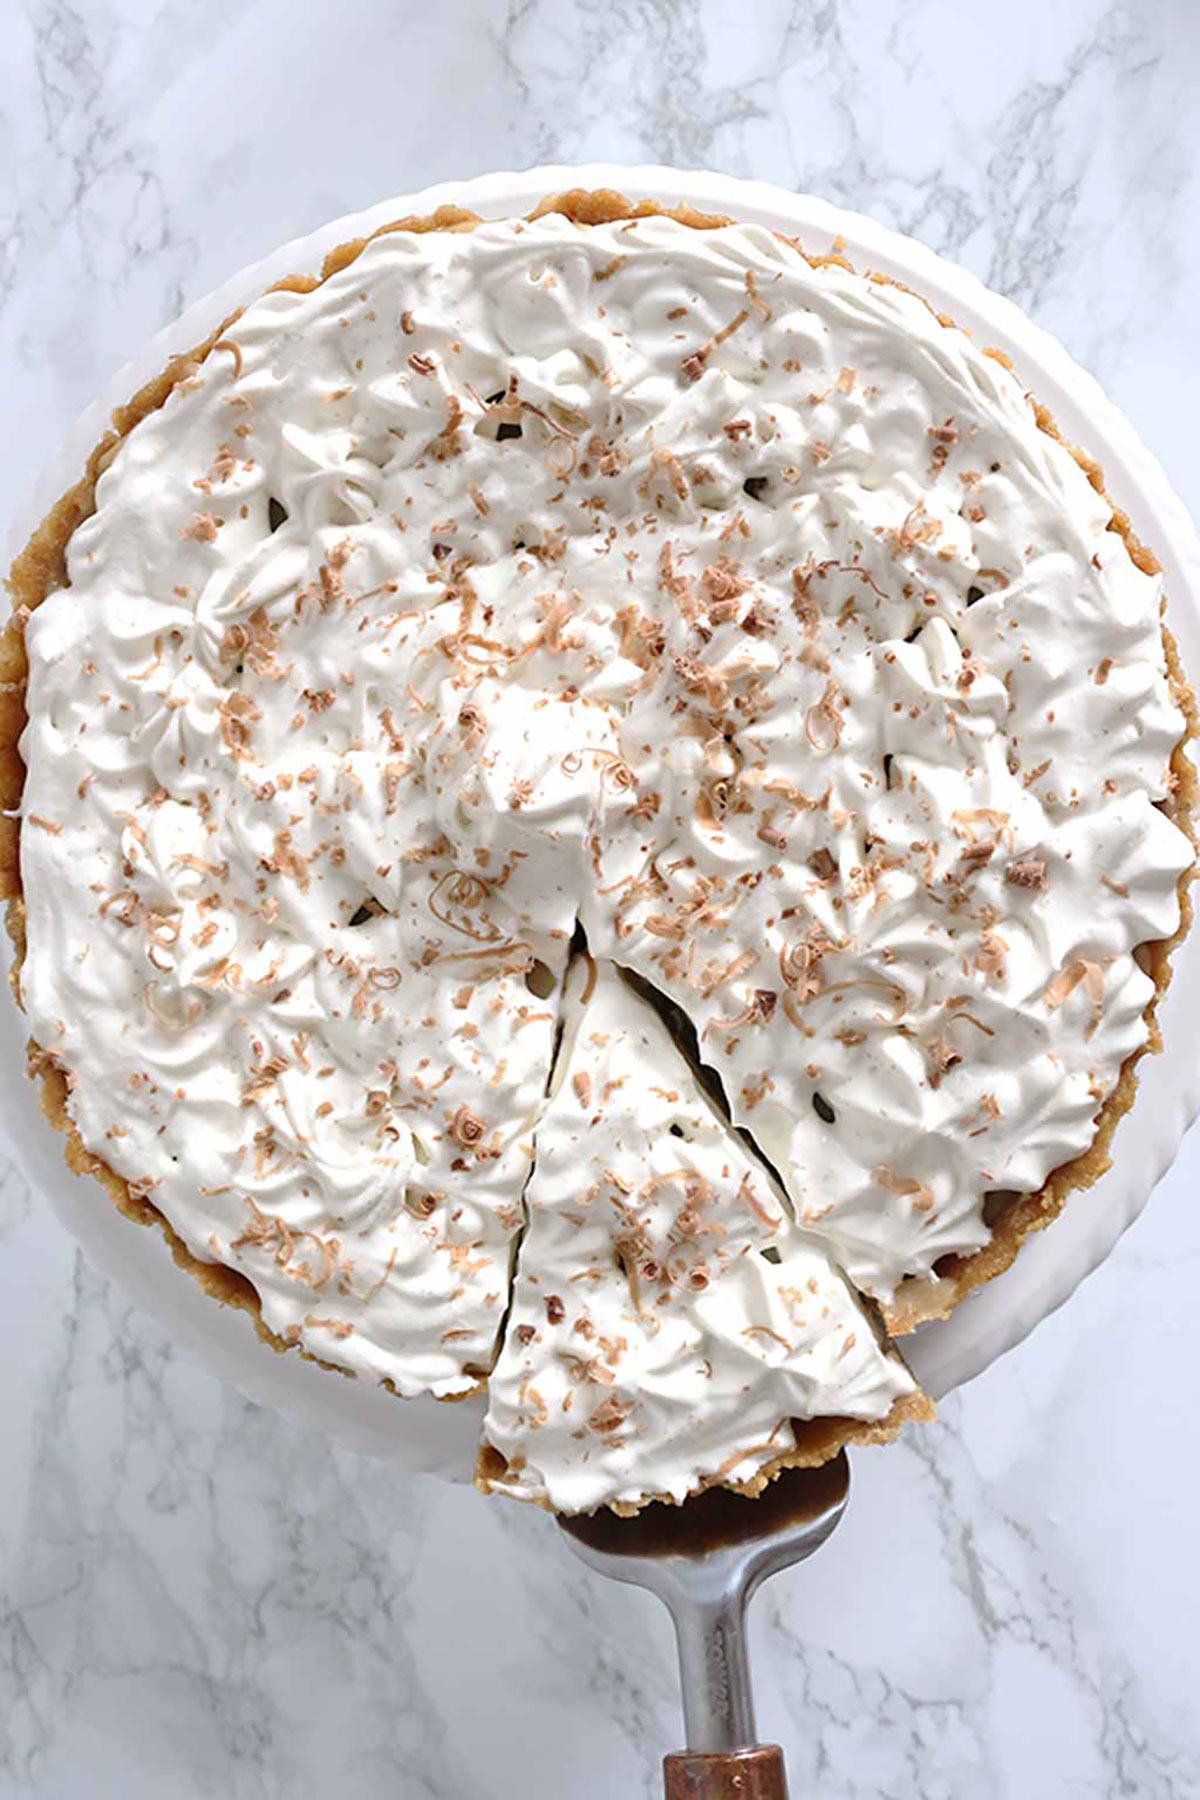
How to make vegan banoffee pie
Here’s the equipment you’ll need for this recipe:
- A large bowl
- Rolling pin or high-power blender
- 9-inch pie, tart or cake tin (spring-form is best but not essential)
- A small saucepan
Step 1:
The first step is to prepare your no-bake biscuit base.
Measure out 250g of Digestive biscuits and crush them up into crumbs. It’s quicker to do this in a high-power blender if you have one but crushing them with a rolling pin will do the trick too! If you’re not using a scale then you want to aim for 2 cups of cookie crumbs.
Run your fingers through the crumbs and break up any remaining lumps. The smaller the crumbs are the better the base will stick together.
Place the crumbs into a large bowl for the next step.
Step 2:
Gently melt 90g (1/4 cup + 2 tablespoons) of vegan margarine. I did this over the stove but you can do it in the microwave if you’d prefer.
Pour the melted margarine into the bowl and mix well until the biscuit crumbs are well coated.
Step 3:
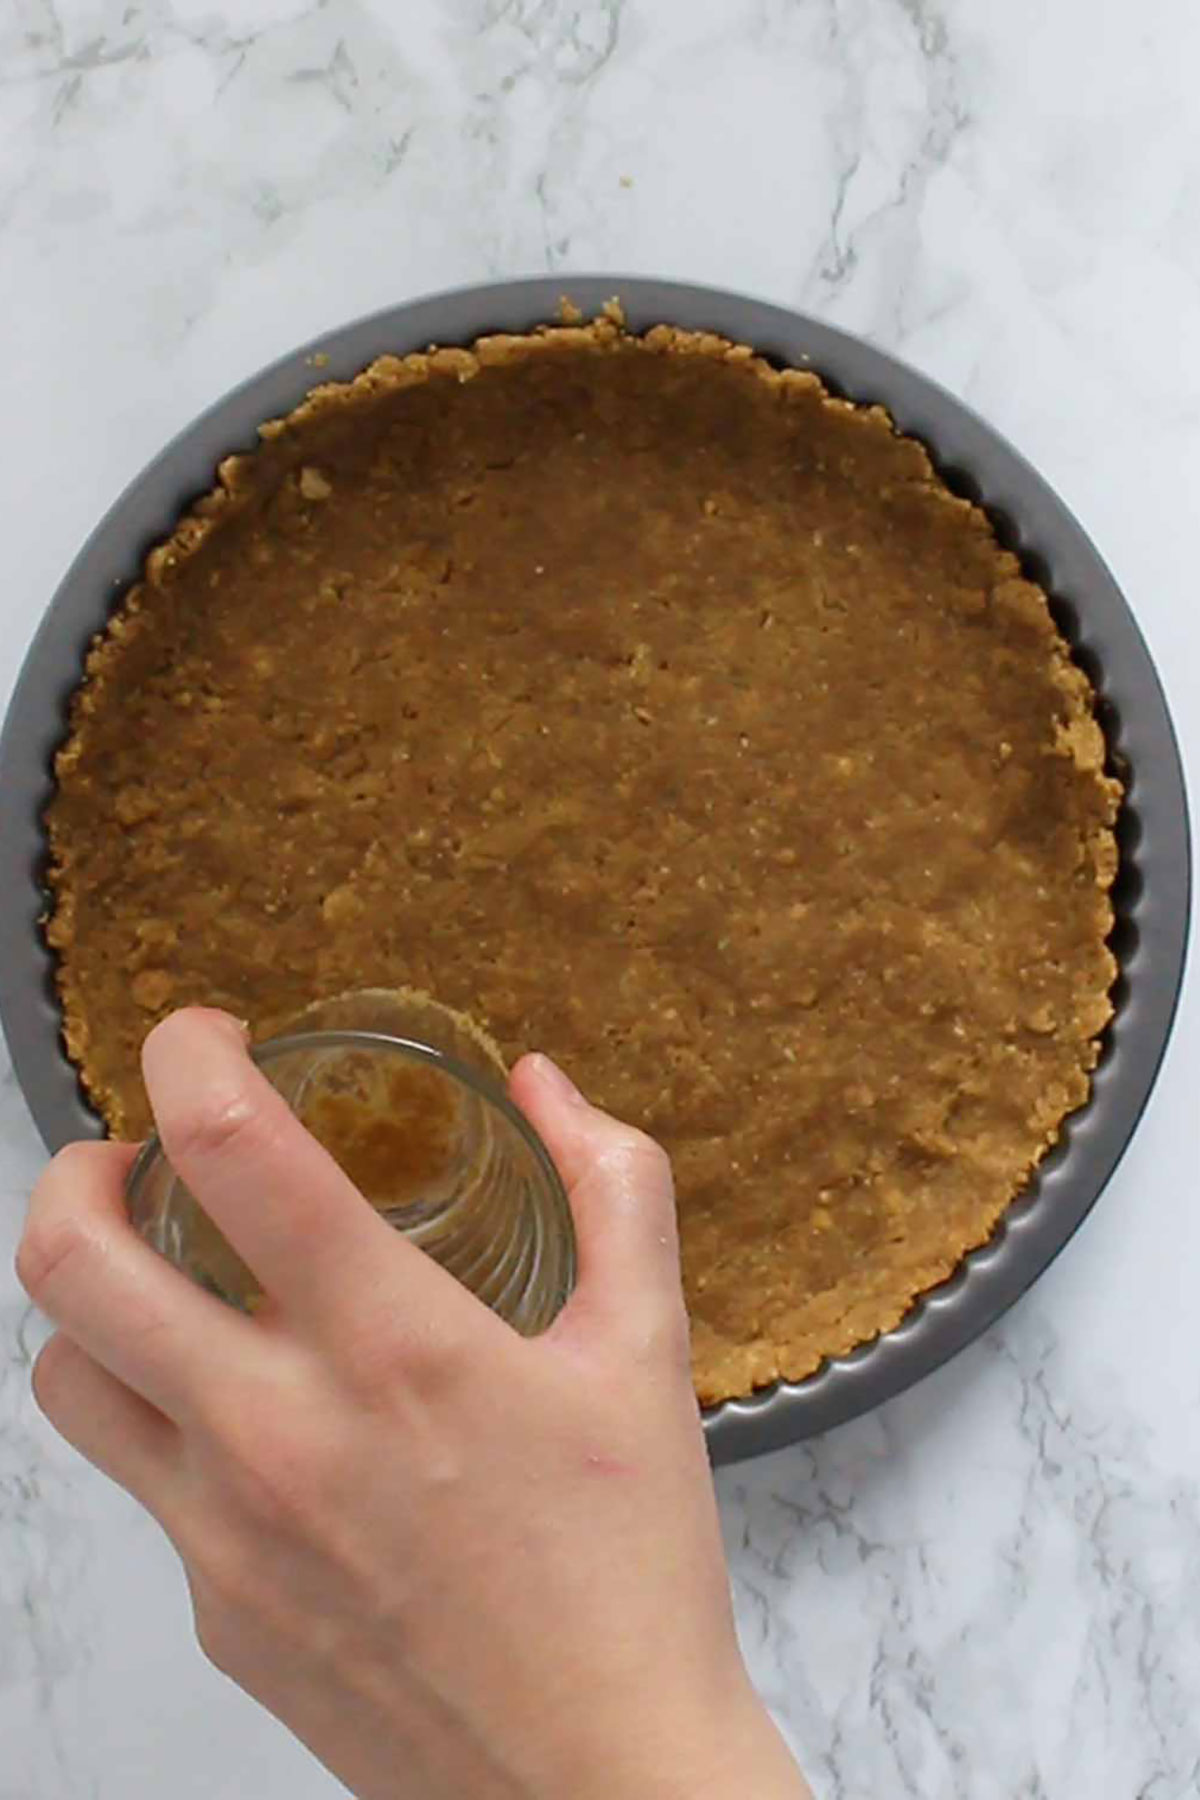
Transfer the base mixture into your tin and press down firmly. I like to use the bottom of a glass or measuring cup to make sure it’s pressed in tightly.
Place the base into the fridge to chill while you prepare the filling.
Step 4:
Next it’s time to make the gooey vegan caramel for the inside of the pie. To do this, you will need just 5 ingredients. I recently made a dedicated post to my vegan caramel recipe if you’d like to check that out!
Measure out the following:
- 250ml of soy milk (1 cup)
- 2 tablespoons of cornstarch/cornflour
- 80g of brown sugar (packed 1/3 cup + 1 tablespoon)
- 2 tablespoons of vegan margarine
- 1 tablespoon of vanilla (3 teaspoons)
Mix the cornstarch with 2 tablespoons of the soy milk in a small bowl or mug until smooth. Then add the rest of the milk in and mix well.
Doing this will prevent the caramel from becoming lumpy when heating it up.
Step 5:
Add the cornstarch milk into your saucepan along with the sugar and vanilla and mix well.
Add the vegan margarine to the pan then place it onto the stove and turn the heat to low. Stir occasionally until the margarine has completely melted, then turn the heat up to high.
Stir the mixture constantly until it starts to bubble and thicken slightly, then remove it from the heat. This should only take a few minutes.
The caramel will continue to thicken a little after it’s removed from the heat so don’t leave it on there for too long.
Note: Be careful not to burn yourself when handling caramel as the sugar will get really hot!
Step 6:
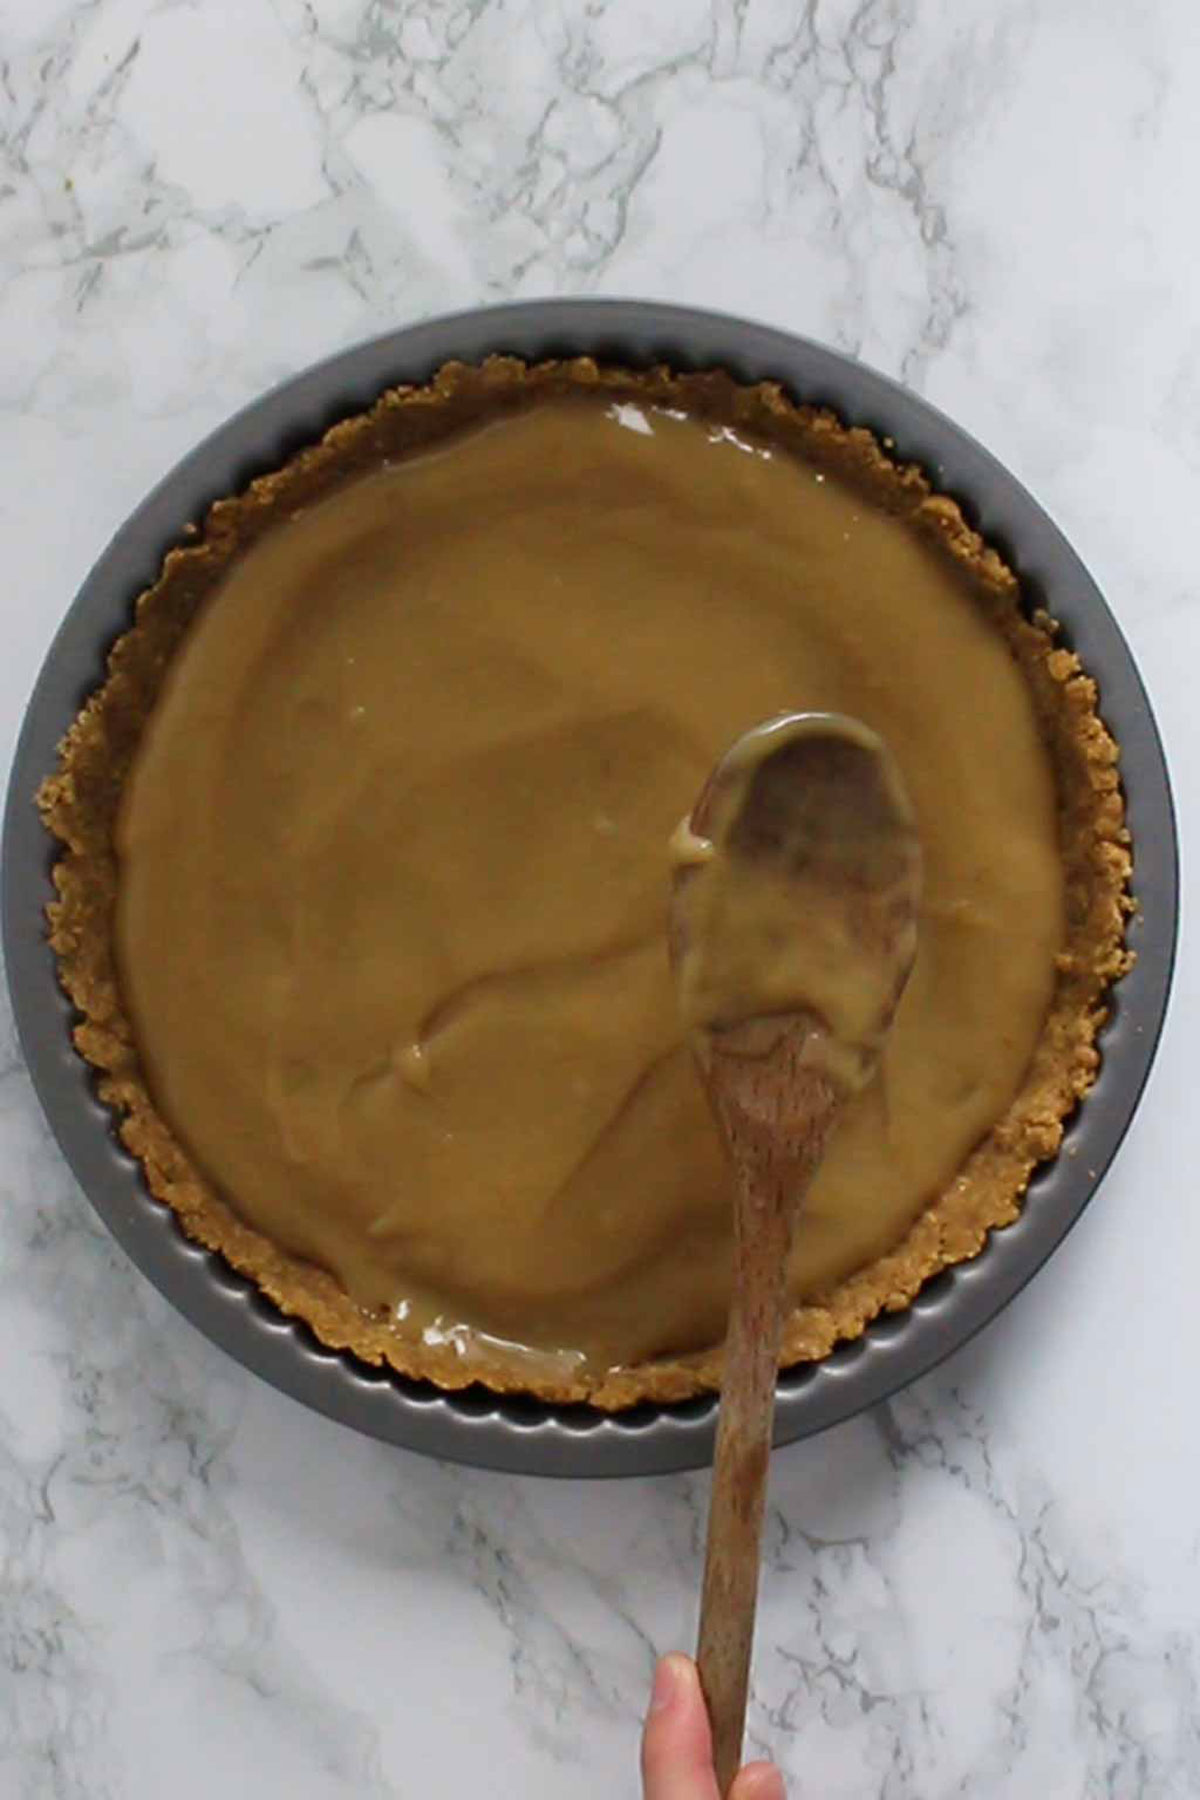
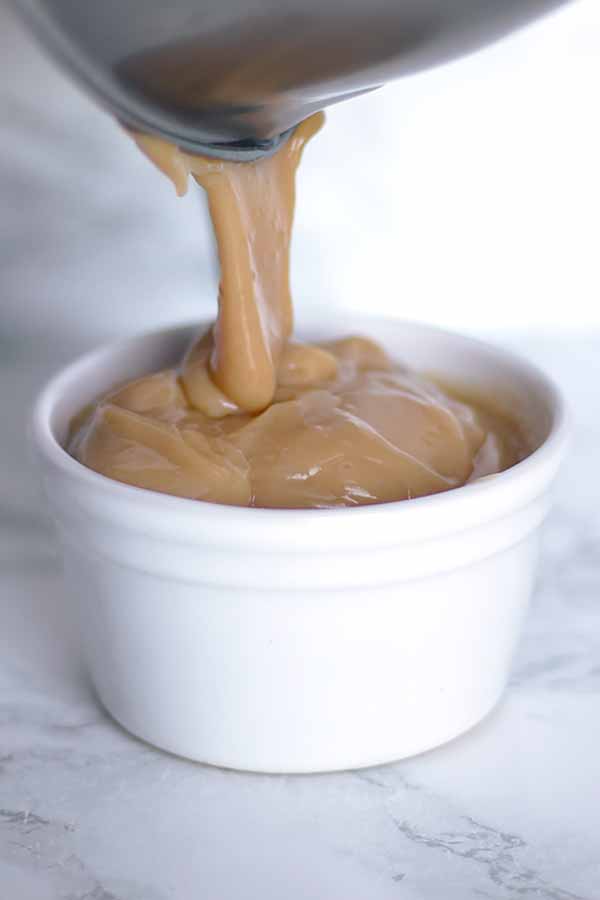
Let the caramel cool for a few minutes, give it a good stir then spoon it over your cooled biscuit base.
Return it to the fridge for 1 hour.
Whipped cream topping
So! For your dairy-free banoffee pie cream topping you have a couple of options.
I personally used a ready-to-whip plant-based double cream by Elmlea. It makes things super easy, requires next to no effort, and it has no strong taste that might take away from the banoffee flavours. It’s the closest thing I’ve found to dairy double cream!
If you’re in the US, you can use Silk heavy whipping cream for a ready-made option.
Alternatively, if you’d like to make your own cream from scratch, check out my vegan coconut whipped cream which can be made with just coconut milk and powdered sugar!
Any other options?
If you can’t get hold of Elmlea or Silk whipping cream and don’t fancy a coconut flavour on your dessert, here are some other vegan brands I’m aware of:
Putting it all together
Once you’ve decided which type of cream you’re going to use, whip it up into stiff peaks, or at least until it can hold its shape.
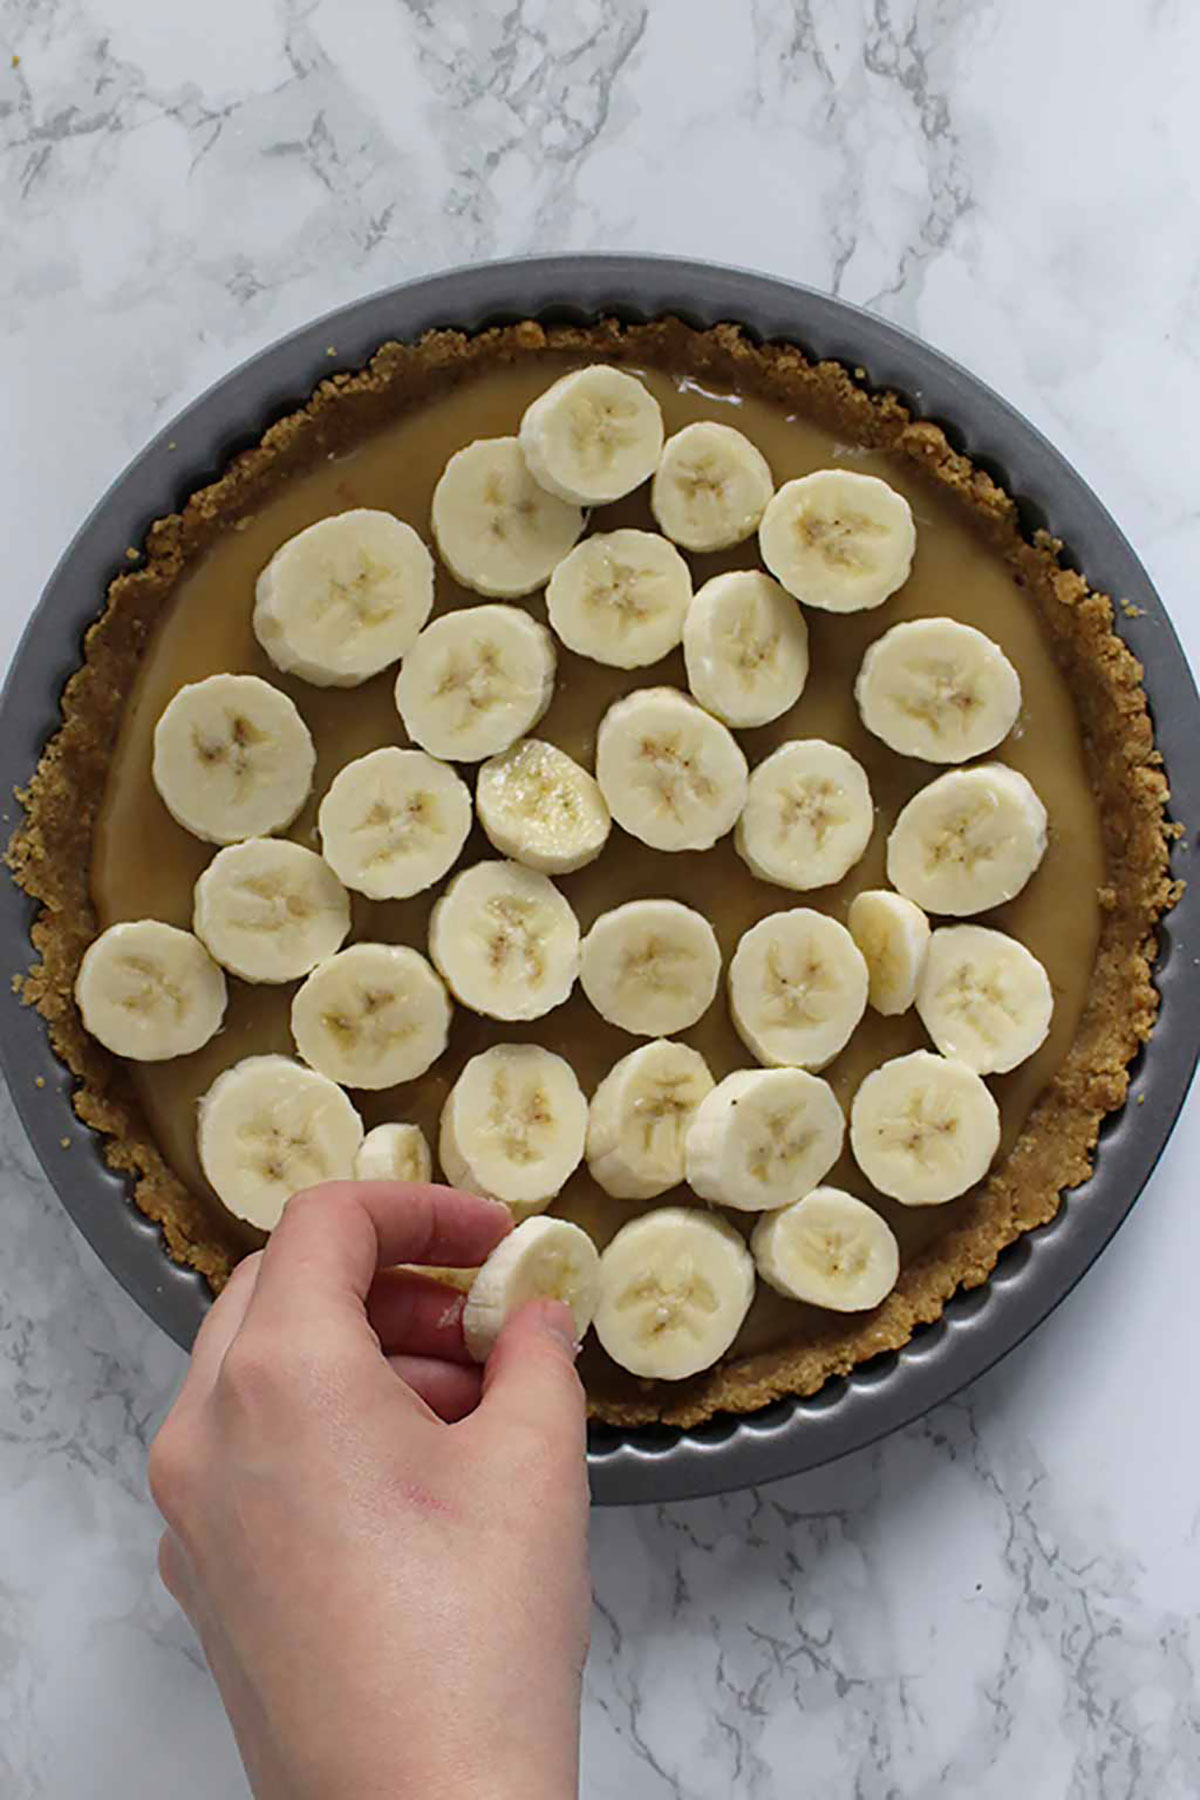
Next, slice 2-3 bananas (depending on how thick you want the slices) and place on top of the caramel layer in your pie.
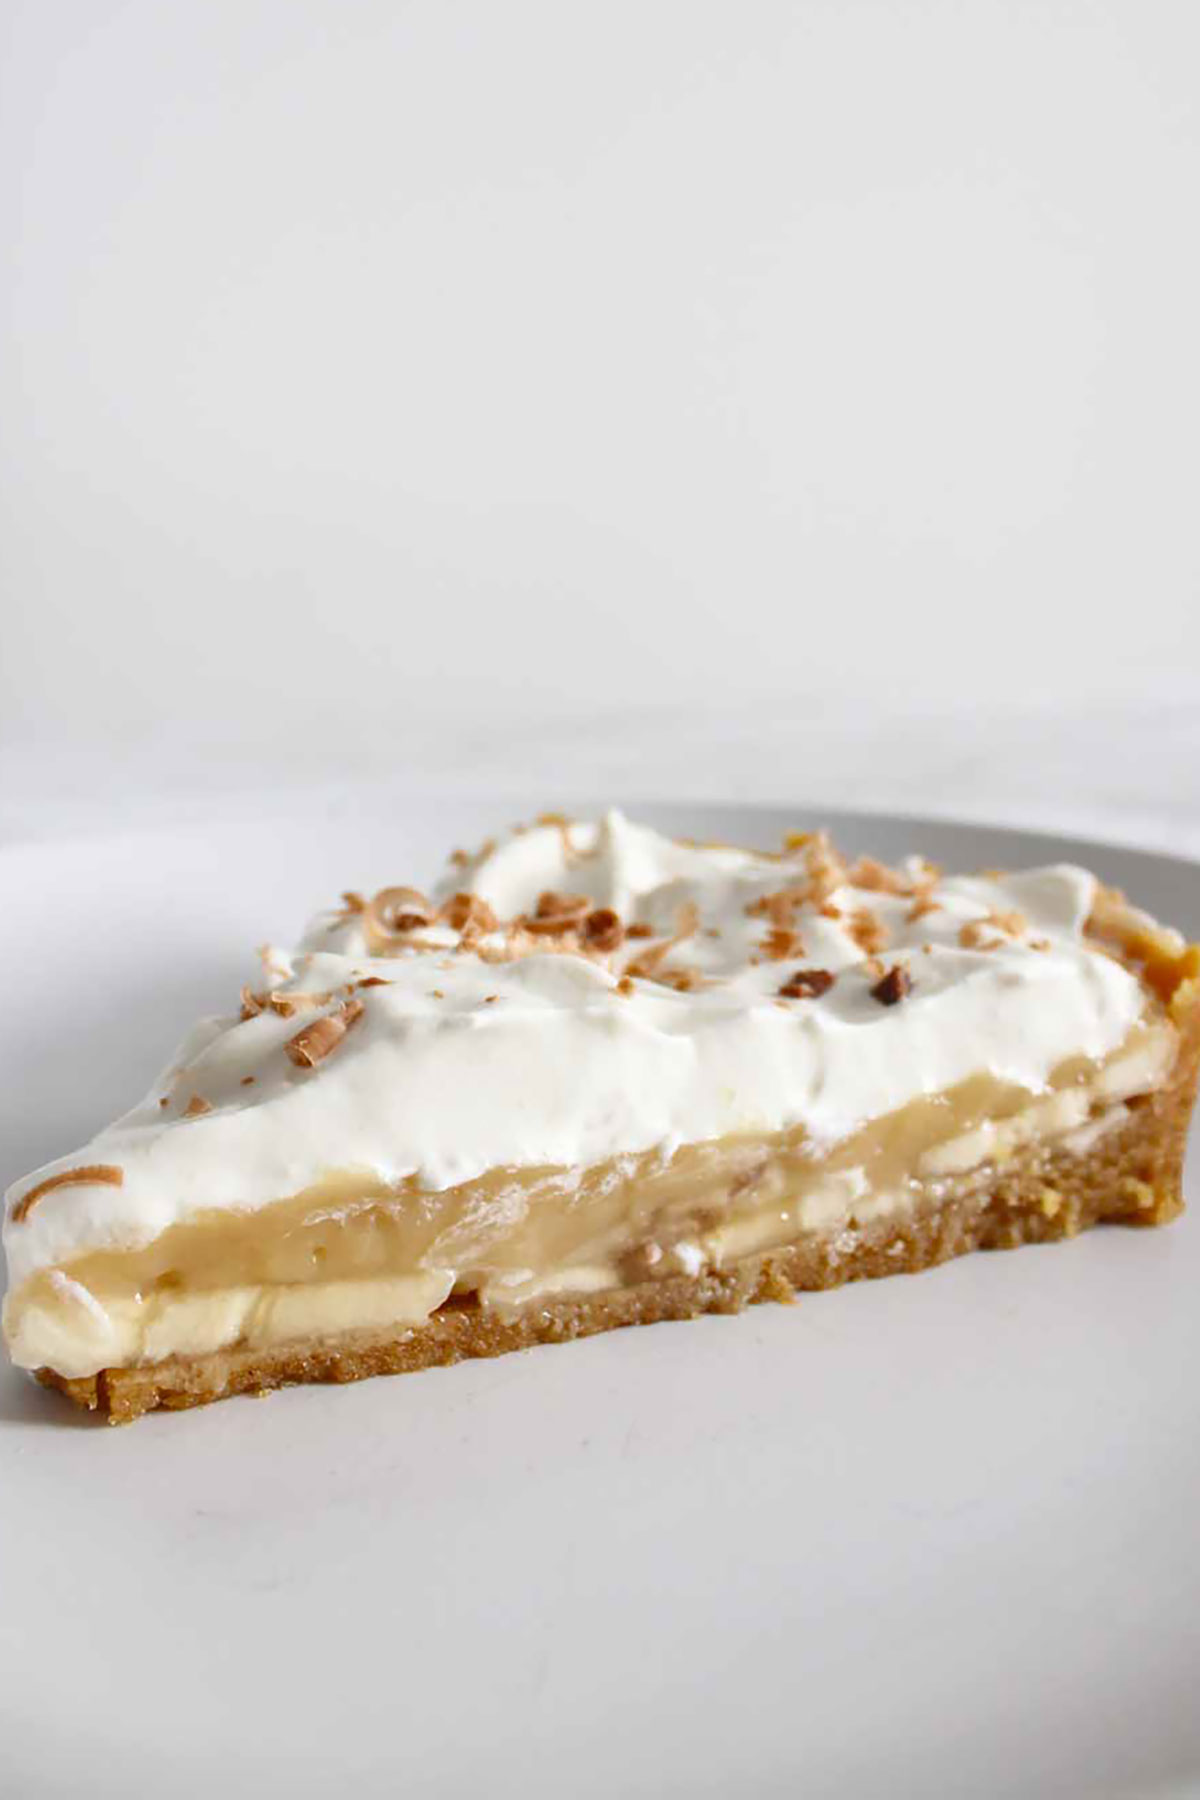
Then top the pie with your whipped cream, making sure the bananas are covered so they don’t go brown. I piped mine on using a Wilton 1M piping tip but you can just spread the cream on if you’d prefer.
And finally, I used a potato peeler to create some vegan chocolate curls and sprinkled them on top.
Voila! Your dairy-free banoffee pie is ready to be enjoyed!
FAQ:
This pie is best stored in the fridge as it contains whipped cream which needs to stay cold. I usually keep it in the tin I made it in, and place a plate on top to cover it. Other times I store it on a cake stand with a cover on. You can also cut the pie into slices and store them in an airtight container.
I would recommend only making this pie up to 24 hours in advance as it really does taste best when it’s fresh. After sitting in the fridge for a while, the sliced bananas will begin to lose their freshness and the crust will lose the crunchiness.
If you made it in the morning and served it up in the evening, that would be totally fine. But I wouldn’t recommend leaving it any longer than that.
No. Because of the delicateness of the cream and the fruit, this dessert won’t freeze well and will become soggy once defrosted.
I hope you enjoy this dairy-free banoffee pie recipe. If you make it yourself, please leave a comment and rating to let me know how you get on! xo
Vegan Banoffee Pie
A dairy-free, vegan alternative to traditional banoffee pie. A crunchy biscuit base filled with caramel, bananas and whipped cream.
Ingredients
For the base:
- 250 g Digestive biscuits (2 cups crumbs)
- 90 g Vegan margarine (¼ cup + 2 tablespoons)
For the filling:
- 250 ml Soy milk (1 cup)
- 2 Tablespoons Cornflour (corn starch)
- 80 g Light brown sugar (⅓ packed cup + 1 tablespoon)
- 3 Teaspoons Vanilla extract
- 2 Tablespoons Vegan margarine
- 3 Medium-sized Ripe bananas, sliced (you'll only need 2 if you want thinner slices)
To top:
- Vegan whipped cream of choice* (I used 1 pot of Elmlea double cream)
- Chocolate shavings (optional)
Instructions
For the base:
-
Crush the Digestive biscuits into fine crumbs. You can do this by crushing them in a bowl with a rolling pin or placing them into a high power blender. Place the crumbs in a large bowl.
-
Melt the margarine in a saucepan or in the microwave. Pour it into the bowl with the biscuit crumbs and mix until the crumbs are well coated.
-
Press the base into the bottom and sides of a 9-inch tart or cake tin. The tighter it's pressed in, the easier it will be to slice once it's set. I like to use the bottom of a glass or measuring cup to pack it in super tight.
-
Place the base in the fridge while you prepare the filling.
For the filling:
-
Mix the cornflour with 2 tablespoons of the soy milk until smooth. Then mix in the rest of the milk. (doing this prevents the cornflour from clumping together)
-
Add the cornstarch milk to a small sauce pan along with the brown sugar and vanilla. Mix well.
-
Add the vegan margarine and place the pan onto the stove on a low heat. Stir until the margarine has melted into the liquid then turn the heat up to high. Stir continuously until the mixture starts to bubble and thicken (this should only take a few minutes) then remove it from the heat.
-
Spoon the caramel over the biscuit base then place the pie in the fridge for 1 hour.
-
Place the sliced bananas onto the cooled caramel and top with vegan whipped cream and chocolate shavings. Enjoy!
Recipe Notes
- My condensed milk caramel can also be used as the filling although it takes a bit longer to make.
- If you can’t find any ready-to-whip vegan whipped cream where you are, you can make your own vegan coconut whipped cream.
- Store in the fridge for up to 24 hours.



Ursula
Tuesday 13th of May 2025
Elmlea double contains buttermilk so it is not dairy free or vegan
Chloe
Tuesday 13th of May 2025
The one I linked is a plant-based version
Jenna
Saturday 21st of December 2024
Hi I just made this as a trial for a pudding for Xmas and it was so simple and turned out great. It’s chilling in fridge but looks great. Any suggestions however to give it more flavour? My muggles say it’s a bit bland
Chloe
Wednesday 25th of December 2024
Hmm maybe add a pinch of salt or an extra teaspoon of vanilla
Gemma
Tuesday 10th of December 2024
Hi, thanks for the recipe! Would oat milk instead of soy work? And could I make the caramel in advance if refridgerated?
Catherine
Wednesday 25th of September 2024
Absolutely delicious!! Simple straightforward recipe to follow. I used half the recipe quantities first time. Thanks for sharing this 😃
Chloe
Thursday 26th of September 2024
Thanks so much Catherine! :)
Rebecca
Saturday 22nd of April 2023
Is it possible to buy a store bought pie crust instead of homemade?
Chloe
Sunday 23rd of April 2023
Hey Rebecca, you sure can! I’m not sure where you’re based but something like a Graham cracker crust would be best for this recipe😃