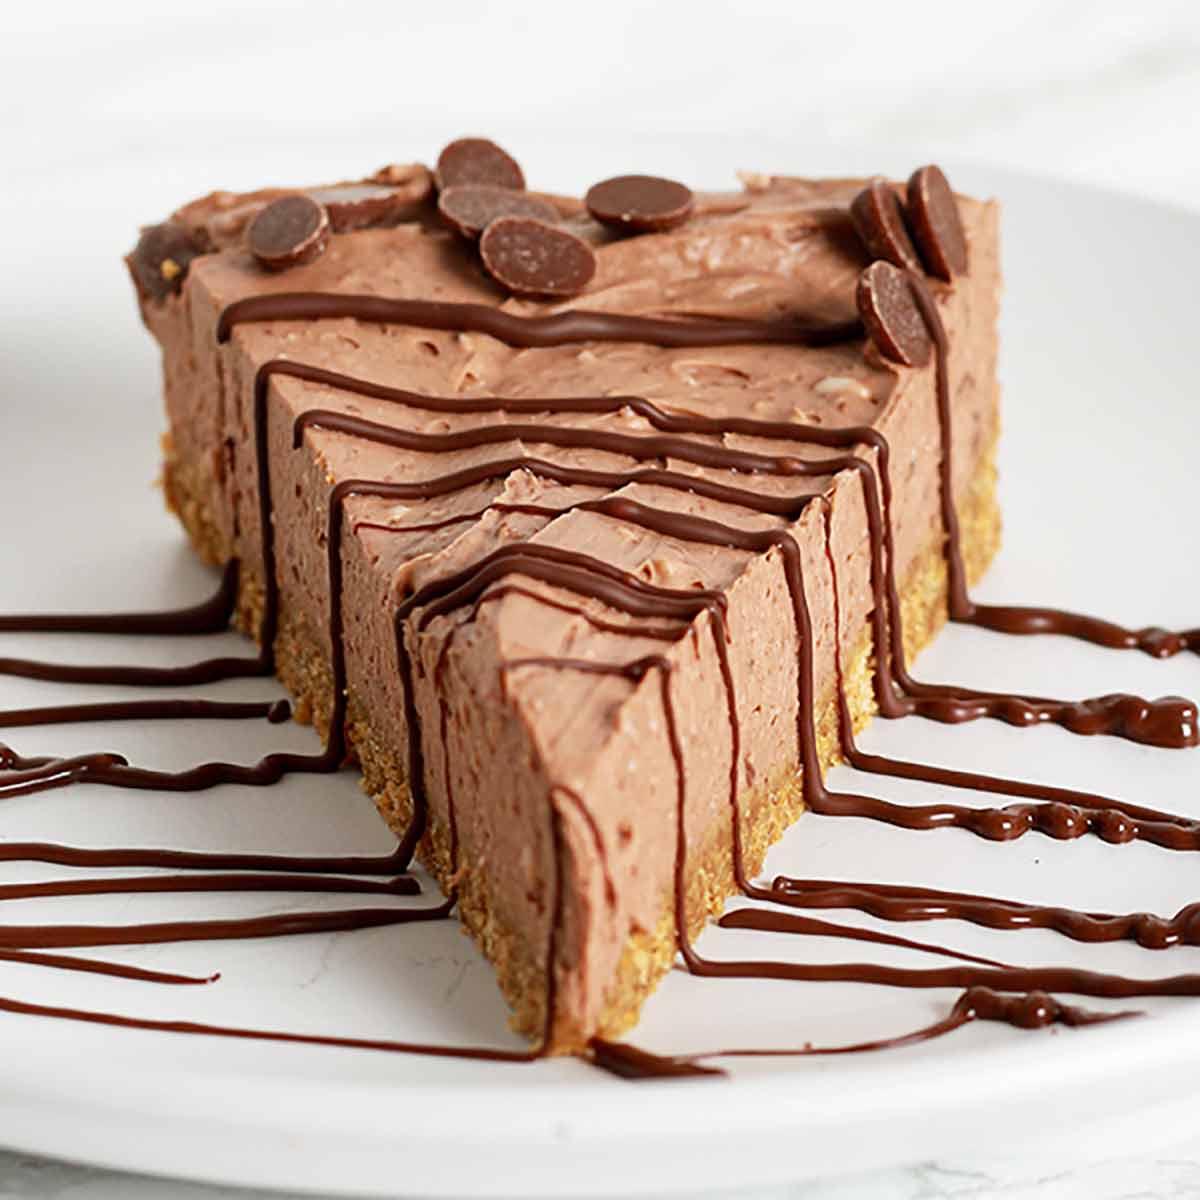
This vegan chocolate cheesecake is rich and creamy with a hobnob biscuit base. It’s super easy to make with no-baking required and best of all, no cashews or coconut cream! It is the perfect summer dessert.
What is your go-to summer dessert? Mine has definitely got to be cheesecake!
I’ve created a few different cheesecake variations on my blog now but I have been craving this chocolate one SO much lately.
I love this recipe because it’s so easy to make with simple ingredients, and it tastes exactly like traditional cheesecake! Your friends and family will LOVE this, and they’ll never know it’s vegan unless you tell them!
No cashews or no coconut cream
This chocolate cheesecake has no cashews or coconut cream in the filling. Although some of the ingredients I use in my cheesecakes are quite specific, I think they make for a much easier and much creamier cheesecake.
With cashew cheesecakes, you need a super powerful blended or you’ll end up with a lumpy filling. And with coconut cream, I find the consistency can vary from brand to brand. Plus it has a very overpowering taste.
I much prefer to use a dairy-free whipped cream alternative, which creates a texture and taste that is identical to traditional cheesecake.
Depending on the ingredients in the vegan cream cheese you use, there may be a little coconut but the flavour will not be noticeable at all. And the texture will be the same every time.
Ingredients and equipment you’ll need:
- Hobnob biscuits. I used original Hobnob biscuits for this cheesecake base just to switch things up a little. These are accidentally vegan biscuits and can be found in most shops and supermarkets in the UK. I have written instructions for an alternative base in the recipe card, just in case you don’t have Hobnobs to hand!
- Dairy-free margarine. This is used to help solidify the biscuit base. Make sure to use vegan margarine (the spreadable one) and not vegan ‘butter’ (the block one).
- Vegan cream cheese. As always, I recommend using Violife cream cheese for dairy-free cheesecake. It has the best flavour and texture, and doesn’t contain as much water as other brands. Check out my post about the best vegan cream cheese for baking for more options.
- Icing sugar. To sweeten things up. This is also known as powdered sugar in some places.
- Dairy-free whipping cream. Any vegan cream that whips into peaks will work for this recipe. I used Elmlea plant double cream but I’ve been informed by readers that Oatly whippable works well too.
- Vegan chocolate. You can use any type of chocolate you like for this cheesecake. Some of my favourites are Nomo, Moo-Free and Lovett’s.
- 9-inch springform tin. It’s important to use a springform tin if you plan to remove the cheesecake from the tin to serve it. If you don’t mind eating it straight from the tin then you can use a regular 9-inch cake tin. You can use a smaller tin if you want your cheesecake to be thicker, although it may take a little longer to set.
- Electric whisk or stand mixer. You’ll need to whip up the cheesecake filling and this can take quite a while manually. I recommend an electric whisk or stand mixer for ease.
How to make vegan chocolate cheesecake
Step 1:
Take 300g of Hobnob biscuits and crush them into fine crumbs. You can do this in a blender or food processor, or you can do it the old fashioned way by crushing them with the end of a large rolling pin. Regardless of which method you use, make sure to crush them up finely as any large chunks will make the base more prone to breaking.
Step 2:
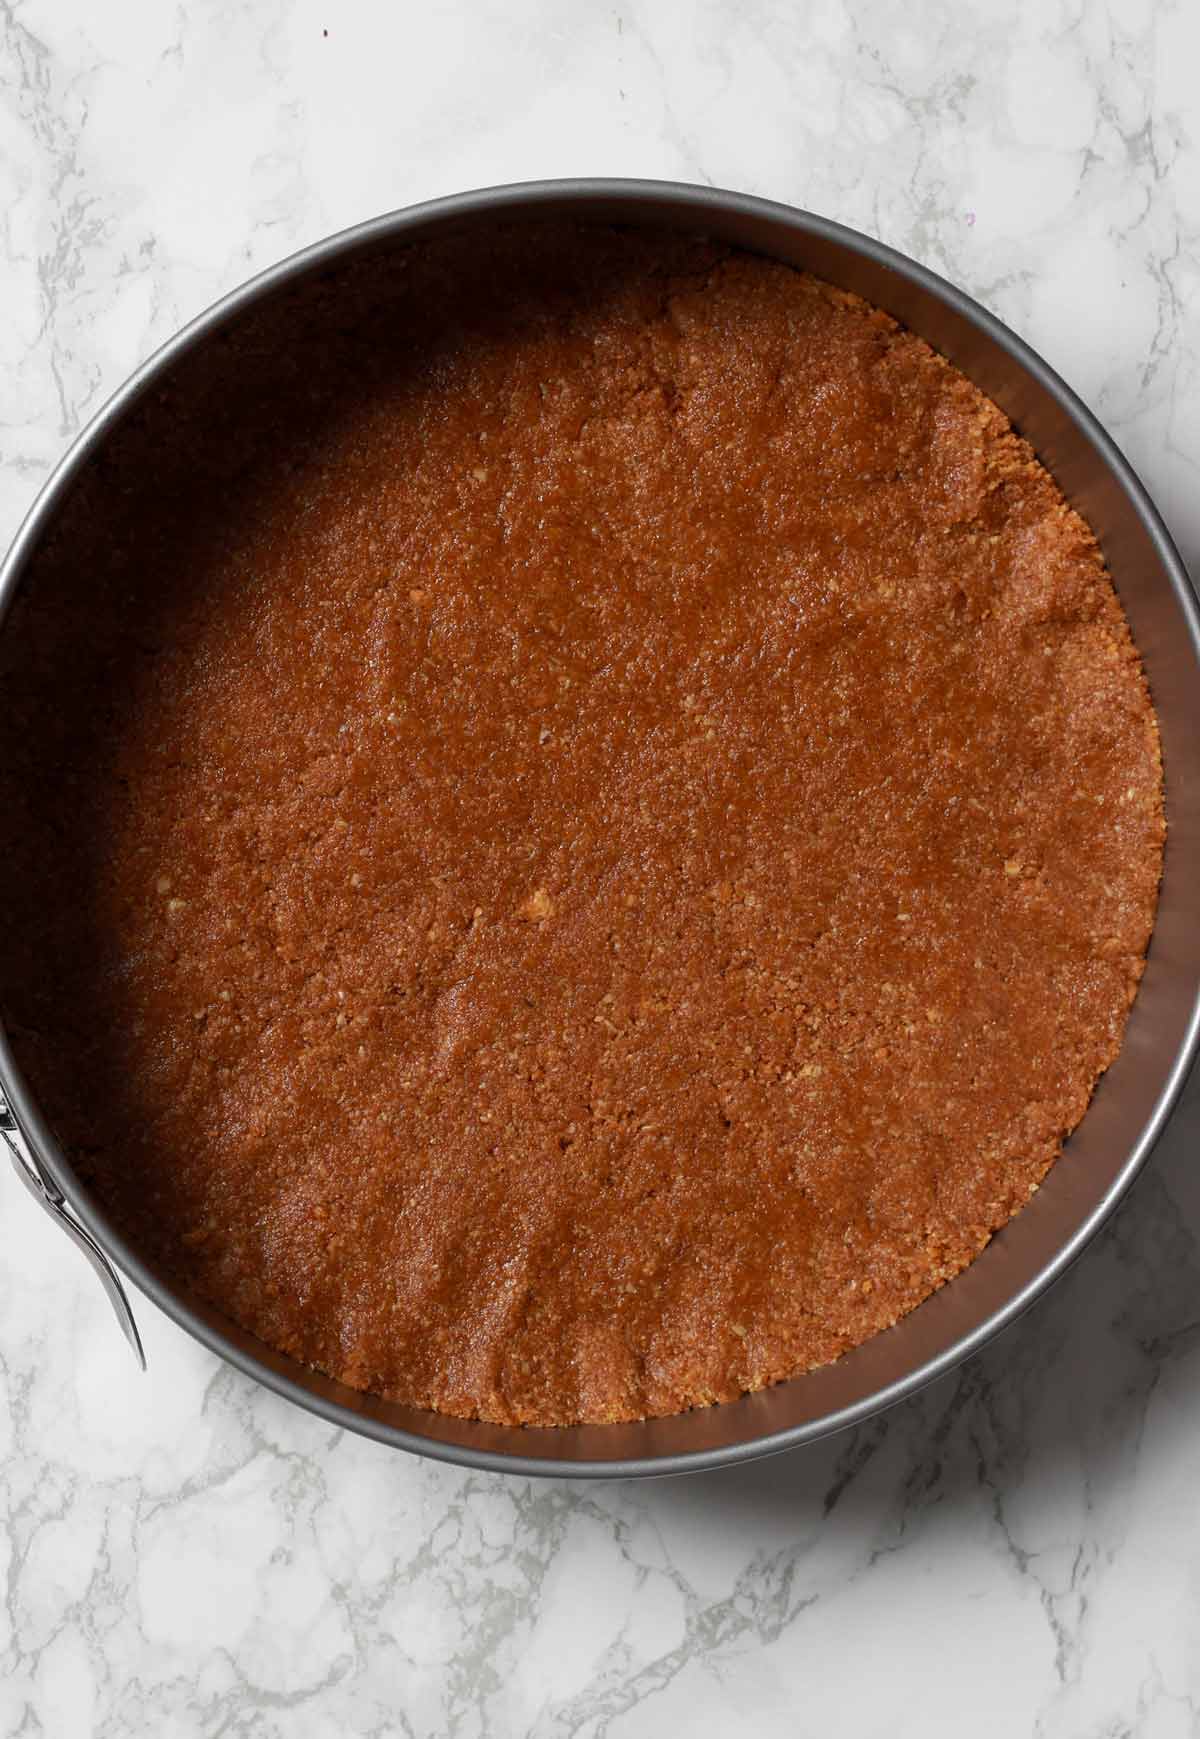
Next, melt 90g of dairy-free margarine. Pour it into a large bowl with the Hobnob crumbs and mix well, until all of the crumbs are coated.
Transfer the buttery crumbs into a 9-inch springform tin and press them very firmly into place. Pop it in the fridge for now, while you prepare the cheesecake filling.
Step 3:
Melt 180g of your favourite dairy-free chocolate over a low heat. Set it aside for now so that it’s completely cool when you add it to the filling.
Step 4:
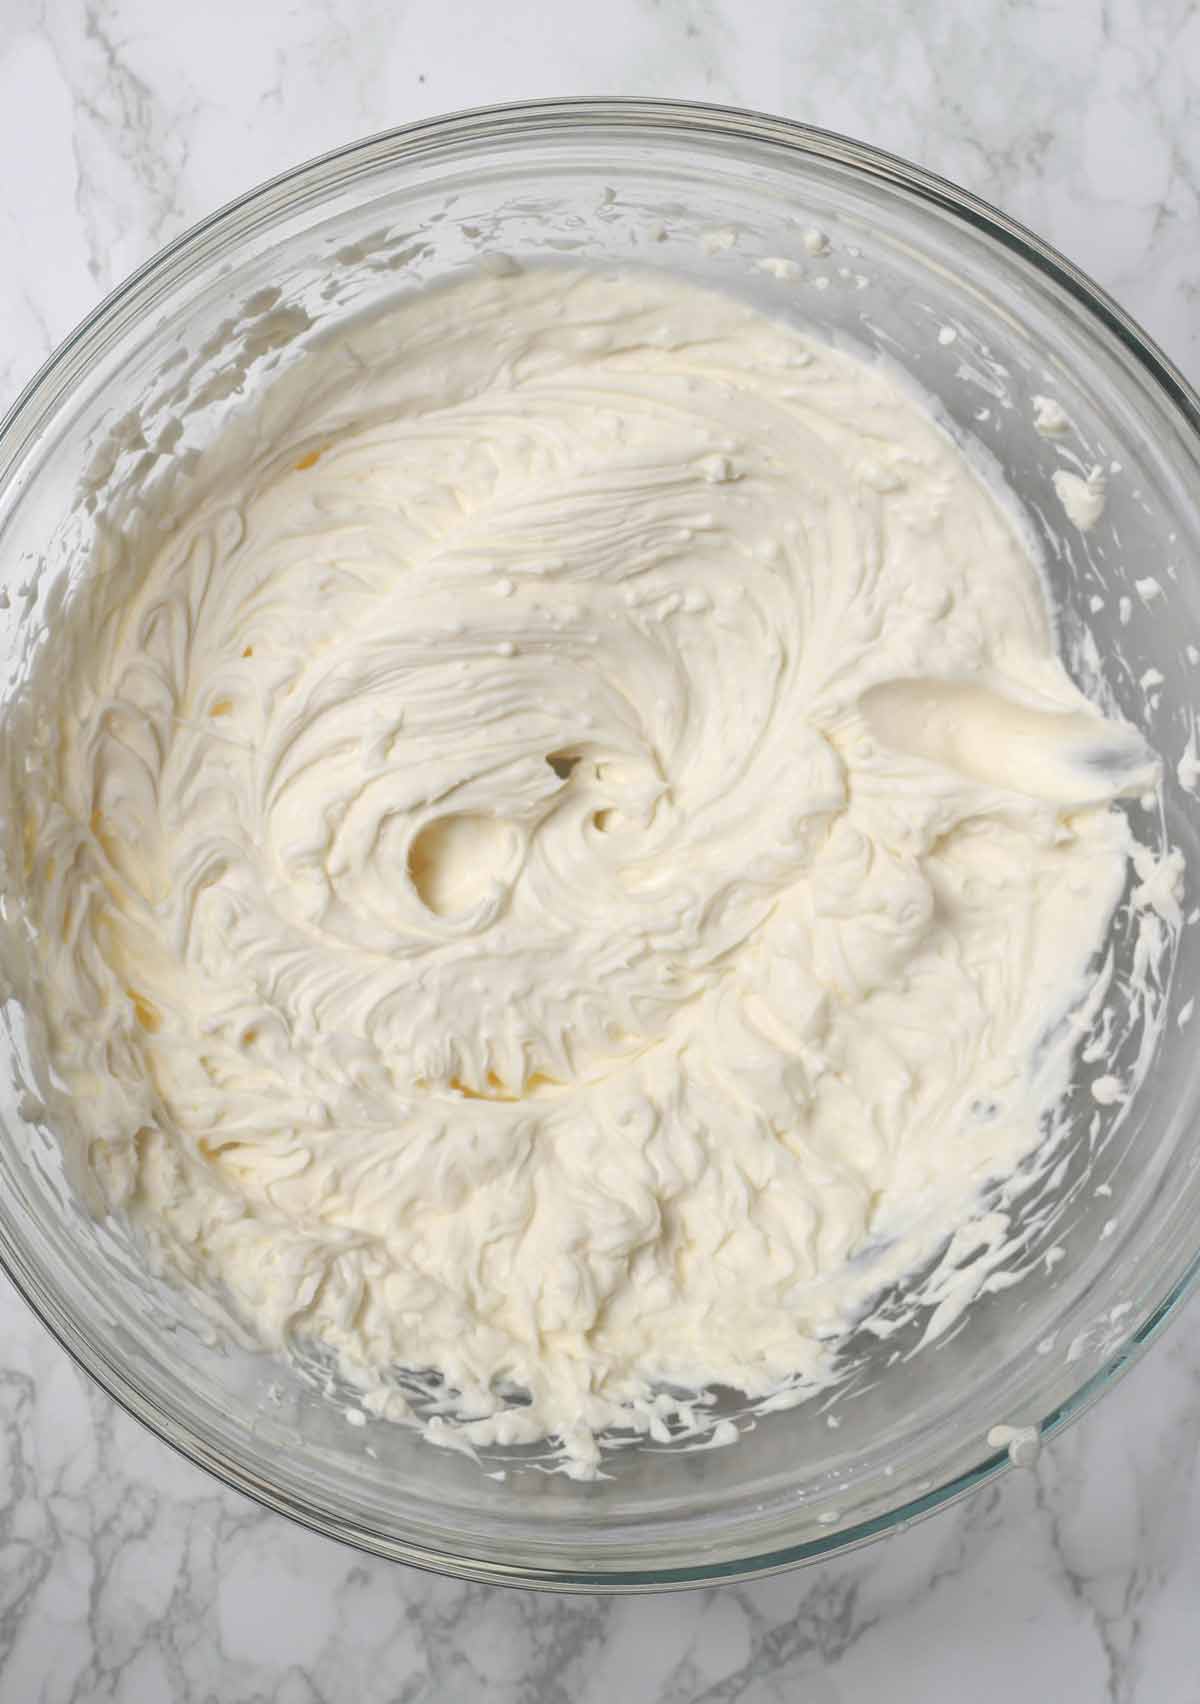
In a large bowl, mix together 400g of vegan cream cheese and 80g of icing sugar.
Next, add 180ml of vegan whipping cream. Use an electric whisk or stand mixer to whip it into the cream cheese until the mixture becomes thick and holds firm peaks. Make sure that you don’t under-whip it or the cheesecake will not set properly.
Step 5:
Once the chocolate has cooled completely, add it to the bowl of cheesecake filling. Gently fold it in using a spatula or wooden spoon. Do not whisk it in.
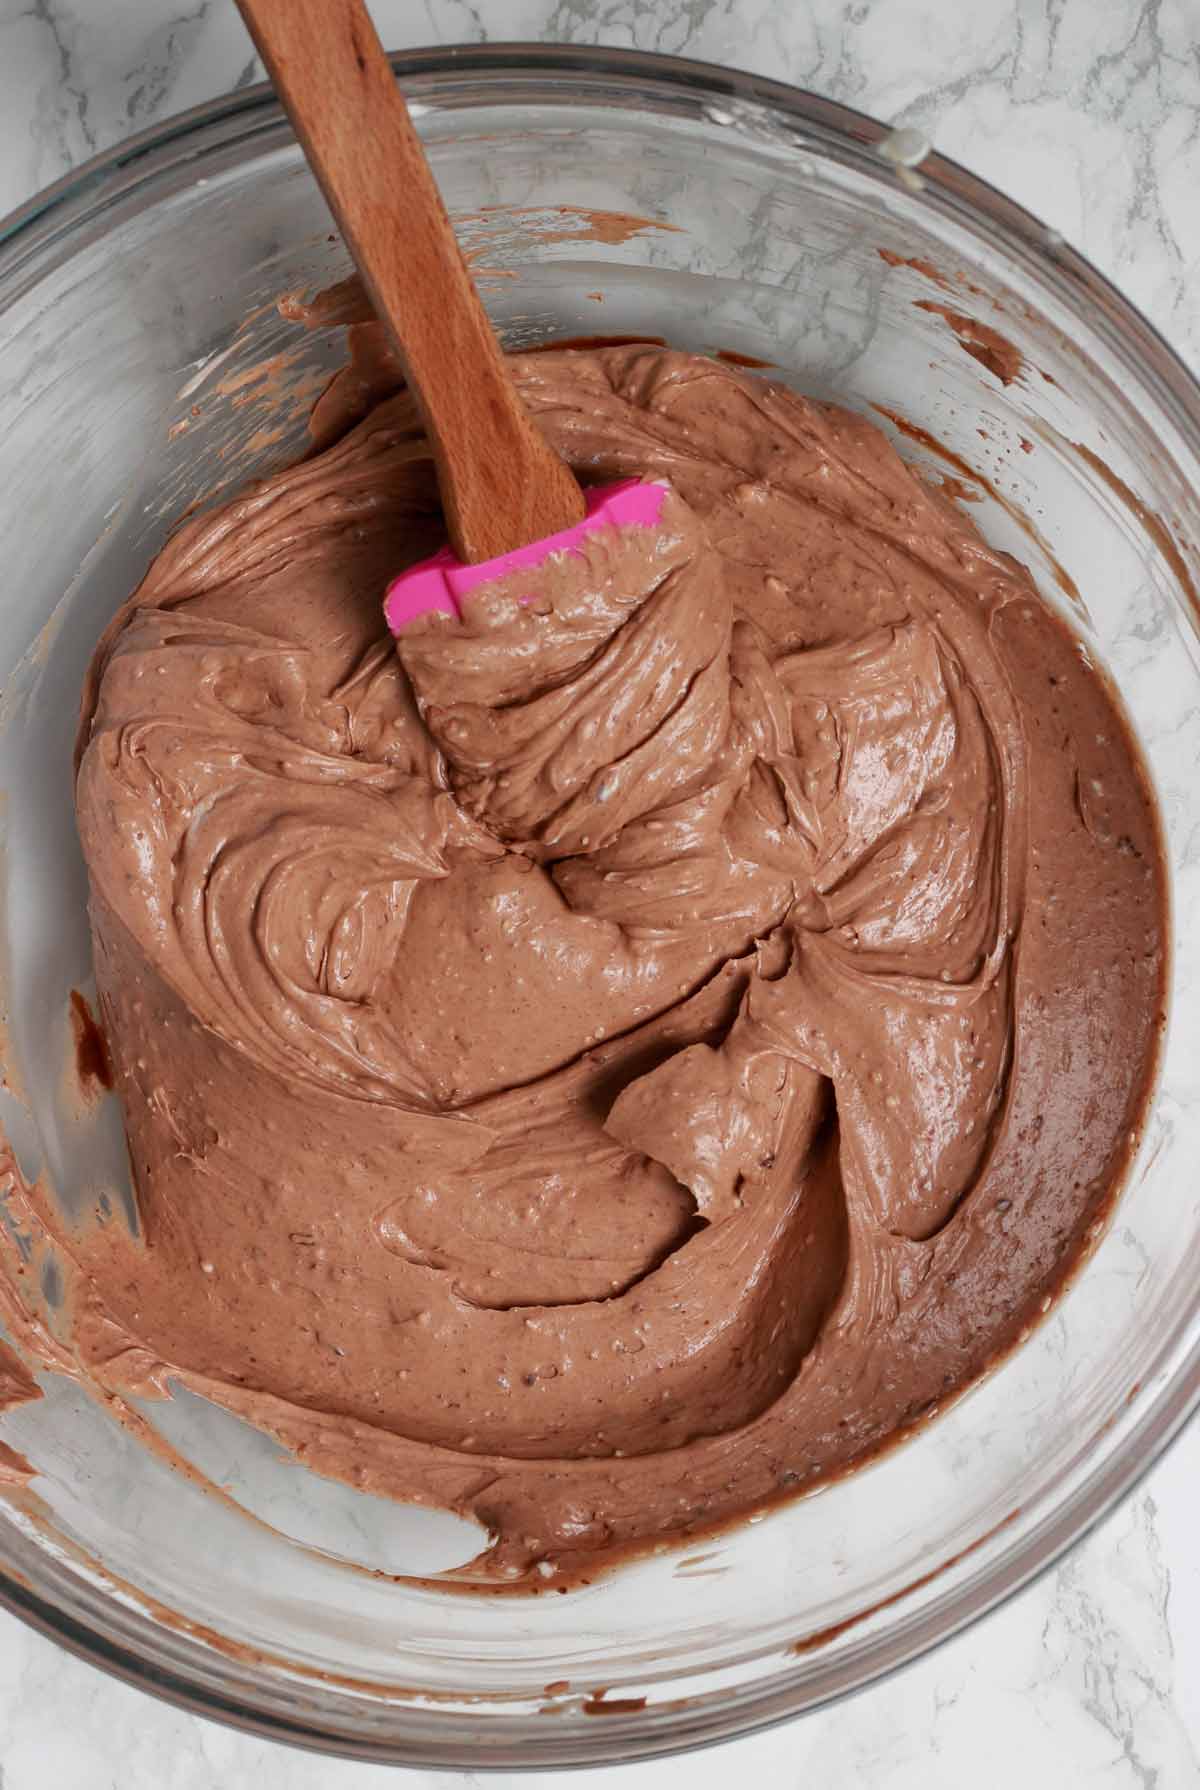
Step 6:
Spoon the chocolate cheesecake filling over your biscuit base and spread it out evenly.
Place it in the fridge for 6-8 hours or leave it overnight.
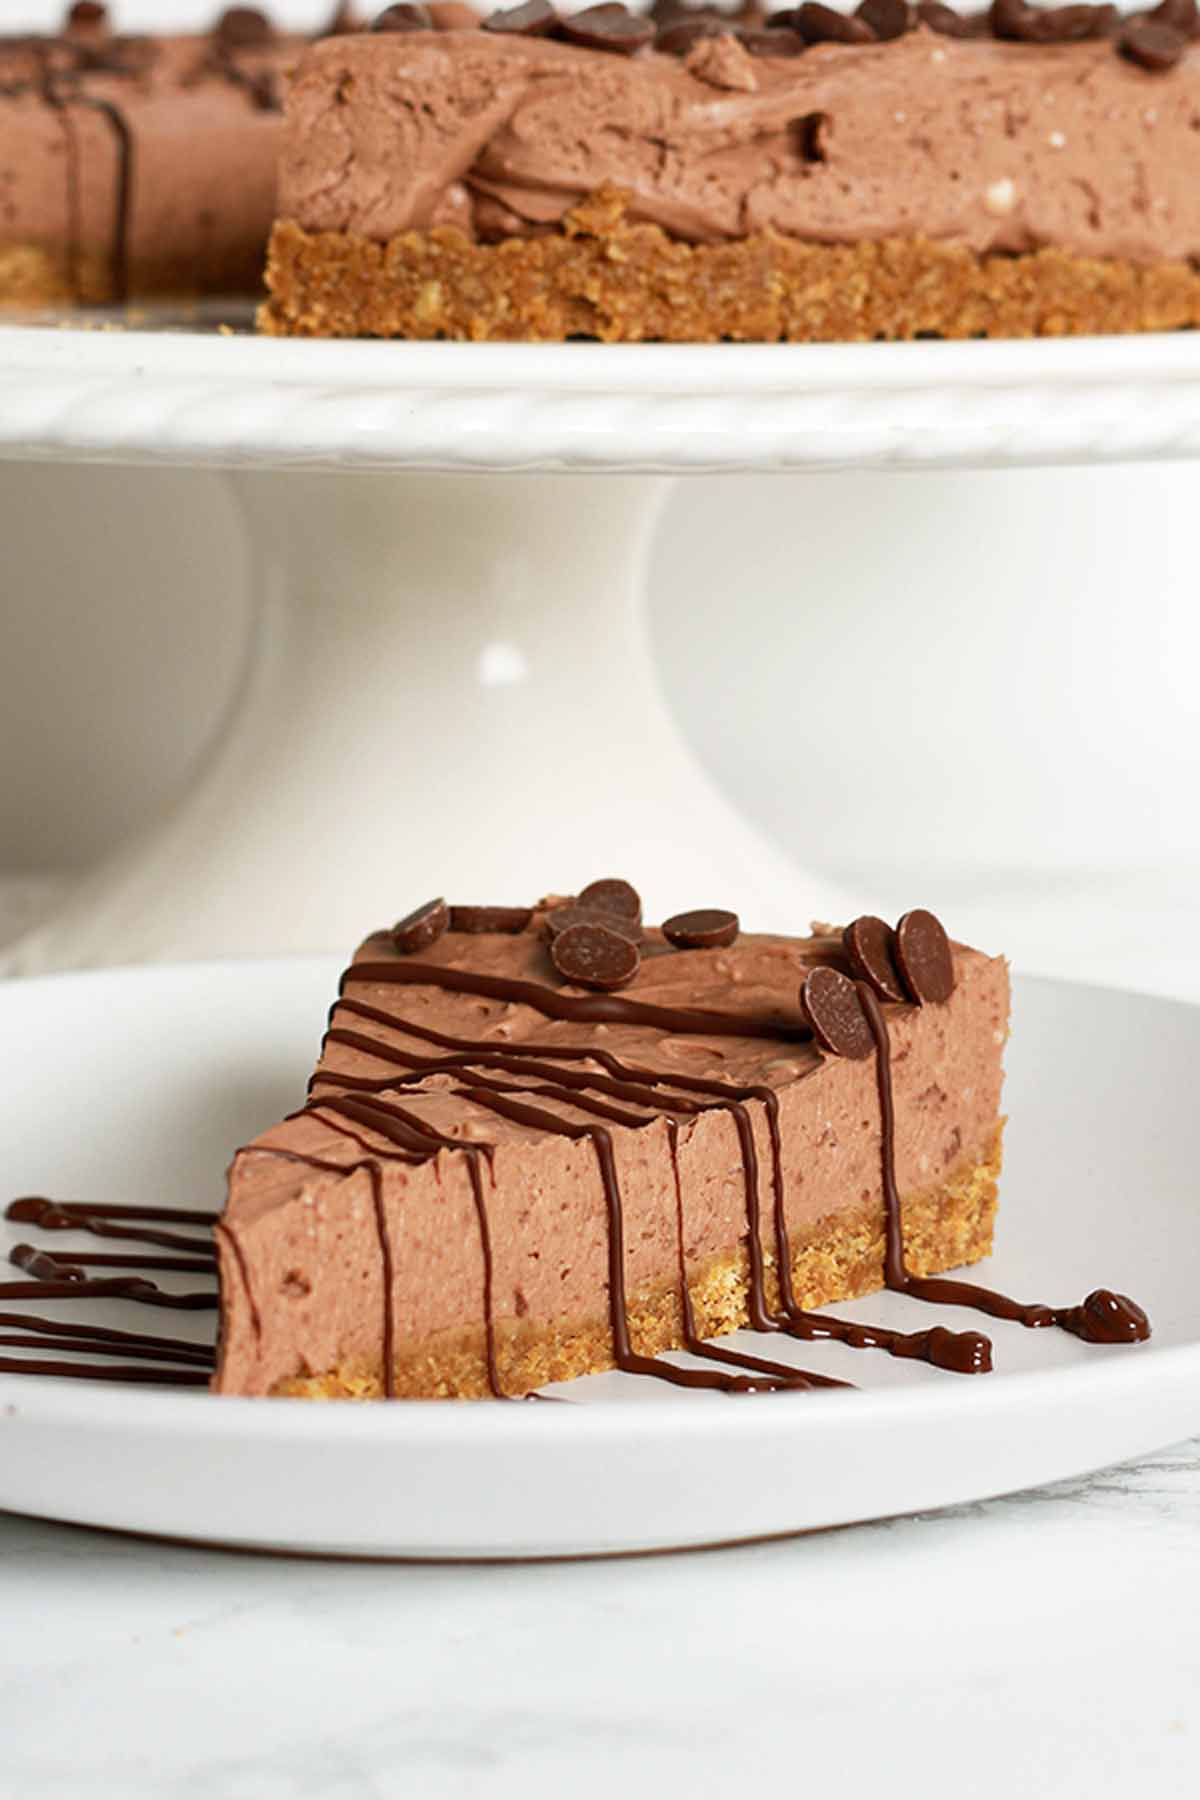
Step 7:
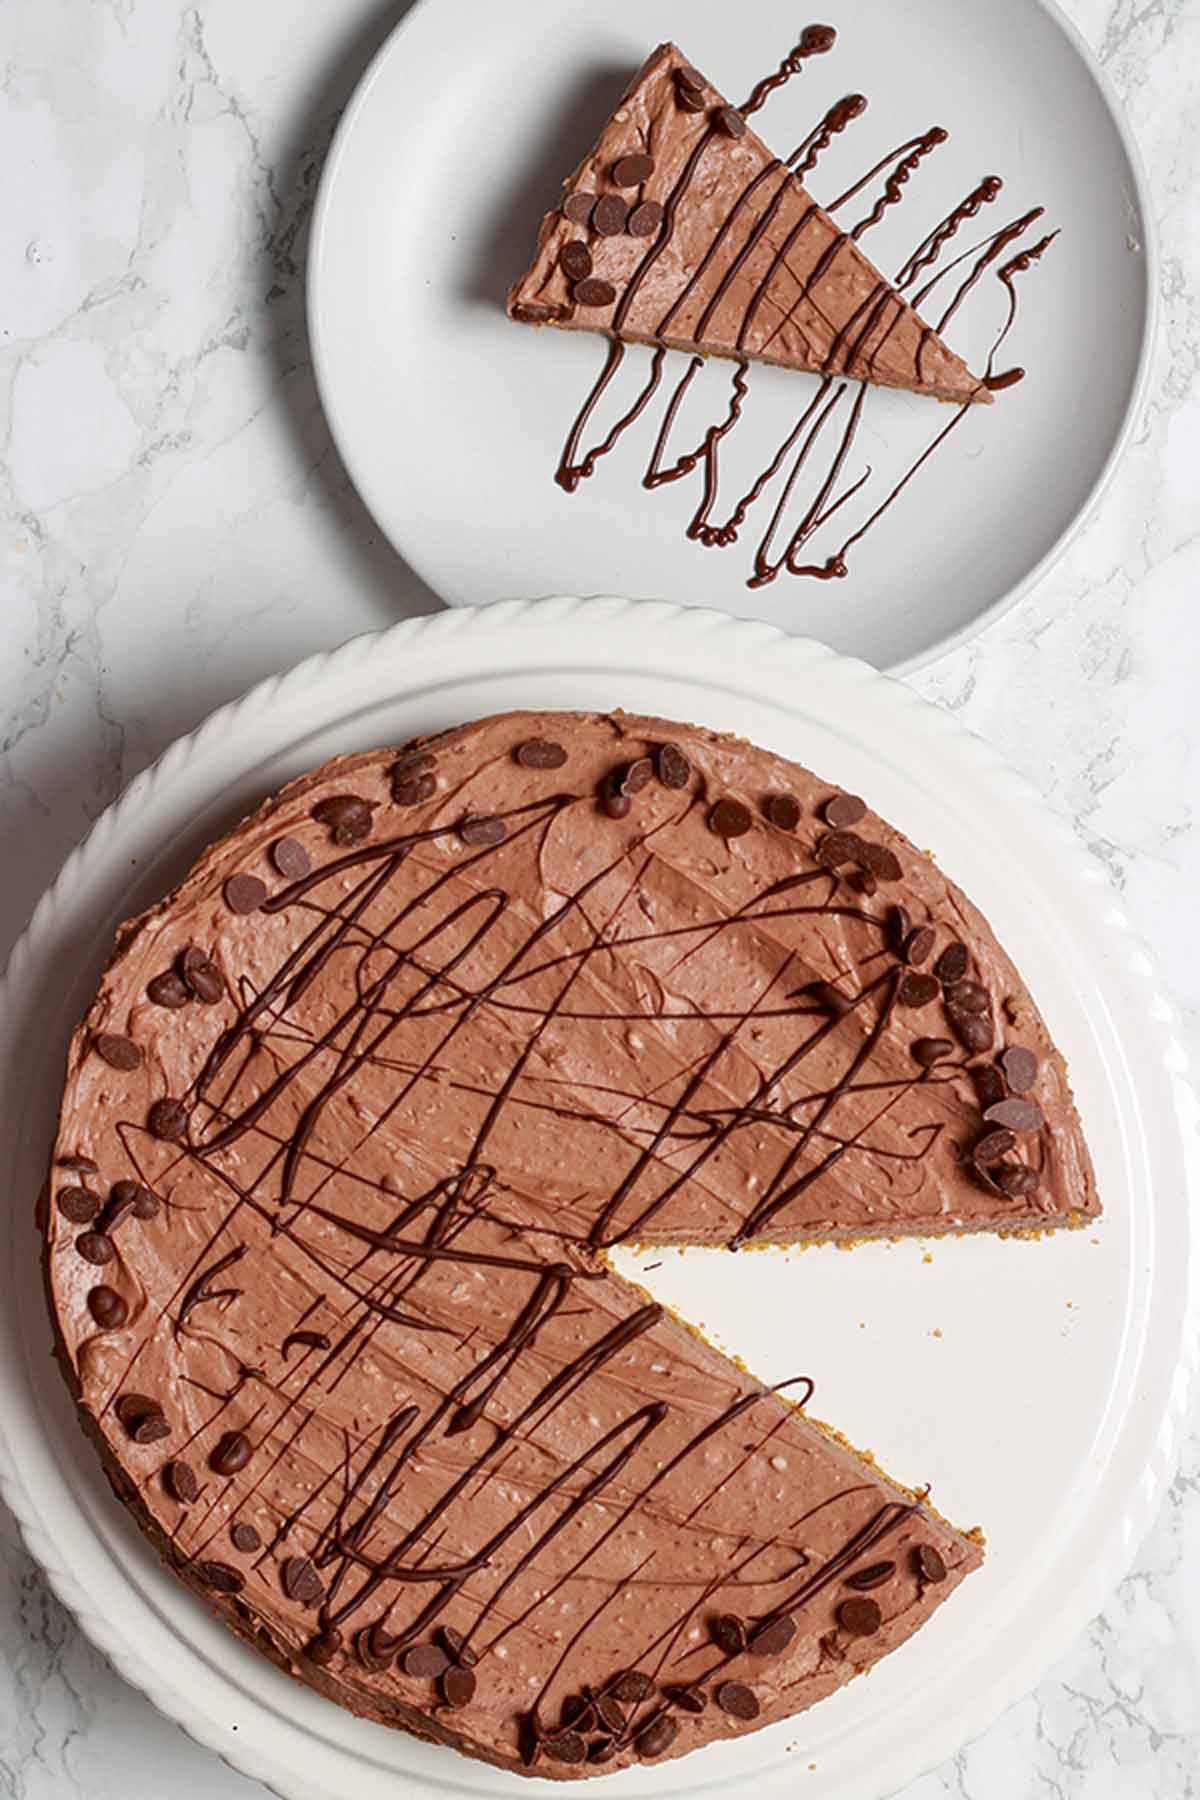
Once the cheesecake has set, carefully remove it from the tin and transfer to a cake stand or plate. Decorate with some melted chocolate and/or chocolate chips if desired.
FAQ
I always use Elmlea double plant cream for my cheesecakes. Make sure to use the double version, not the single, or it won’t whip/set properly. Another one that works well is Oatly whippable. If you can’t find either of these brands, use any vegan cream that whips up into peaks and it should work fine!
Yes. I tested the cheesecake base with a small batch of gluten-free Hobnobs and they worked almost the exact same as the regular ones. I recommend adding an extra teaspoon of melted margarine to help the base hold together a little better.
If stored appropriately, it will last in the fridge for around 5 days.
Yes! I love freezing vegan cheesecake. Just pop individual slices into airtight containers and freeze. Alternatively, you can freeze the whole cheesecake on a baking tray lined with baking paper for 2-3 hours. Once it’s frozen, wrap it tightly in clingfilm or tinfoil and return to the freezer for up to 1 month.
When you’re ready to defrost your cheesecake, transfer it to the fridge and leave overnight or until fully thawed. Do not refreeze.
More vegan cheesecake recipes
That’s all for now! I hope you enjoy my vegan chocolate cheesecake recipe! If you make it at home, please let me know what you think by leaving a comment and/or rating below! xo
Vegan Chocolate Cheesecake
Creamy dairy-free chocolate cheesecake without cashews or coconut.
Ingredients
- 300 g Hobnob biscuits
- 90 g Vegan margarine, melted
- 180 g Vegan chocolate
- 400 g Vegan cream cheese (I recommend Violife for best results)
- 80 g Icing sugar
- 180 ml Vegan whipping cream (I used Elmlea plant double cream)
Instructions
-
Crush the biscuits into fine crumbs. Add to a large bowl with the melted margarine and mix well until all the crumbs are evenly coated.
-
Press the biscuit crumbs tightly into the bottom of a 9-inch spring form tin. Place in the fridge while you prepare the filling.
-
Melt the chocolate over a low heat and set aside to cool completely.
-
In a large bowl, mix together the cream cheese and icing sugar. Add the whipping cream and use an electric whisk to whip everything together until thick. The mixture should hold firm peaks.
-
Add the cooled melted chocolate to the bowl and gently fold it in using a spatula or wooden spoon.
-
Spoon the chocolate filling on top of the biscuit base and spread it out evenly.
-
Place the cheesecake in the fridge for 6-8 hours or leave it overnight to set.
Recipe Notes
- Hobnobs can be substituted with an equal amount of Digestive biscuits.
- Store covered in the fridge for up to 5 days.
Sinead
Thursday 3rd of August 2023
Hi, could I use oatly cream cheese and Oatly double cream? Thanks ?
Chloe
Friday 4th of August 2023
Hi Sinead, I haven’t tried it myself but a few people have told me it works well?
Pauline
Monday 5th of June 2023
~This cheesecake is delicious! I used the ingredients as you stated and it even knocked the socks of my best friend's husband! He prefers a fruity dessert rather than a chocolate one normally. He thought it was so delicious he even made one for when I next went to their house. I don't think he's ever tried anything vegan before but he was very impressed. The flavour and texture is just divine. I suffer from IBS so I do like to try different vegan desserts as I know that I'm mostly safe with them. Thank you for the recipe Chloe! It is definitely a favourite of mine.
Chloe
Tuesday 6th of June 2023
Thank you so much Pauline, what a lovely review. :) I'm so glad it was enjoyed!
Frankie
Sunday 1st of January 2023
Did an Oreo crust and it turned out great. Thanks for the recipe. Will definitely make again. x
Chloe
Monday 2nd of January 2023
Thanks for your review Frankie. Glad you enjoyed the recipe!