Vegan Sticky Toffee Pudding
This vegan sticky toffee pudding recipe is one of my favourite recipes EVER! It’s a dark, decadent and rich sponge cake topped with a thick, sticky toffee sauce. It’s great to warm you up on a cold night!
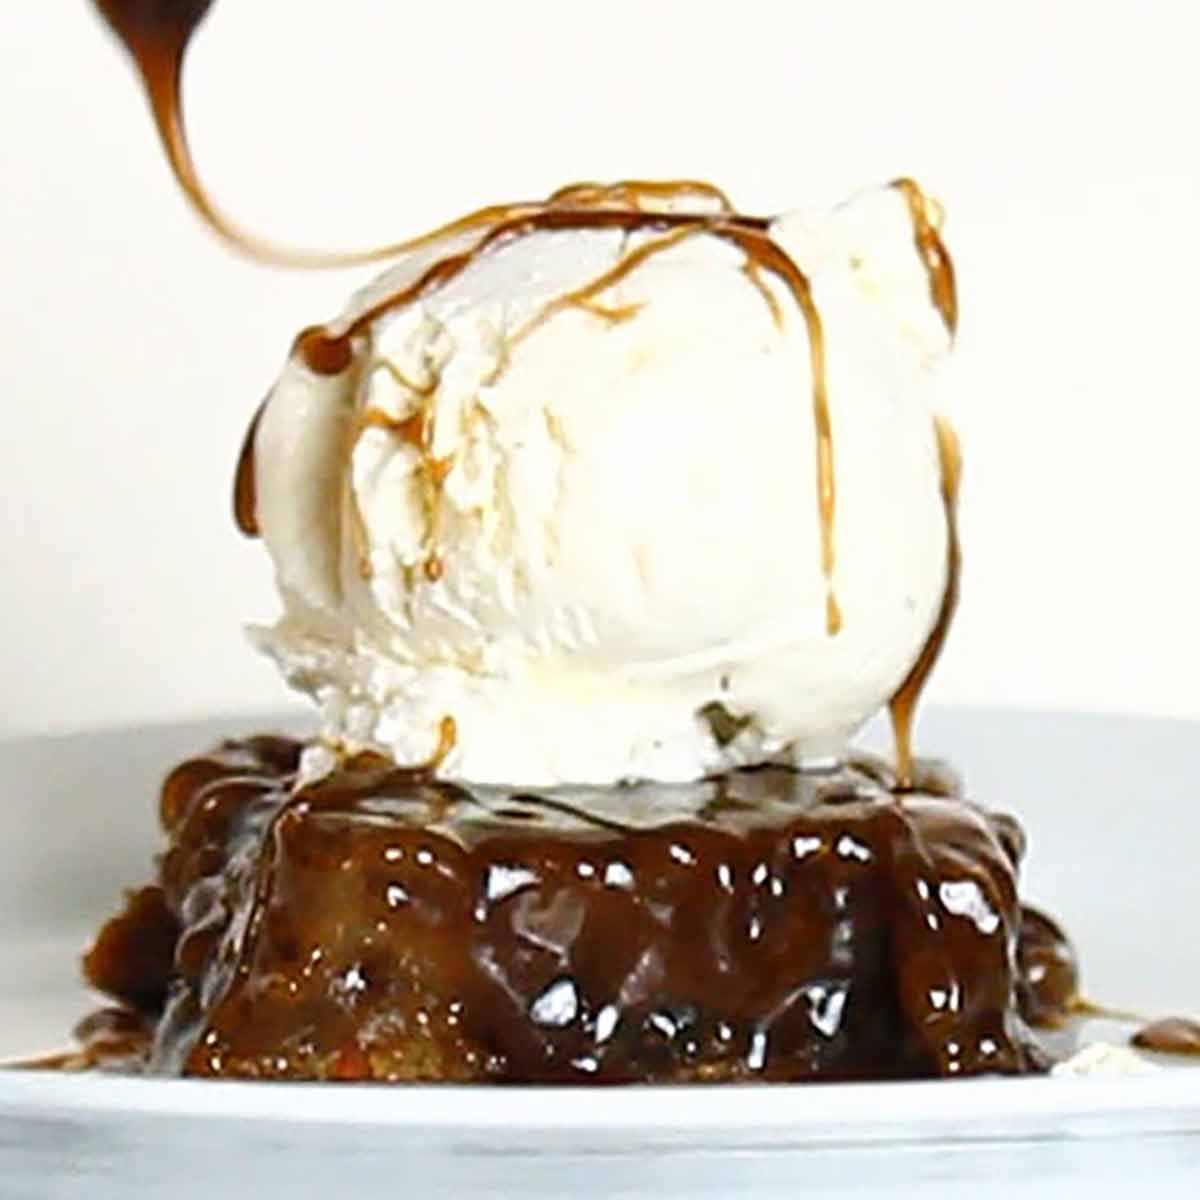
Sticky toffee pudding was the first thing I ever successfully veganised in my life. Up until then, I had tried, and failed (miserably), to do the same to many other desserts.
But this one was the beautiful exception.
The recipe started out as an adapted version of an old cookbook recipe. My dairy-free sticky toffee pudding was pretty good to start with, but I’ve since altered it multiple times to make it even better!
What is sticky toffee pudding?
This pudding is a traditional British dessert that is typically made with dates. It also contains lots of brown sugar to make a super-rich, moist dessert. This eggless sticky toffee pudding is made with simple ingredients so there’s no need for egg replacer at all!
And then there’s the sauce! This has always been my favourite part about this dessert. I would literally eat it straight from the dish with a spoon when I was growing up. (I may or may not still do that…)
The sauce is traditionally made with sugar, butter, and double cream. But if you just switch the butter for a dairy-free one and the double cream for coconut cream, you’ve got yourself an easy sticky toffee sauce!
Don’t worry about the sauce tasting like coconut either. I am NOT a fan of non-coconutty desserts that taste like coconut. I promise you won’t be to taste it at all! The flavours from the brown sugar, the dairy-free margarine, and the dates are strong enough to overpower it. You get all of the creaminess AND all of the toffee flavour!
Served warmed up with dairy-free vanilla ice cream, this pudding is my, and many of my family members’ favourite dessert for the colder months. (My apple pie comes a close second!)
Want more vegan Winter desserts? Try these:
How to make vegan sticky toffee pudding
Step 1:
First off, you’ll need to preheat your oven to 180°C/350°F and line an 8×10-inch rectangular baking tin with baking paper. Make sure the tin is at least a few inches deep so the cake doesn’t spill over the edges as it bakes.
Step 2:
Measure out 200g of pitted dates (1 + 1/8 cup) and chop them up roughly. I used Deglet Nour dates but you can use any kind for this recipe.
Place the chopped dates into a small bowl and pour 240ml of boiling hot black tea (1 cup) over them. Leave to soak for 5 minutes.
Note that it’s important that the water is boiling hot otherwise the dates won’t soften.
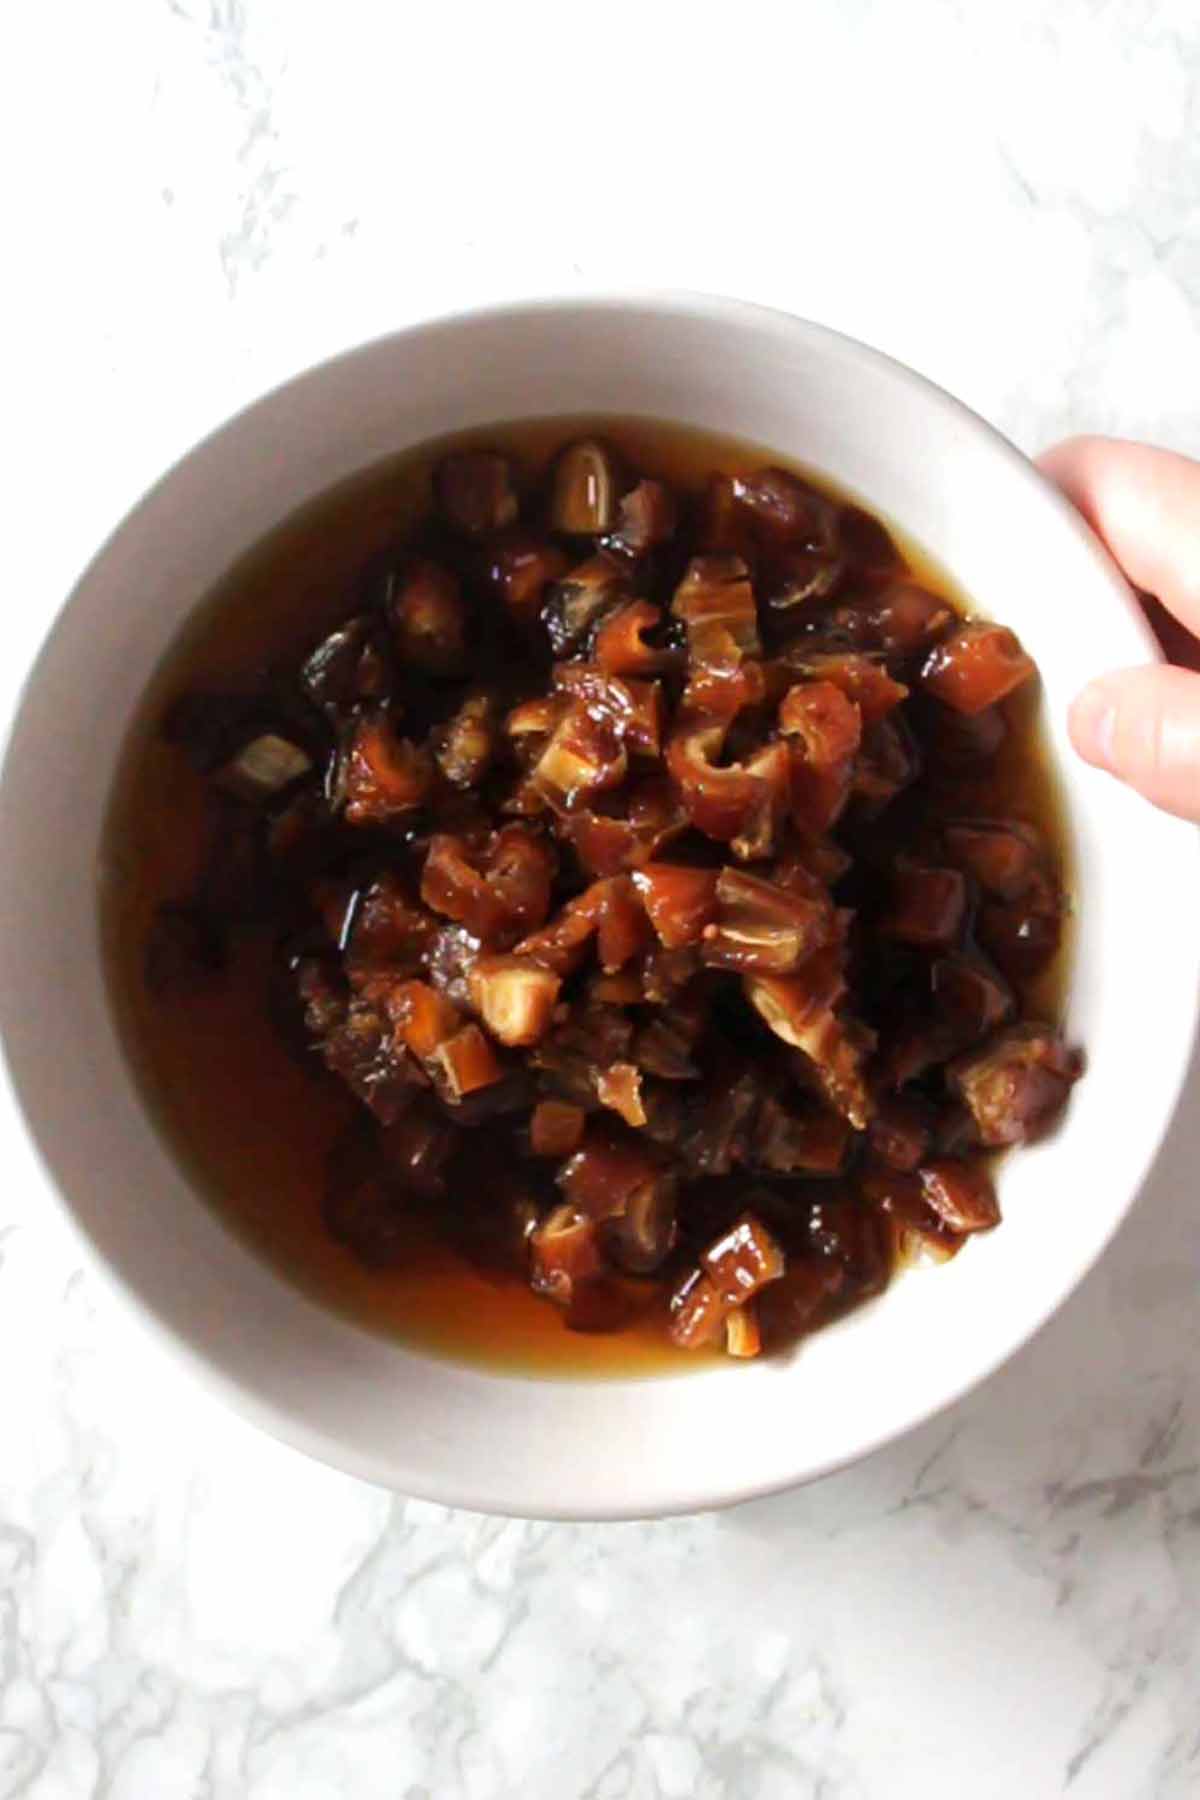
After the dates have soaked for 5 minutes or so, mash them up using a fork to make a sticky, clumpy mixture. It’s OK to have lumps in there as long as they are soft and not solid.
Step 3:
Next, in a separate bowl, cream 80g of dairy-free margarine (~5 tablespoons) with 150g of soft light brown sugar (3/4 cup).
To the same bowl, add 1 teaspoon of vanilla extract and mix well.
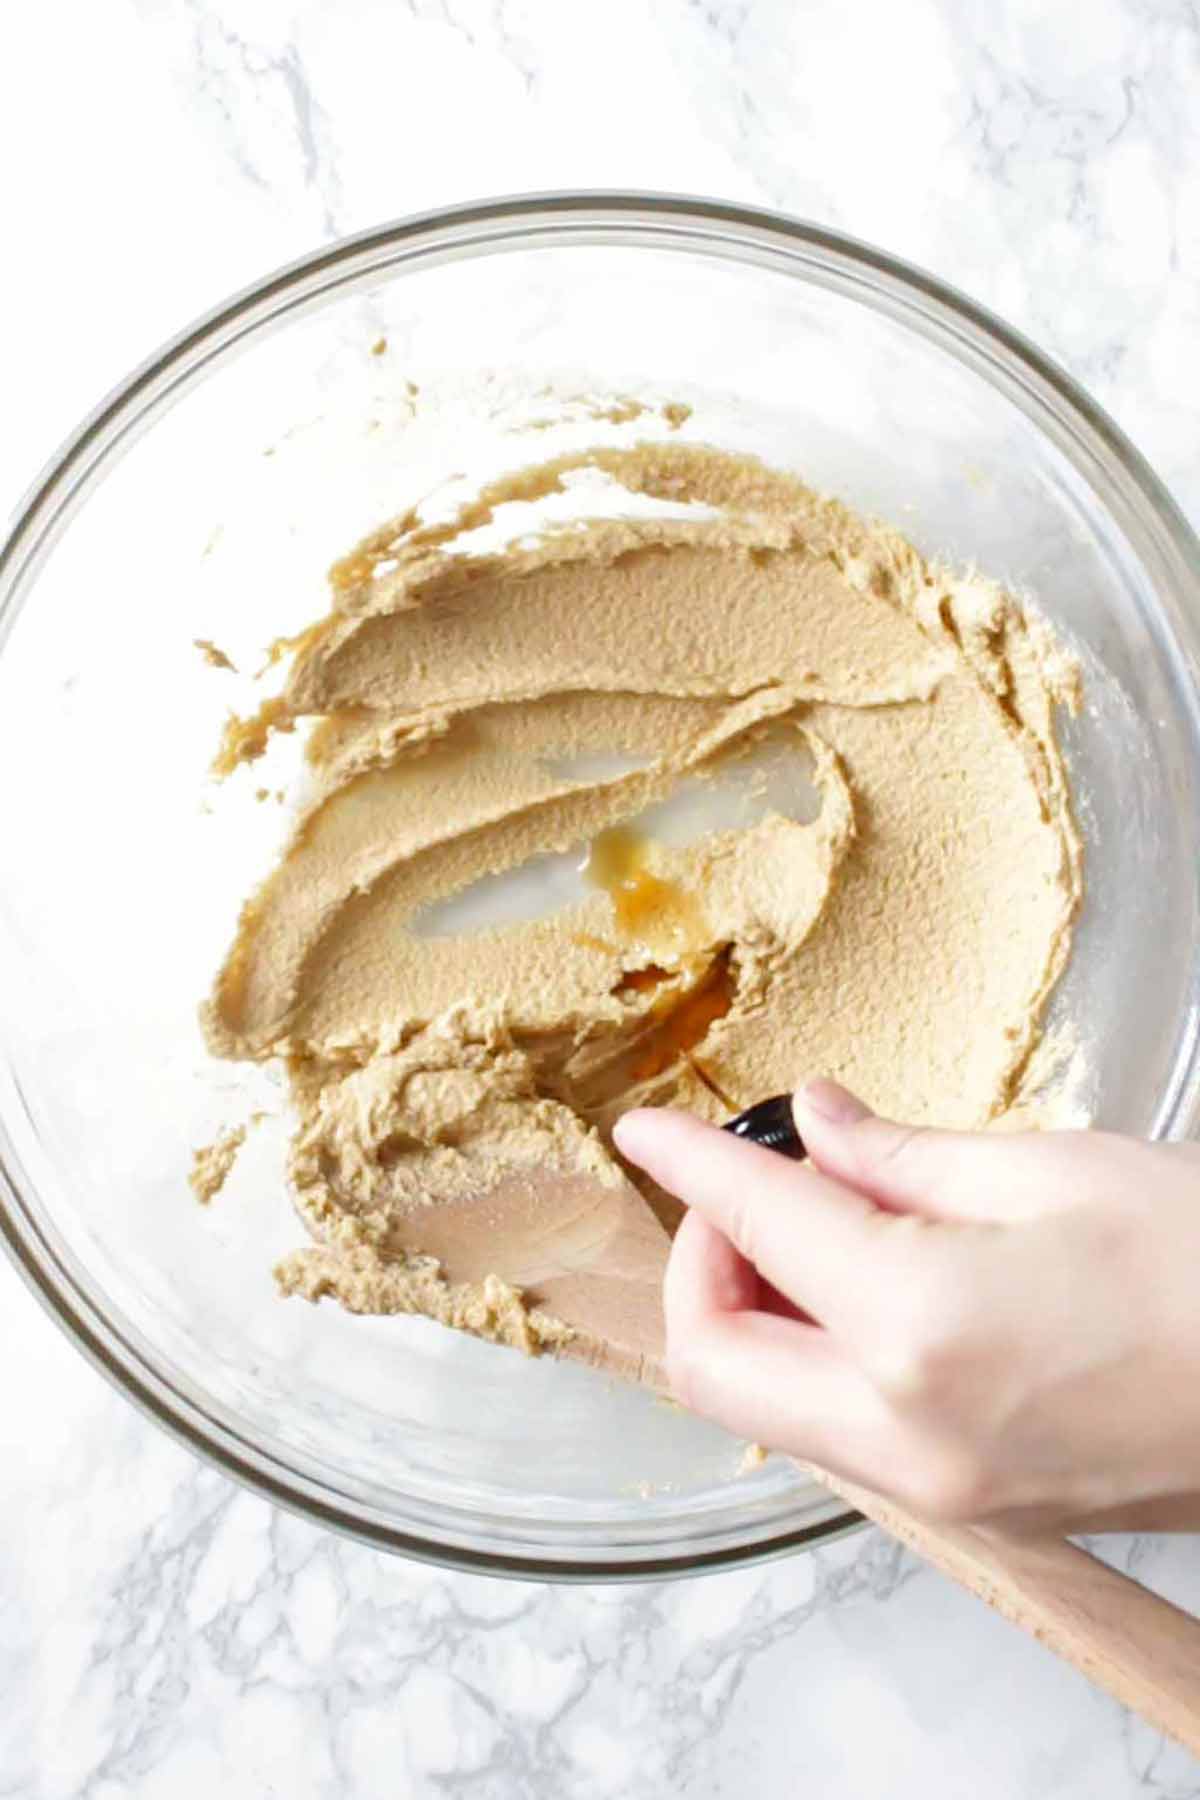
Add in the date mixture and stir it in well. The mix will look a bit odd right now, sort of curdled. But don’t worry because it will become lovely and smooth after the next step.
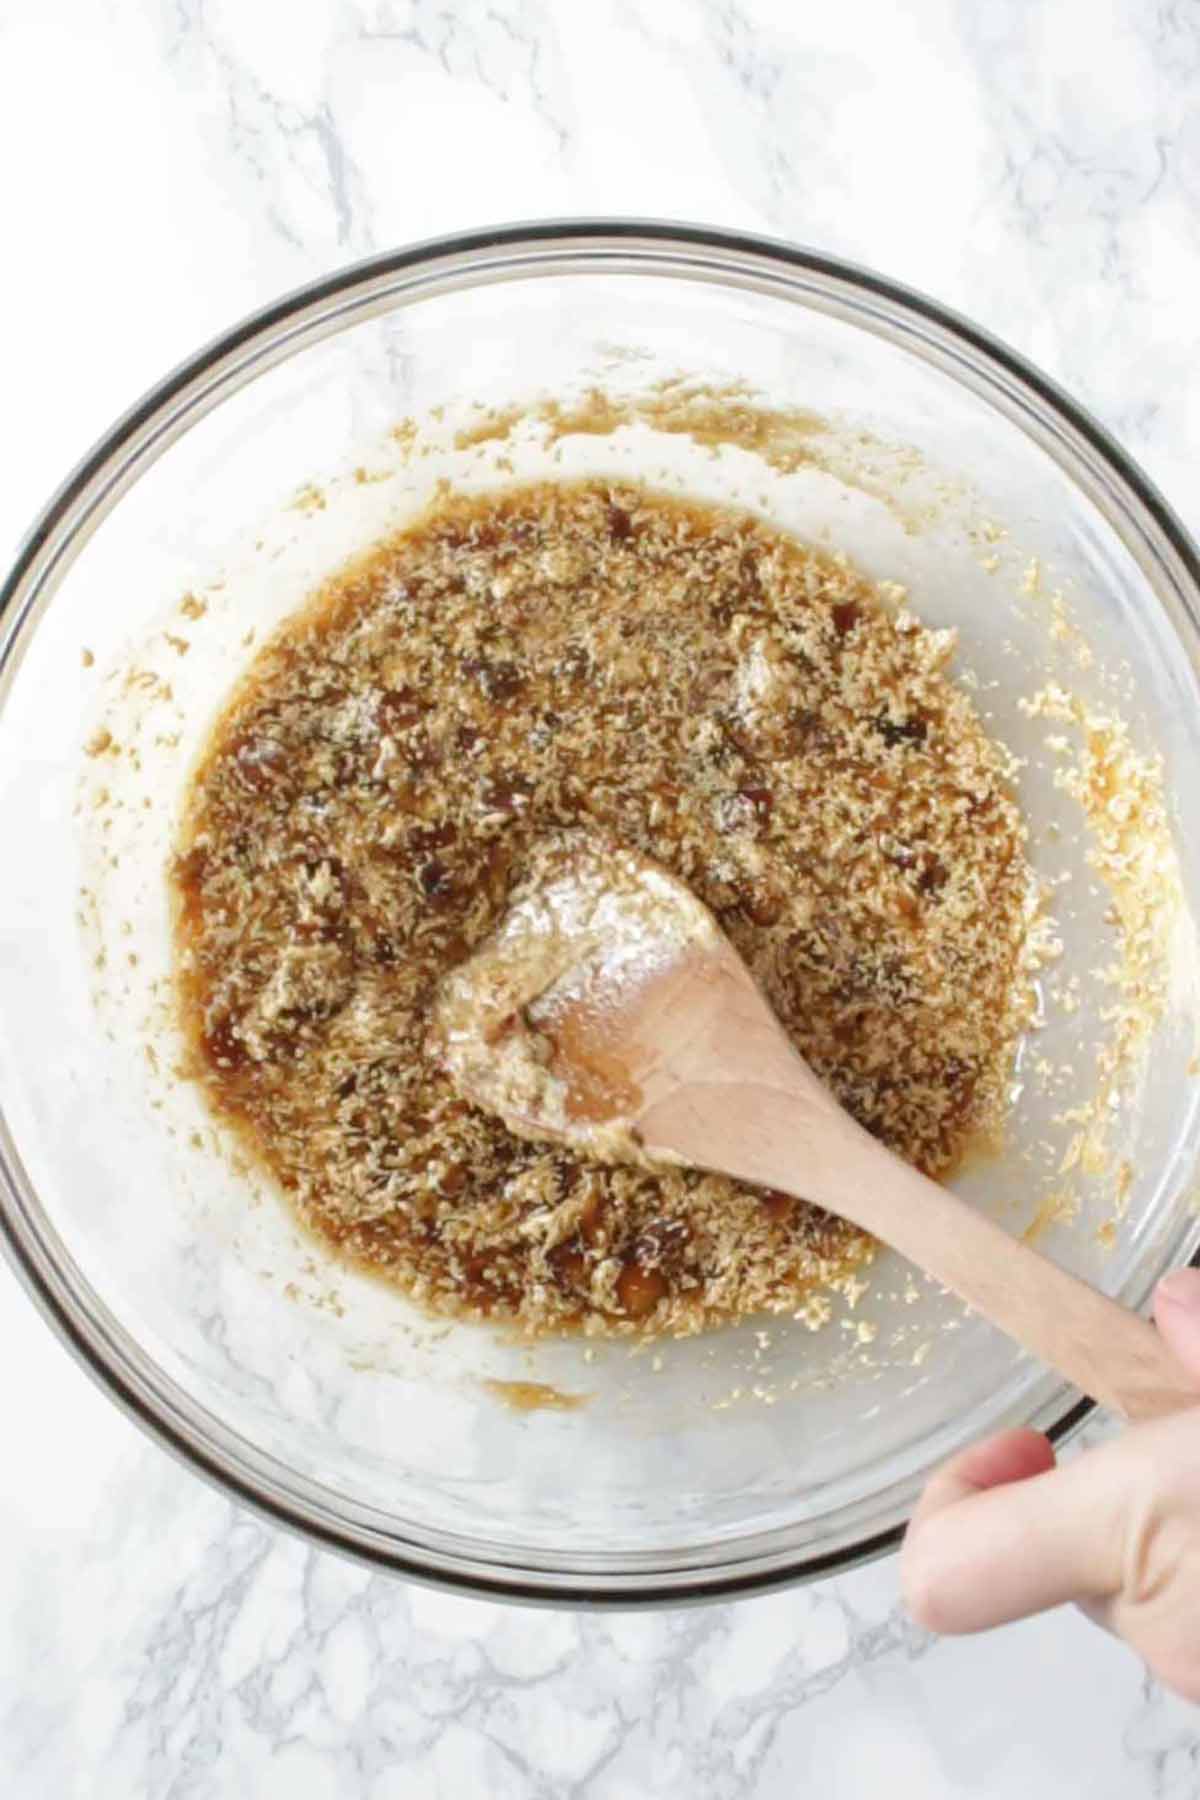
Step 4:
Add 190g of self-raising flour (1+1/2 cups) to the bowl along with 1/2 teaspoon of baking soda. Fold it into the wet mixture until you have a smooth, creamy pudding batter.
Step 5:
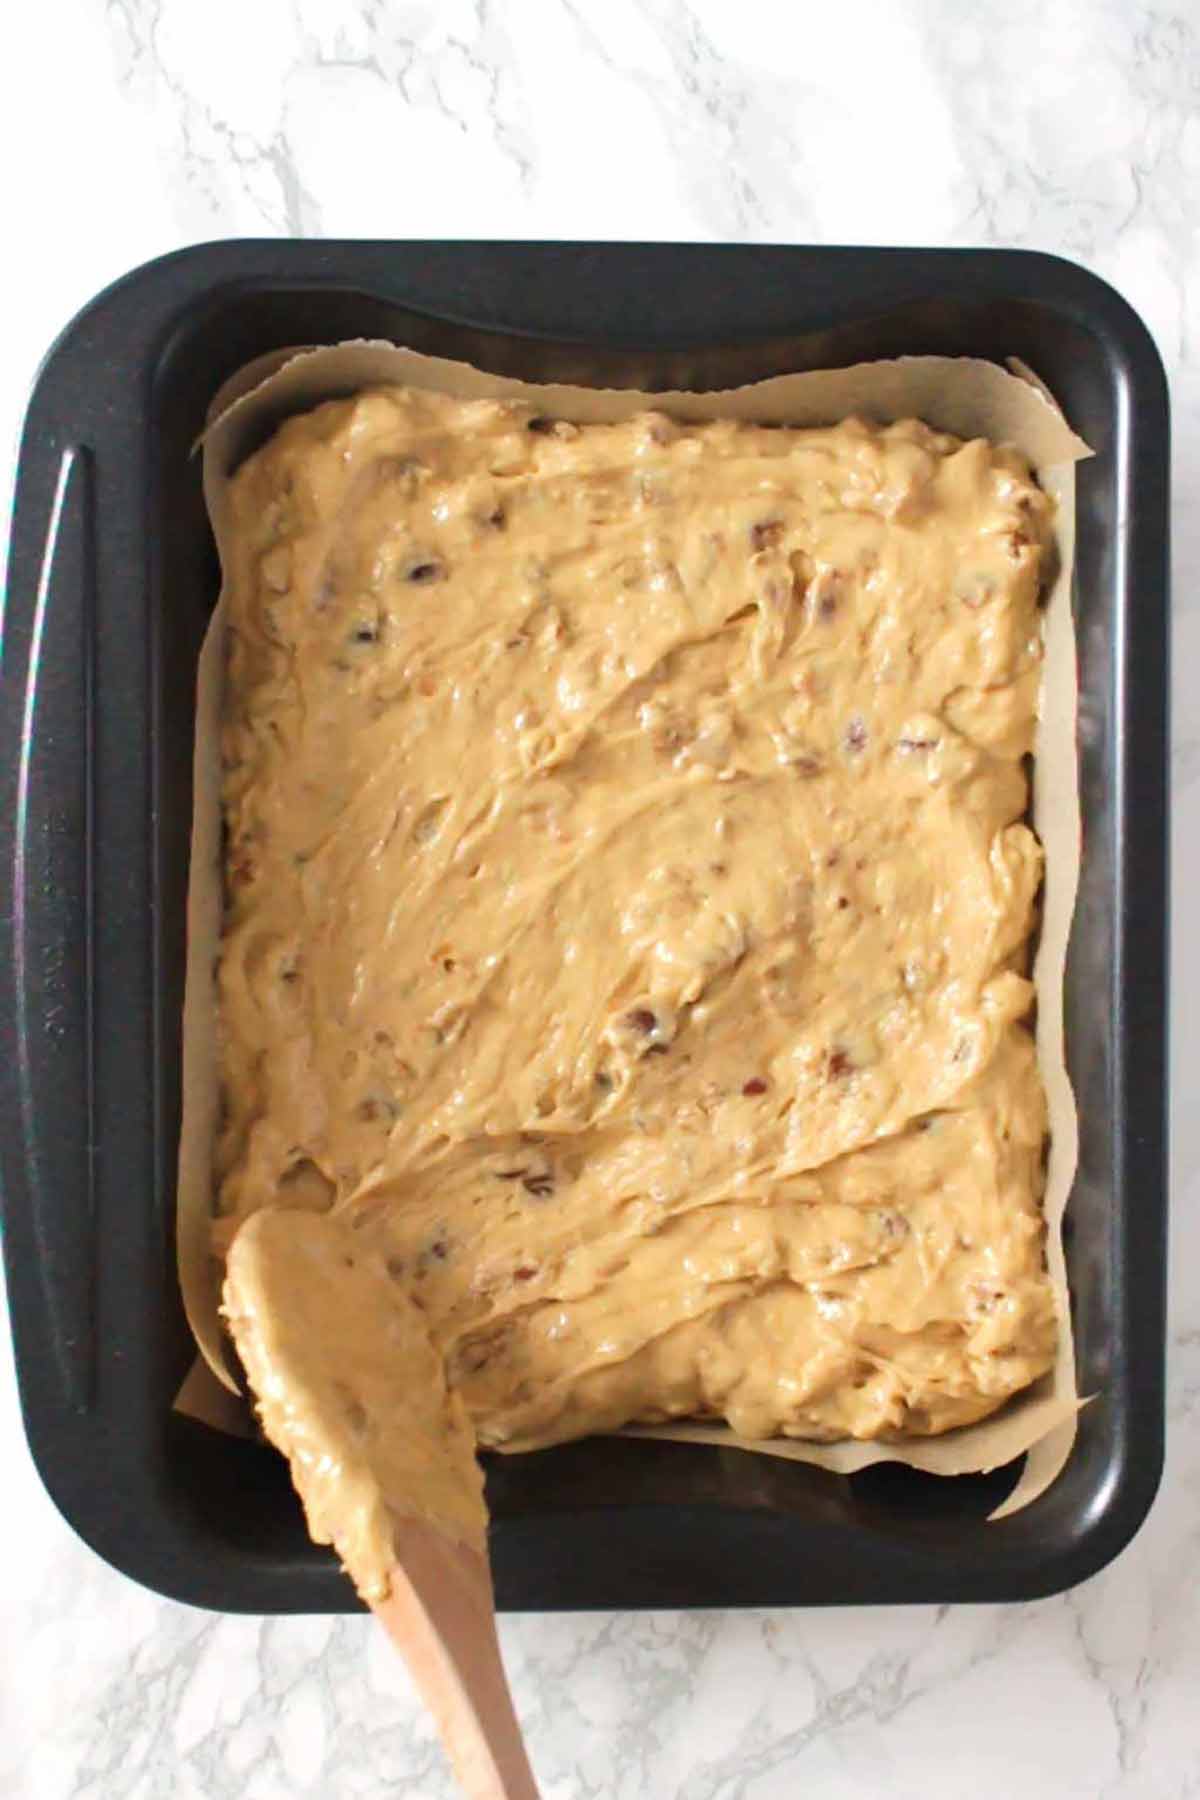
Spoon the batter into your lined tin and bake for 20 minutes. Prepare the sauce while the cake is baking- you’ll need it as soon as the cake comes out of the oven.
Onto the sticky toffee sauce
Step 1:
Add 150g of soft brown sugar (3/4 cup) and 120g of dairy-free margarine (1/2 cup) to a small non-stick saucepan over medium heat.
Stir every so often until the butter melts and the sugar dissolves. It should look dark brown and runny at this point.
Step 2:
Add 60ml (1/4 cup) of full-fat coconut milk to the pot, stir it in gently then leave the sauce to simmer for a minute or two until it starts to bubble. Do not stir it while it’s simmering as this will cause the sugar to crystallize. You can use a pastry brush to gently brush down any splatters on the sides.
Don’t worry if the sauce is a little runny at this point as it will thicken up when it cools down.
Step 3:
When the sponge comes out of the oven, poke small holes all over it using a knife. This will allow the sauce to get right inside. Pour the sticky toffee sauce over the pudding immediately after doing this and spread it out with the back of a spoon.
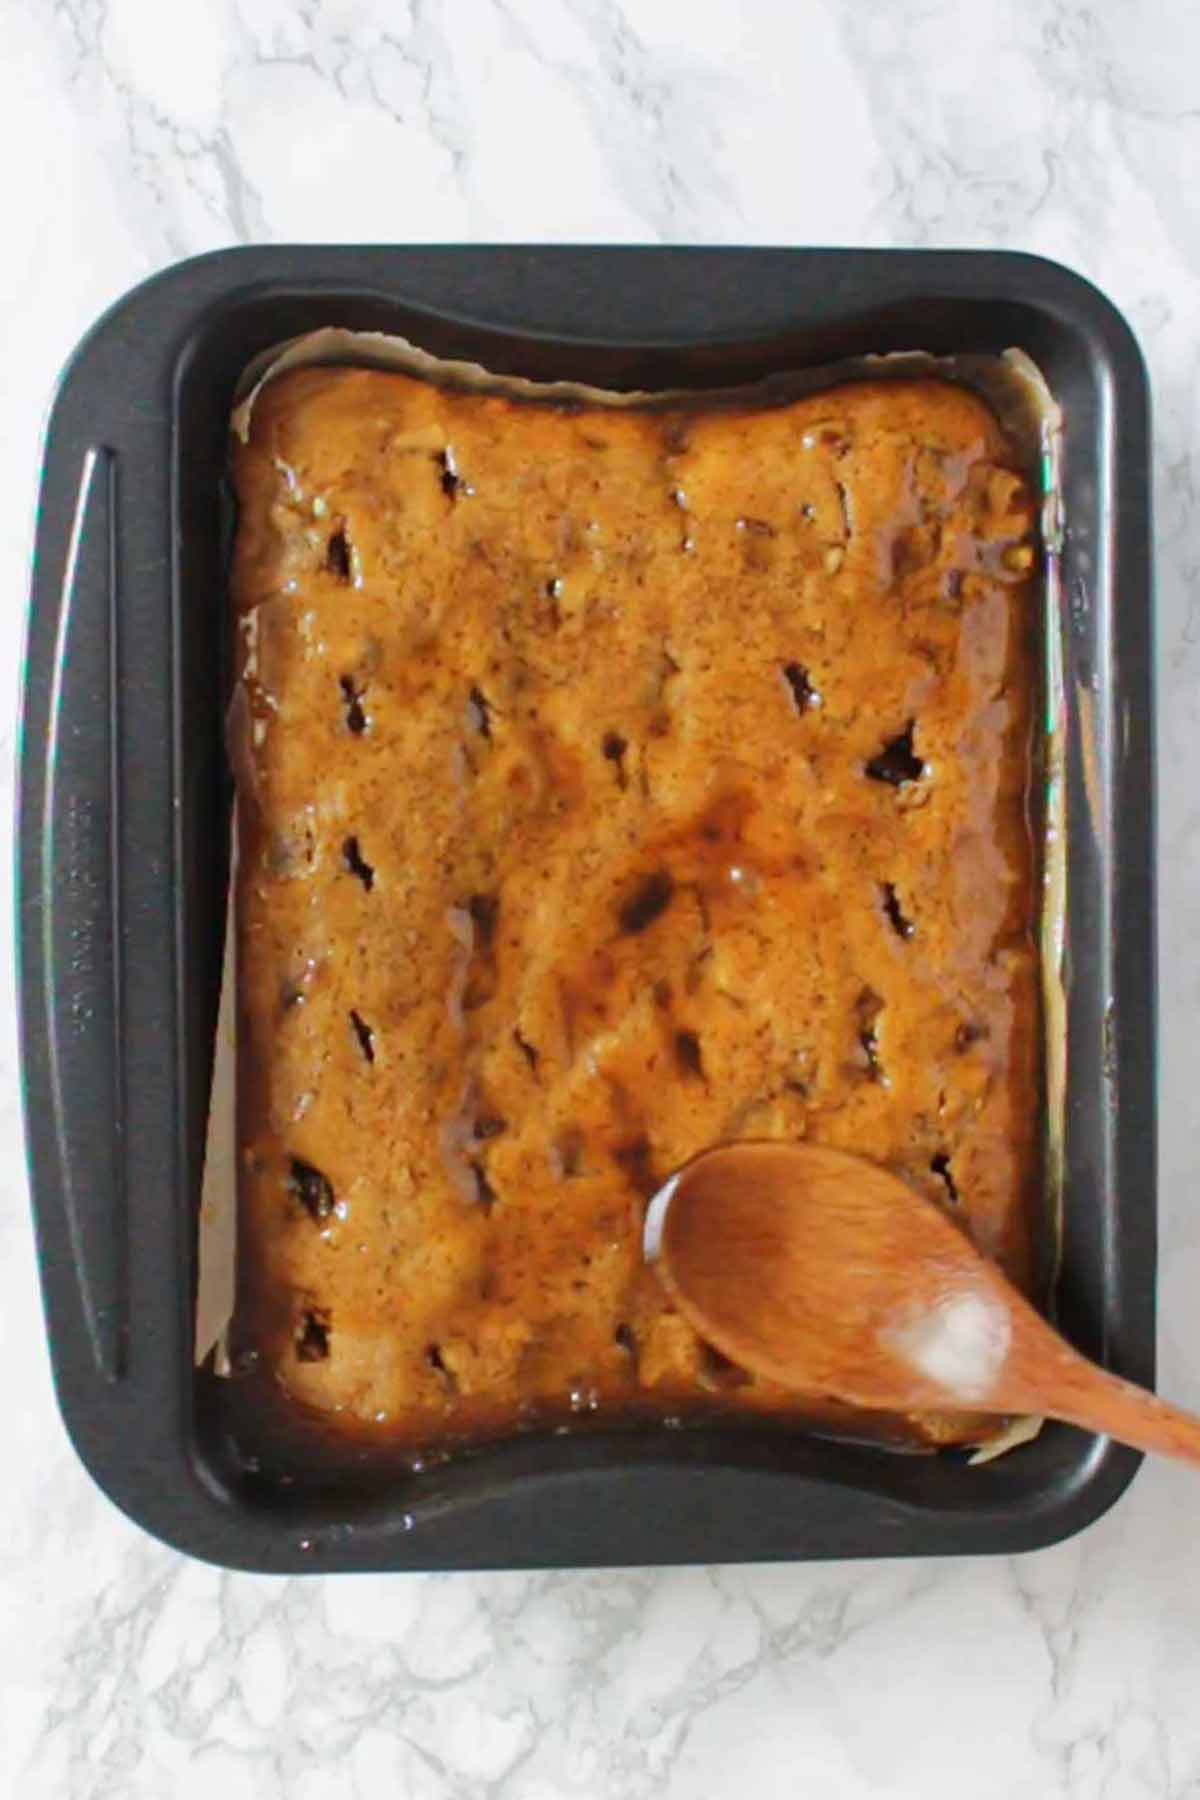
I recommend leaving about ¼ of the sauce to pour over each slice just before serving.
If you plan on eating your eggless sticky toffee pudding straight away, allow it to cool for 5-10 minutes first. I personally like to let it cool completely in the dish to really let the sponge soak up the sauce. Then I just warm it up with a little leftover sauce when I’m ready to eat it.
FAQ
In the fridge is best, in an airtight container. It will be at its best for around 4 days.
You absolutely can! Once you’ve made the pudding and poured the sauce over, leave it to cool completely. Place into an airtight container and freeze for up to 1 month.
To defrost, let it sit out at room temperature for 1-2 hours, until completely thawed. Reheat (if desired) with leftover toffee sauce, in the oven at 180°C/350°C for 20 minutes. Do not refreeze.
Sticky toffee pudding without dates is a bit of an oxy-moron. Dates are the key ingredient for this recipe as they are what makes the pudding sticky. I have heard of some people using prunes in place of the dates but I’ve never tried it myself and would think that it might change the flavour slightly.
I haven’t tested this particular recipe with gluten-free flour yet. If you’d like to try it though, I would recommend using a gluten-free flour blend that contains xanthan gum for best results, such as Dove’s Farm. I would also expect that you’ll need to adjust the amount of tea in the recipe too. Please let me know how it goes if you try it!
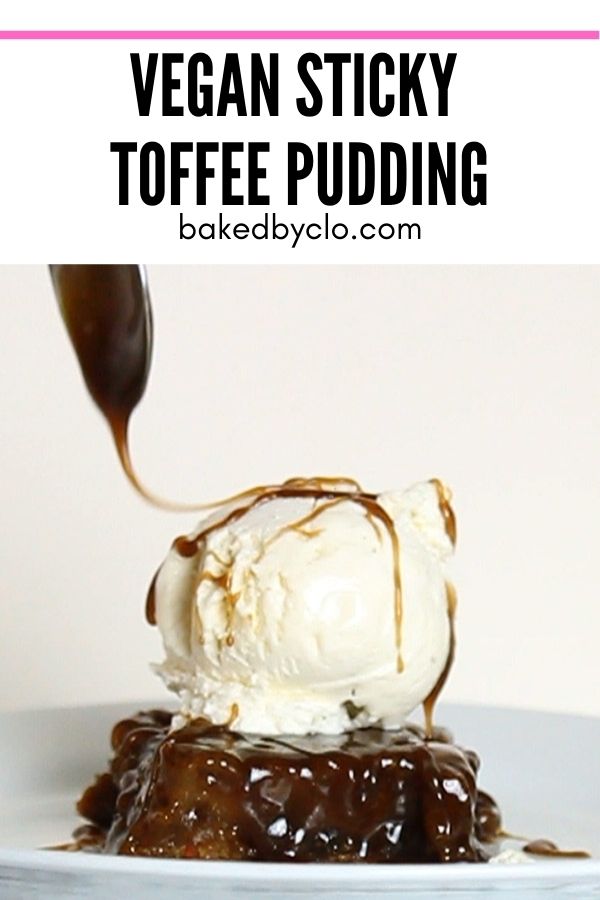
I hope you get the chance to try this eggless sticky toffee pudding for yourself. If you do, please leave a review or a comment to let me know how you like it! Happy baking! xo
Vegan Sticky Toffee Pudding
An eggless sticky toffee pudding recipe made with dates and brown sugar for extra indulgence!
Ingredients
- 200 g Pitted and chopped dates (1+⅛ cup)
- 240 ml Boiling hot black tea (1 cup)
- 80 g Dairy-free margarine (~5 tablespoons)
- 150 g Soft light brown sugar (¾ cup, packed)
- 1 Teaspoon Vanilla extract
- 190 g Self-raising flour (1+½ cups)
- ½ Teaspoon Baking soda (bicarbonate of soda)
For the sticky toffee sauce:
- 120 g Dairy-free margarine (½ cup)
- 150 g Soft light brown sugar (¾ cup, packed)
- 60 ml Full-fat coconut milk (¼ cup)
Instructions
-
Preheat oven to 180°C/350°F (160°C or 325°F if you're using a fan or convection oven). Line an 8×10" rectangular tin with baking paper.
-
In a small bowl, pour the hot tea over the chopped dates. Leave to soak for 5 minutes, then mash it with a fork to make a lumpy, sticky mixture.
-
In a separate bowl, cream the margarine and brown sugar together. Add the vanilla along with the date mixture and mix well.
-
Gently fold in the flour and the baking soda to make a smooth, slightly thick batter.
-
Spoon the batter into your lined tin and bake for 20 minutes. Prepare the sauce in the meantime.
For the sticky toffee sauce:
-
Add the margarine and sugar to a pan over medium heat. Stir every so often until the sugar has dissolved and the margarine has melted.
-
Add the coconut milk and stir it in gently. Leave it to simmer for a minute or two until it starts to bubble then remove from the heat.* Don't stir it while it's simmering or the sugar will crystallize.
Assembly:
-
As soon as the pudding comes out of the oven, poke small holes all over it using a knife.
-
Pour the sauce over the pudding while it's still hot, leaving around ¼ of it aside for serving. Use the back of a spoon to spread it out evenly over the pudding.
-
Leave to cool for at least 5 minutes before serving with vanilla ice-cream or vegan custard and the leftover sticky toffee sauce.
Recipe Video
Recipe Notes
- *The sauce might be a bit runny at this point but it will thicken slightly as it cools.
- Store in the fridge in an airtight container for up to 4 days. Reheat before serving if desired.
- If your serving sauce becomes too thick when cool, add a splash of boiling water to make it runny again. If it’s too runny, put it back on the heat for another minute or two.
- Leftovers can be reheated in the microwave, or in the oven for 20 minutes at 180°C/350°F.



Ana
Wednesday 14th of December 2022
Thank you for the recipe. I am looking forward to make this for my Christmas dessert for family. I don't use oils (except coconut oil) due to allergies. What is a good replacement for margarine? Can I use apple sauce? Or does it need to be something else with the same consistency? Any advice and tips would be greatly appreciated as I'm buying all the ingredients now for Christmas. Thank you
Chloe
Thursday 15th of December 2022
Hi Ana, thanks for your comment. I am so sorry but I am not very experienced with oil-free baking! I think applesauce could work at 1:1 ratio then maybe a little more liquid if needed, to bring it together. Sorry I couldn’t be more help but I would love to hear how it goes if you try :)
Rob
Thursday 4th of November 2021
Hi, can this be frozen? If so do I defrost before reheating?
Cheers.
Rob.
Chloe
Friday 5th of November 2021
Hey Rob. Yes it can be frozen. Let it defrost fully before reheating :)
Diana
Tuesday 29th of December 2020
This recipe is incredible. I make it over and over. We are a nonvegan household with multiple food intolerances (egg and dairy) and every single person who's eaten this, including relatives who normally eat eggs/dairy, have loved it. Easily a top 5 dessert in our household.
Chloe
Tuesday 29th of December 2020
That's so nice to hear, thanks Diana! :) I'm glad you like the recipe.
Wilma
Tuesday 17th of November 2020
I was so surprised at how easy and tasty this was. It was my first time baking as a vegan and everyone in my house loved it. We can't wait to try more of your recipes.
Chloe
Tuesday 17th of November 2020
Aw thank you Wilma, so glad to hear it! :)
Wendy
Sunday 26th of April 2020
Could you just use a can of coconut cream instead of coconut milk? Seems a shame to waste the liquid part of the coconut milk.
Chloe
Sunday 26th of April 2020
Absolutely :)