This egg-free brownie in a mug makes the perfect single-serving dessert. It’s fudgy, chewy and indulgent. An easy, vegan-friendly bake for treating yourself when you’re all alone!
When I first went vegan, I LIVED off of mug cakes.
Ok… that’s probably a slight exaggeration. But I made them pretty often, at least a few times a week.
At the time, I felt very limited when it came to desserts because I had zero experience with vegan baking. But a vegan mug brownie or mug cake here and there got me through.
They suited my lazy student lifestyle at that time too because they were super quick and easy. Plus, you only have one mug or ramekin to clean once you’re done eating as opposed to a huge mountain of dishes.
Once I got more into vegan baking, my beloved mug brownies and cakes began to take a backseat, replaced by desserts that required a little more effort such as cookies, full-sized cakes and pavlovas.
But sometimes you just need something EASY that doesn’t require 40 days and 40 nights of washing up afterward. So, I decided it was time for the return of the mug cake.
Instead of a classic vanilla mug cake, I decided to adapt my brownies recipe to make a brownie in a mug (no egg or dairy of course!).
Oven or microwave?
I have a confession… I no longer have a microwave at home, so this recipe was tested in the oven.
Now, I understand that the whole appeal of mug cakes is that you chuck them in the microwave and have a delicious dessert in a matter of seconds. And while it will taste just wonderful baked in the microwave, I’d HIGHLY recommend baking it in the oven if you have the patience. The texture is so much more gooey and fudgy.
The only thing to note is that I wouldn’t really recommend putting an actual mug in the oven just because it will take a bit longer to bake this way. Instead, I’d recommend using a small oven-proof ramekin. I love these Genware ramekins from Amazon.
So yes, you could say that technically it’s more of a “single-serving vegan brownie” than it is an eggless brownie in a mug. But it’s basically the same thing, right? Regardless if you decide to cook it in the oven or the microwave, it’ll still taste amazing and is a lot faster (and more convenient) than making a full-on batch of brownies.
Ingredients for this recipe
This recipe is perfect if you’re running low on ingredients because you need just a tiny amount of each one. And of course, there’s no egg or dairy needed! Here’s what you need:
- 2 Tablespoons plain/all-purpose flour
- 1 Tablespoon cocoa powder (unsweetened)
- 2 Tablespoons caster sugar
- 1/4 Teaspoon baking powder
- 2 Tablespoons dairy-free margarine (I used Vitalite)
- 1 Tablespoon soy milk (almond milk will work too)
- Handful of vegan chocolate chips (I like Moo-Free baking drops)
How to make a brownie in a mug with no egg or dairy
This is one of the simplest recipes I’ve created to date! There are only a few steps…
Step 1: Add your flour, cocoa powder, sugar and baking powder to a small ramekin or mug. Alternatively, you can mix everything in a bowl then transfer it to the mug or ramekin just before baking.
Mix the ingredients together to make a dry, powdery mixture.
Step 2: Next, add in the dairy-free margarine. Mix it into the other ingredients by “smearing” it along the sides of the mug or ramekin. Keep doing this until it looks like a soft chocolate buttercream.
Step 3: The next step is to add in your plant-based milk. I’d recommend using unsweetened as there’s already plenty of sugar in the recipe to keep it sweet. I used soy milk but you can use any plant-based milk you like. Combine everything well, and you should end up with a thick brownie batter.
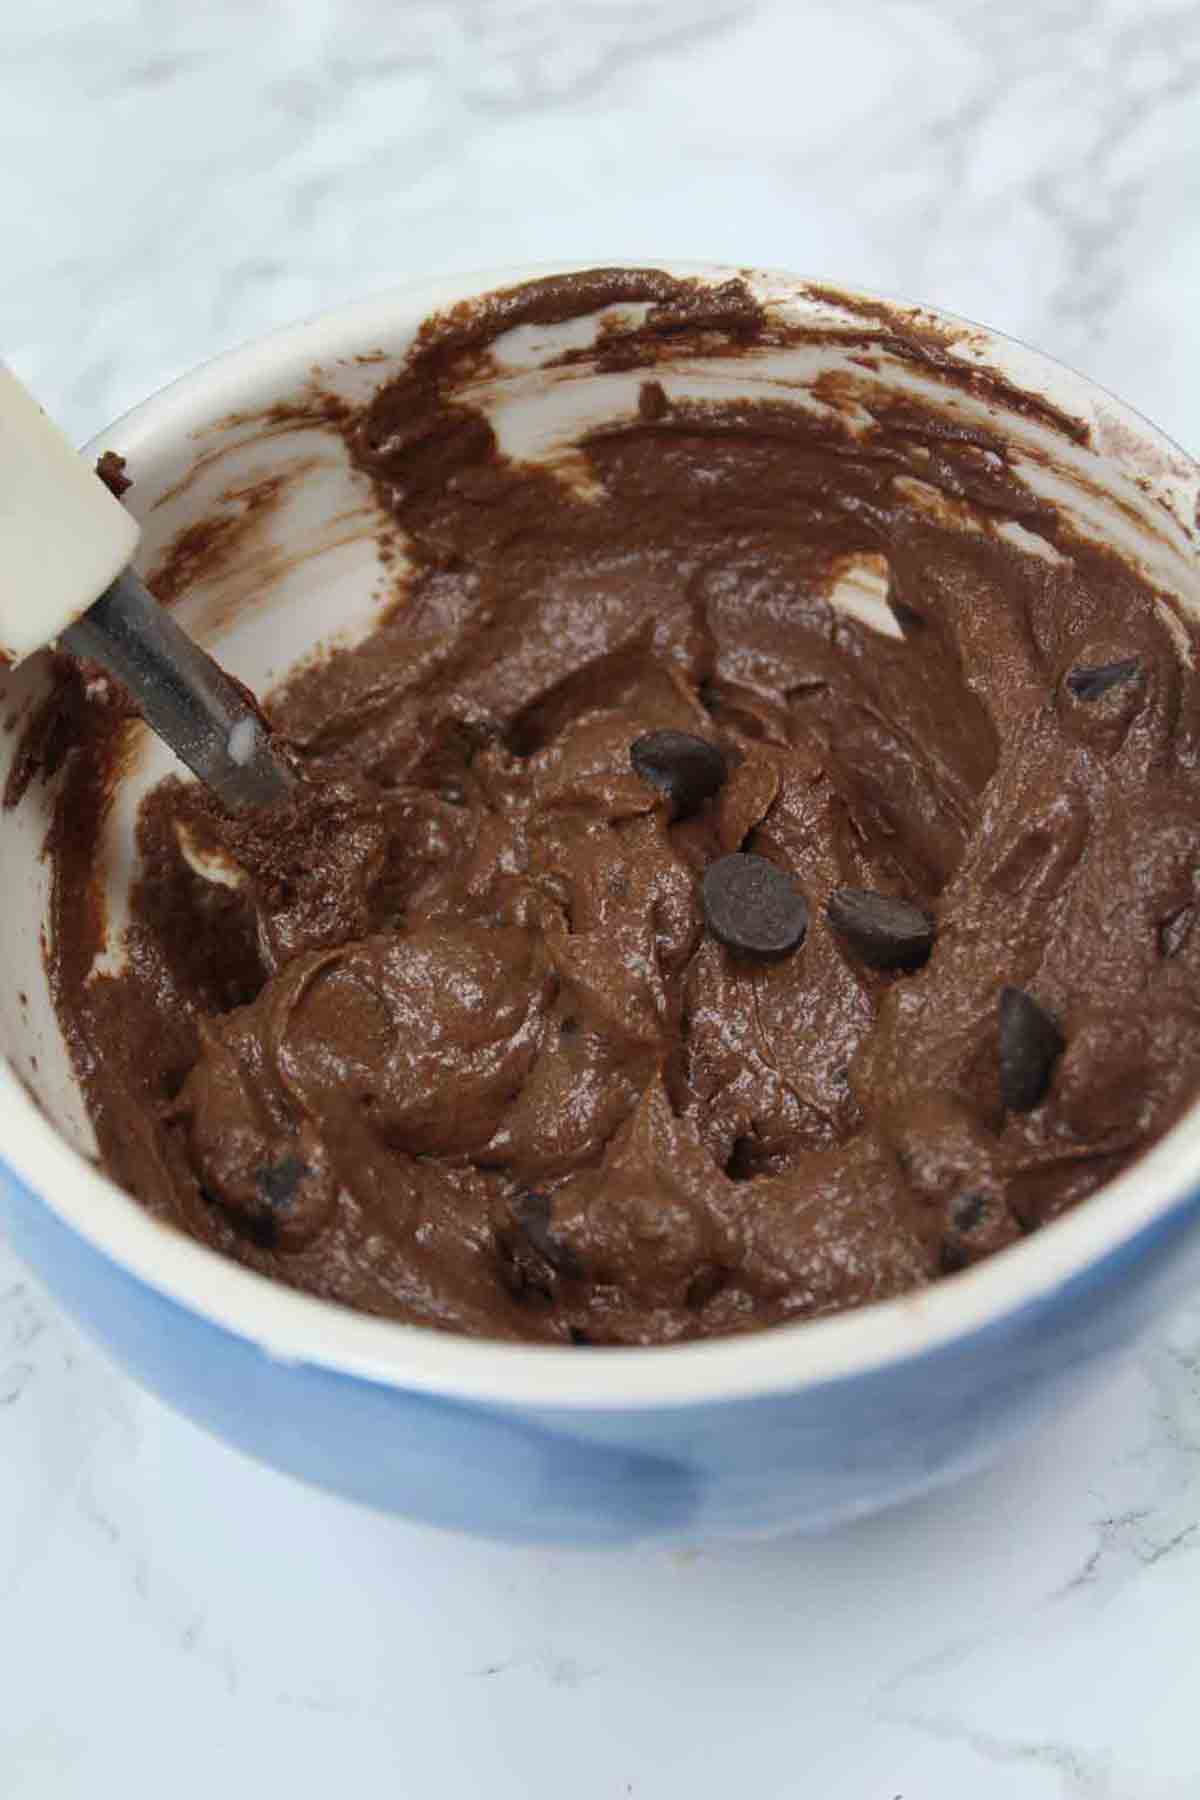
Step 4: Add in some dairy-free chocolate chips or chunks. This step is optional but it honestly takes a simple egg-free mug brownie to a dessert that you’ll want to make over and over again! If you’re not sure of the options out there, check my vegan chocolate guide.
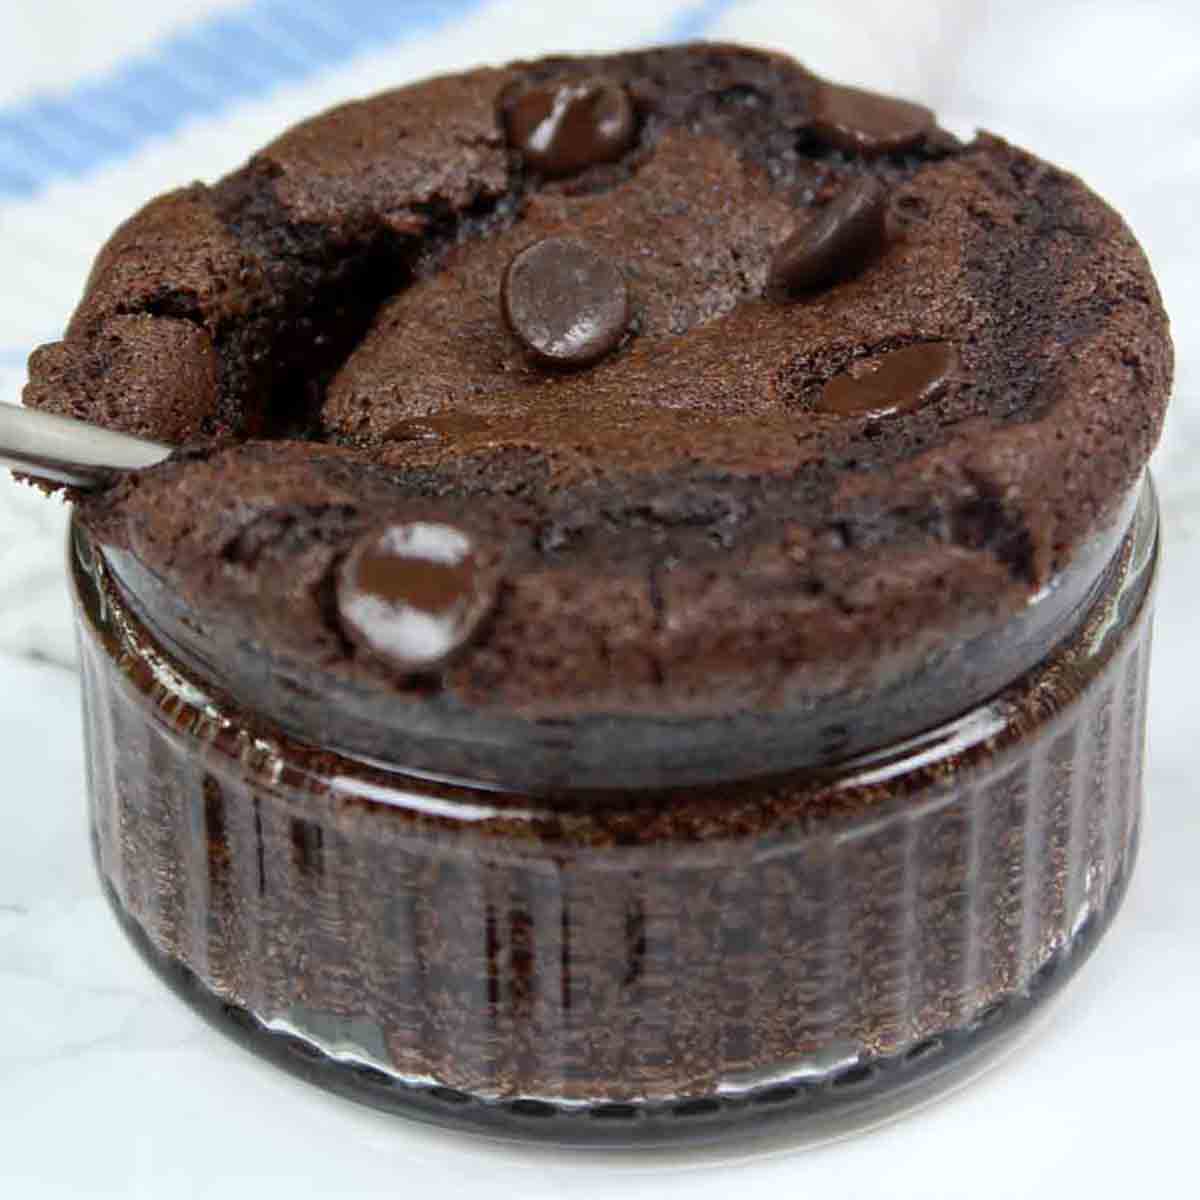
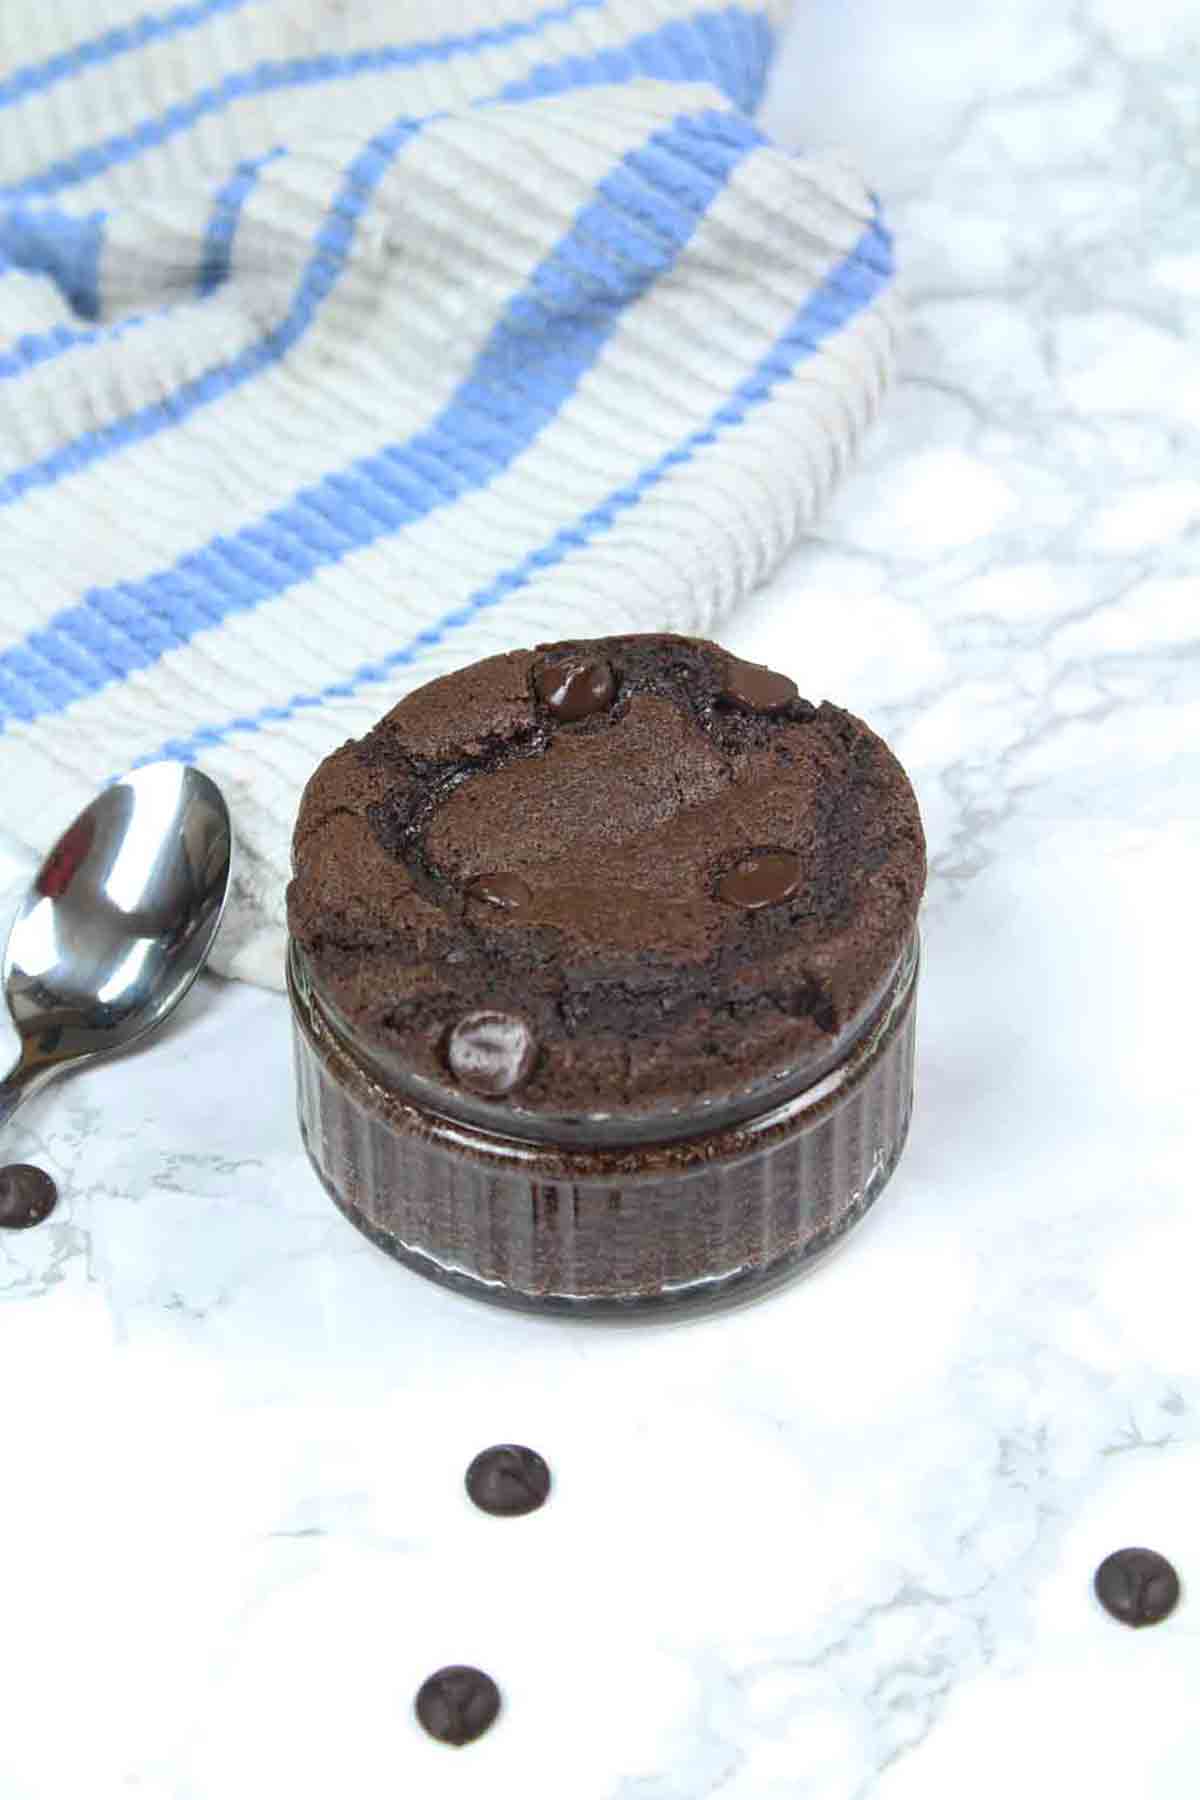
Step 5: Transfer the batter to your ramekin (if you didn’t already use it as your bowl) and bake at 180°C/ 350°F for 20 minutes.
If using a mug, pop it in the microwave for 45-60 seconds. Microwave baking time will depend on your oven so I’d recommend that you start with 45 seconds. If after this time it’s not quite cooked, pop it back in for another 15 seconds and you should be good to go.
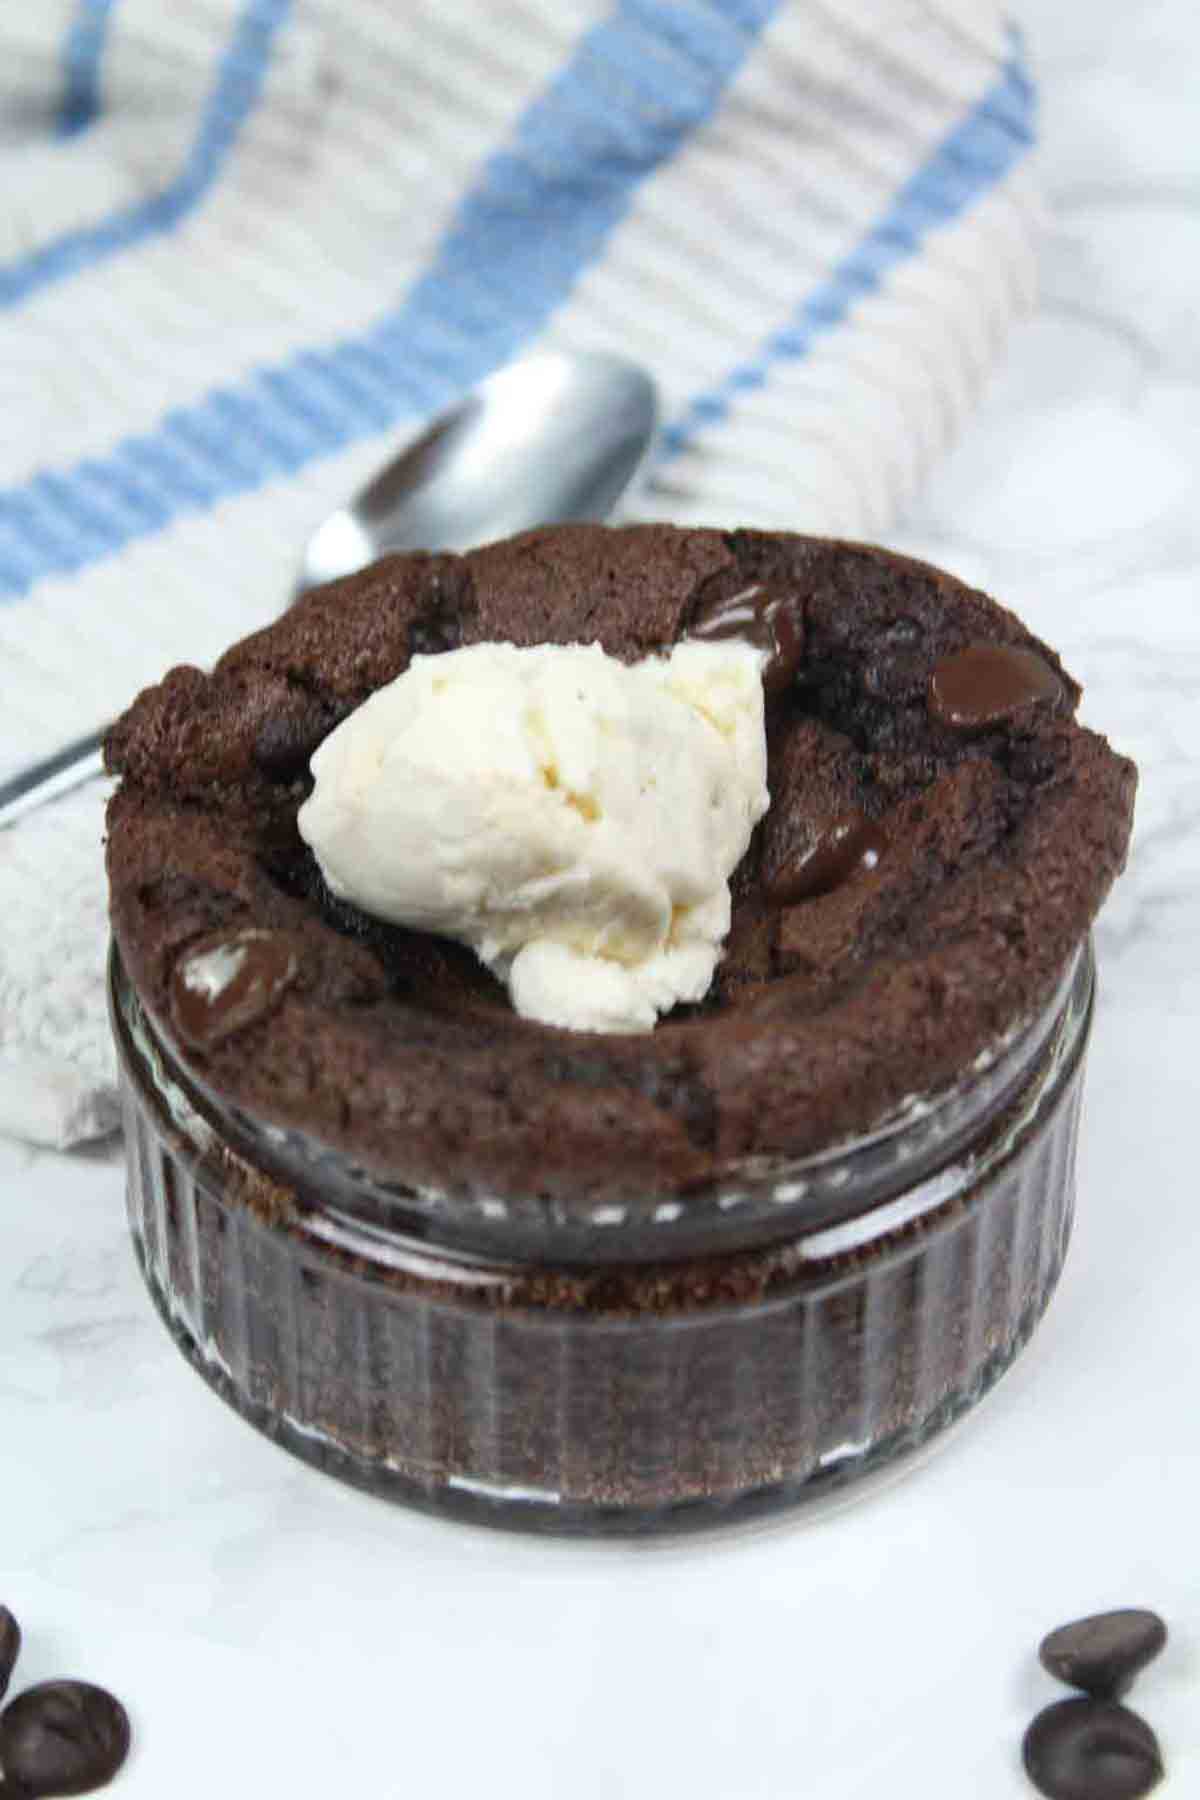
Step 6: Eat as it is or serve with some dairy-free vanilla ice cream. I’d also highly recommend doubling the recipe quantities for a more indulgent dessert, although the basic recipe is perfect for a mini treat.
Top tips
- Measure the baking powder accurately to avoid a bitter-tasting brownie.
- Bake your brownie in the oven instead of the microwave for that classic chewy brownie top. The taste will be the same in the microwave but the texture will be slightly different. I’d also recommend using a ramekin if baking in the oven.
- Do NOT omit the dairy-free chocolate chips! The added flavour and texture they give is not to be missed, I promise.
- Underbake the brownie slightly if you want a gooey, molten-like center!
- Leave to cool completely for a true fudgy brownie texture.
More egg-free mug desserts:
I hope you enjoy this eggless brownie in a mug and as always, please leave a rating or comment below if you try it yourself. Happy baking! xo

Brownie In a Mug (No Egg, Vegan)
An easy, single-serving eggless and dairy-free mug brownie.
Ingredients
- 2 Tablespoons All-purpose flour
- 1 Tablespoon Unsweetened cocoa powder
- 2 Tablespoons Caster sugar
- ¼ Teaspoon Baking powder
- 2 Tablespoons Dairy-free margarine
- 1 Tablespoon Soy milk
- Handful Dairy-free chocolate chips or chunks
Instructions
-
Add the flour, cocoa powder, sugar and baking powder to a mug or ramekin and mix well.
-
Add the vegan margarine and cream everything together until smooth. The batter should look like chocolate buttercream frosting.
-
Add the soy milk and stir again to make a thick batter.
-
Fold in the dairy-free chocolate chips.
-
Bake for 45-60 seconds in the microwave or pop it in the oven for 20 minutes at 180℃.
-
Leave to cool for 2 minutes before enjoying.
Recipe Video
Recipe Notes
- Baking time will depend on your microwave settings so start at 45 seconds and bake longer if needed.
- Recipe can be doubled for a larger dessert.
Rachel
Friday 5th of April 2024
Im assuming the ingredients can be multiplied by 4 to make 4 portions. Thanks
Chloe
Friday 5th of April 2024
Yes :)
Chloe
Wednesday 12th of February 2020
No the baking time stays the same :)
Charlotte
Wednesday 12th of February 2020
thankyou ????