Vegan Biscoff Cupcakes
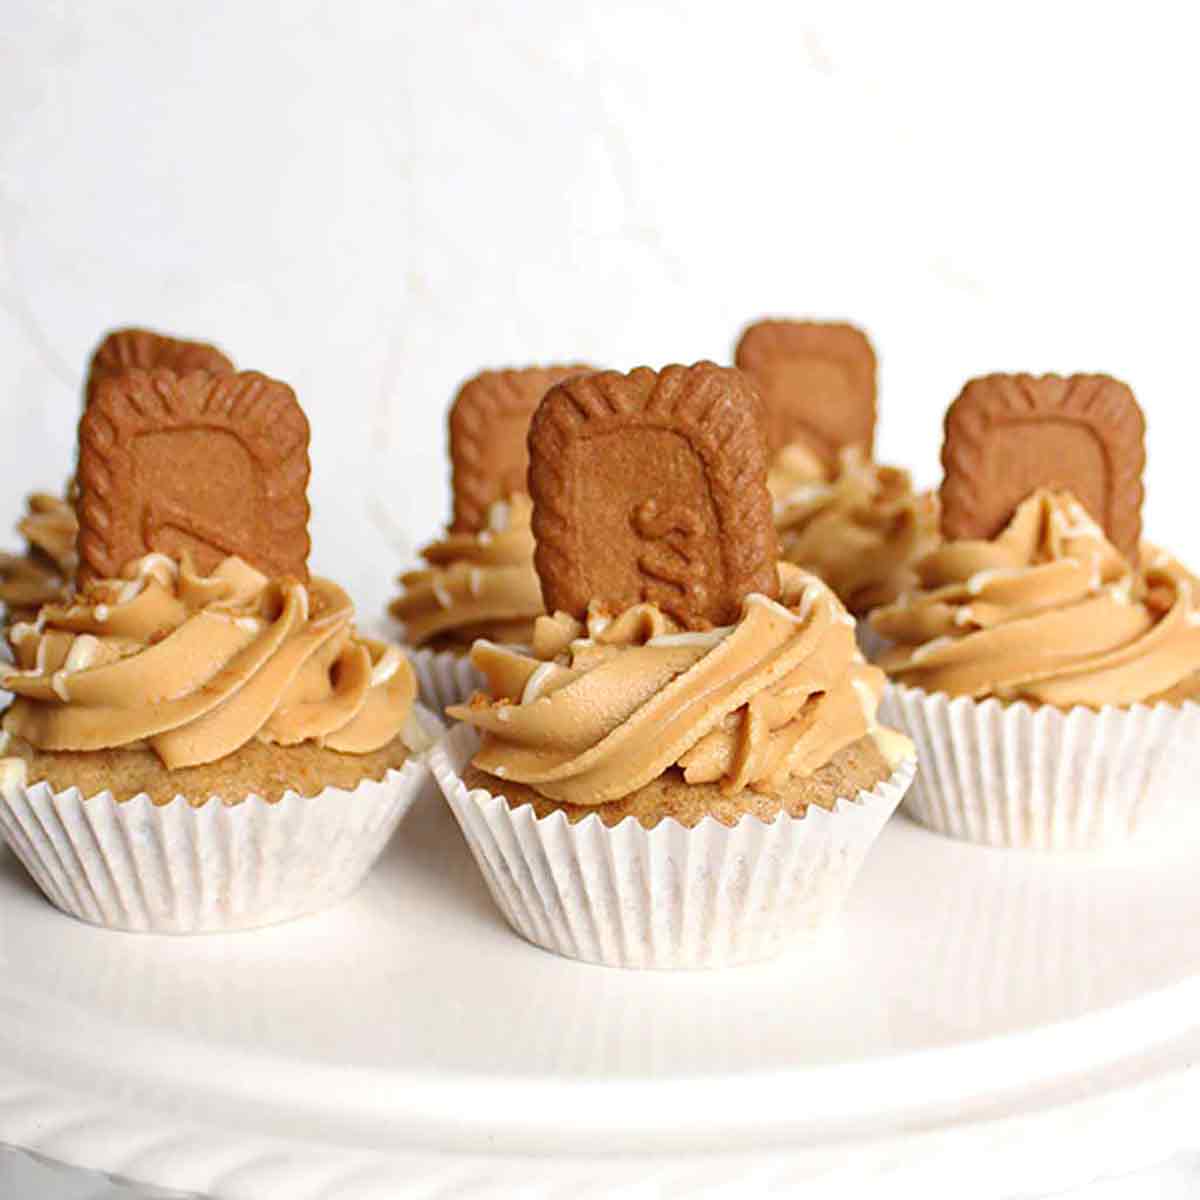
These vegan Biscoff cupcakes are light, fluffy and subtly spiced. An easy, eggless cupcake recipe that is topped with dairy-free Biscoff buttercream for an extra special treat!
I created a Biscoff layer cake recipe back in February and oh my gosh, it has been SO popular ever since!
I never expected it to blow up so much but I have seen so many of you tagging me in your pictures of it on Instagram and the recipe has received so many lovely reviews! So I felt it was only right to make some dairy-free Biscoff cupcakes to compliment the original recipe.
If you’re not too confident making larger cakes or just want something quick and easy, these cupcakes are a great option. I promise you, even if you’ve never baked anything vegan before, you will find this recipe super easy!
There are no flax seeds, chia seeds or other unusual egg replacements used in this recipe. All of the ingredients can most likely be found in your local supermarket.
It took a lot of work and many failed attempts, but I am so happy with my current cupcake recipe. It is SO easy, requires very little baking time compared to other recipes, and comes out light and fluffy every time!
Plus, there are no ingredients used that you wouldn’t find in a typical baking recipe, with the exception of vegan butter for the Biscoff buttercream.
I used my vanilla sheet cake recipe to make cupcakes one day and I discovered that it’s so easy to adapt for different flavours. So expect more exciting cupcake recipes in the future!
How to make vegan Biscoff cupcakes
Step 1:
The first step is to preheat your oven to 180°C or 350°F. If you’re using a convection or fan oven then reduce the temperature to 160°C/325°F.
You’ll also want to line a cupcake tray with 12 liners at this point, to save time later.
See also: How to avoid greasy cupcake liners.
Step 2:
Now it’s time to make your vegan “buttermilk”. Don’t worry, this isn’t as wild as it sounds. Because these are eggless Biscoff cupcakes, the batter needs a little bit of help to rise.
All you need to do is measure out 280ml (1 cup + 2 tablespoons) of dairy-free milk and add 1 teaspoon of apple cider vinegar. Give it a good mix and set it aside for 5 minutes or so. The vinegar should sort of curdle the milk and make it a bit thicker than it was before.
I’d highly recommend using soy milk for this as I test all of my recipes with soy and know that it gives the best results. However, if you can’t have soy for any reason, then I’d recommend using oat or coconut milk (the drinking kind, not the tinned kind) instead.
Step 3:
In a large bowl, mix together 230g of self-raising flour (1 + 3/4 cup), 1/2 teaspoon of baking soda, and 180g of caster sugar (3/4 cup + 2 tablespoons).
You can also add 1/2 to 1 teaspoon of cinnamon if you like but this is not required. I found 1/2 a teaspoon to be a good amount for a subtle spiced taste and 1 teaspoon if you want a stronger cinnamon flavour coming through.
Step 4:
To that same bowl, add in the buttermilk that you made earlier, along with 90g of melted vegan margarine or 6 tablespoons vegetable oil (I used rapeseed), and 2 teaspoons of vanilla extract.
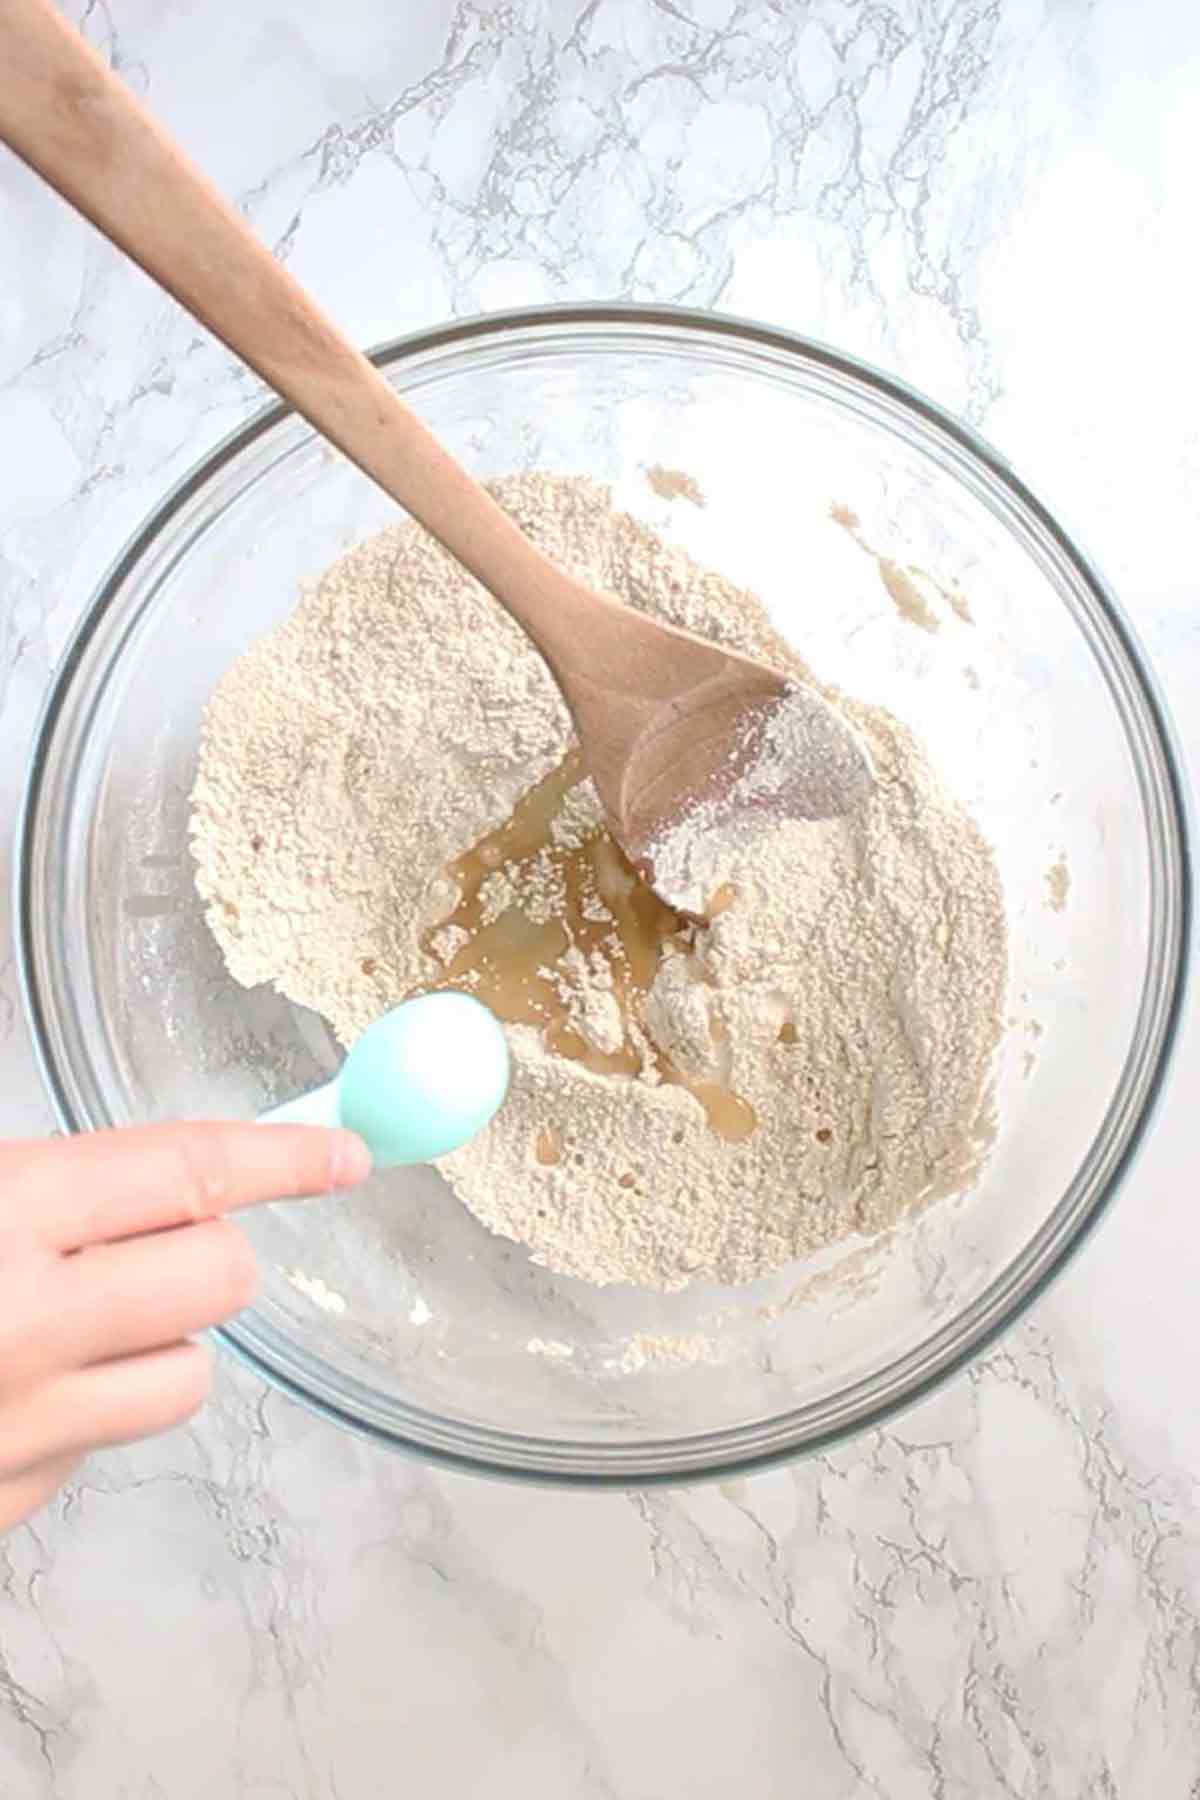
Mix everything together until you have a smooth cake batter. Make sure to scrape the bottom of the bowl so that you don’t have any lumps of flour left in the mixture.
Step 5:
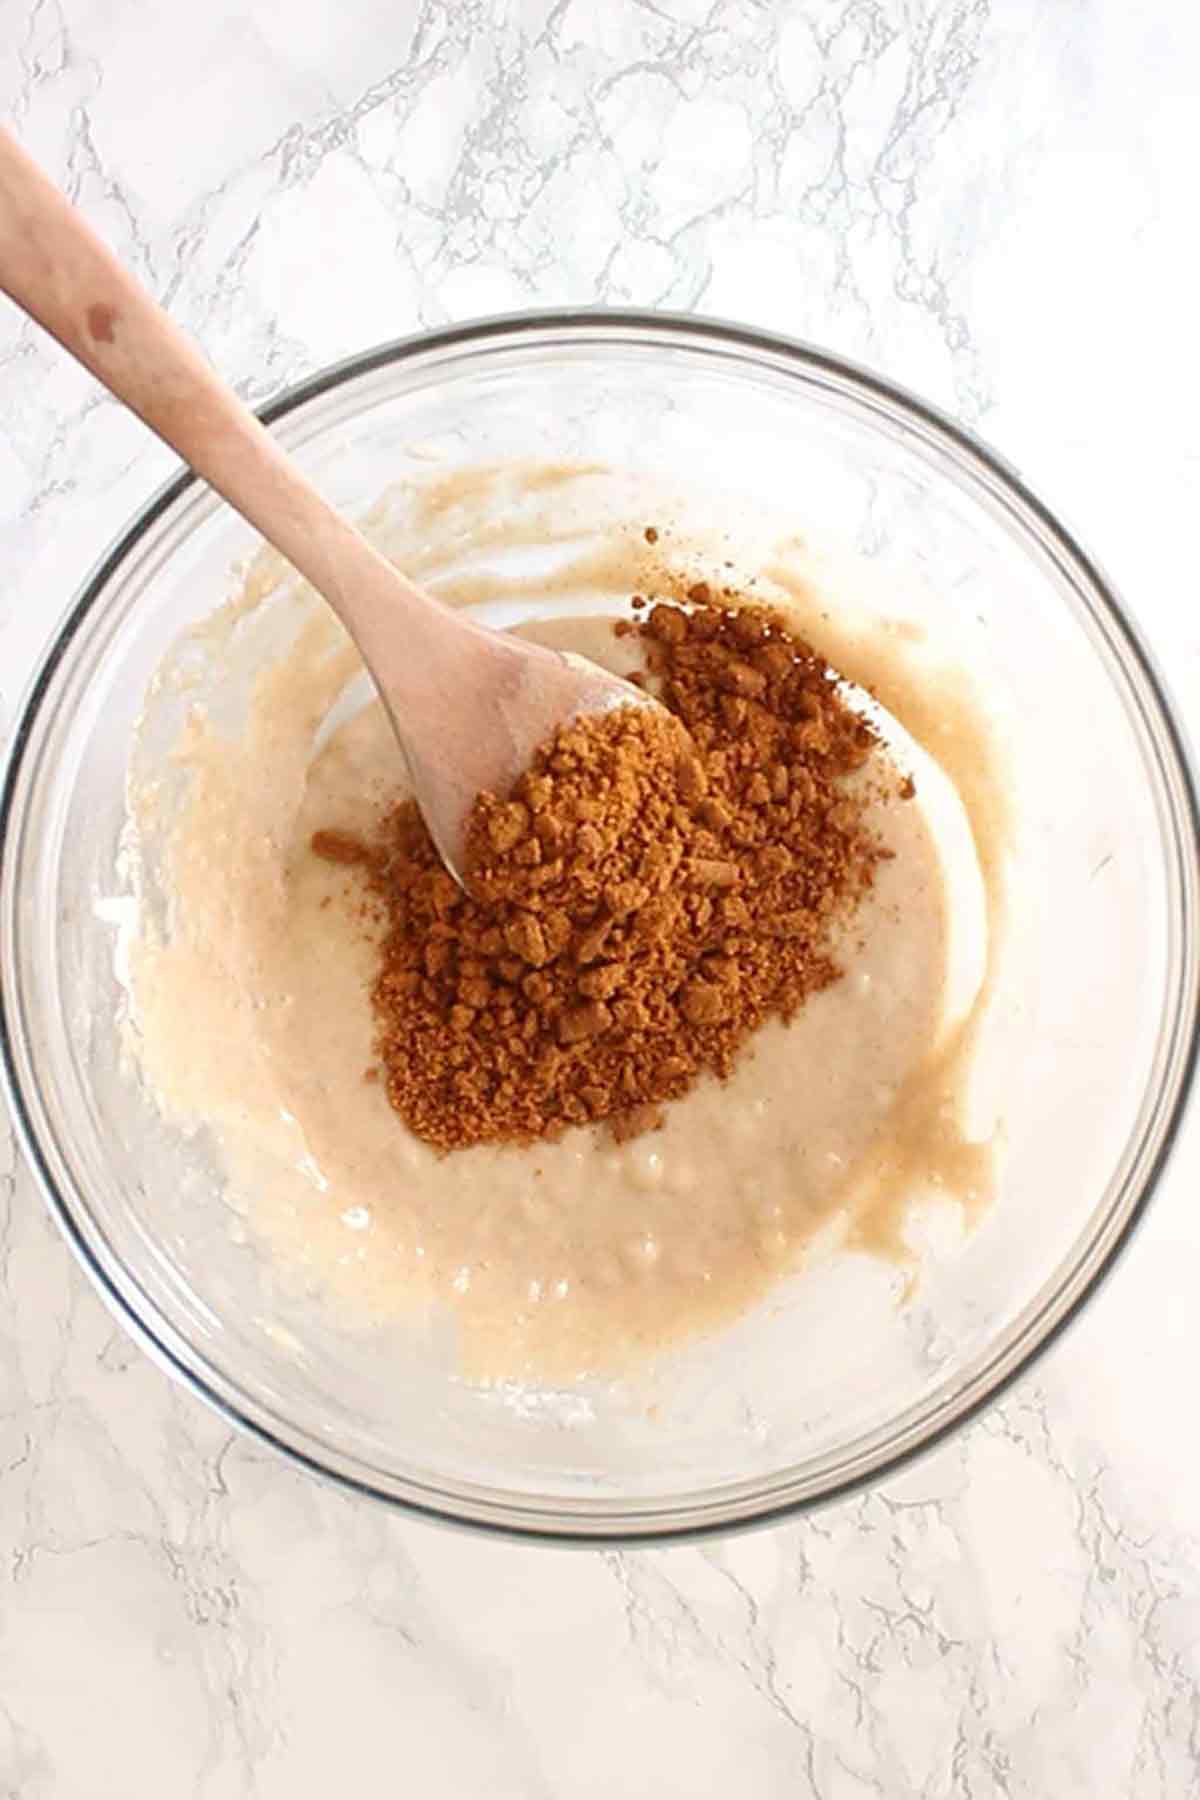
Crush up 12 Lotus Biscoff biscuits until you have fine crumbs. Add them into the cake batter and mix in gently.
Step 6:
Divide the batter equally into the 12 cupcake cases.
Bake for 18-20 minutes. You can check that they’re ready by inserting a toothpick through the centre- if it comes out clean, they’re done.
Let them cool in the tin for 5 minutes then transfer them to a wire rack and leave them to cool completely.
For the Dairy-Free Biscoff Buttercream
To make the buttercream, add 250g of vegan margarine (around 1 cup) into a large bowl with 250g (1 cup) of smooth Biscoff spread. Mix until combined.
Measure out 500g (4 cups) of icing/powdered sugar.
Add the icing sugar in a little bit at a time, mixing as you go. Once all of the sugar is mixed in, you will have a smooth Biscoff buttercream ready for piping!
The consistency of this buttercream will depend on which brand of vegan margarine or butter you use. If you find that it’s too stiff, you can add a splash of plant-based milk to loosen it. If it’s too runny, just add more icing sugar until it’s firm enough to pipe without losing its shape.
Assembling the cupcakes
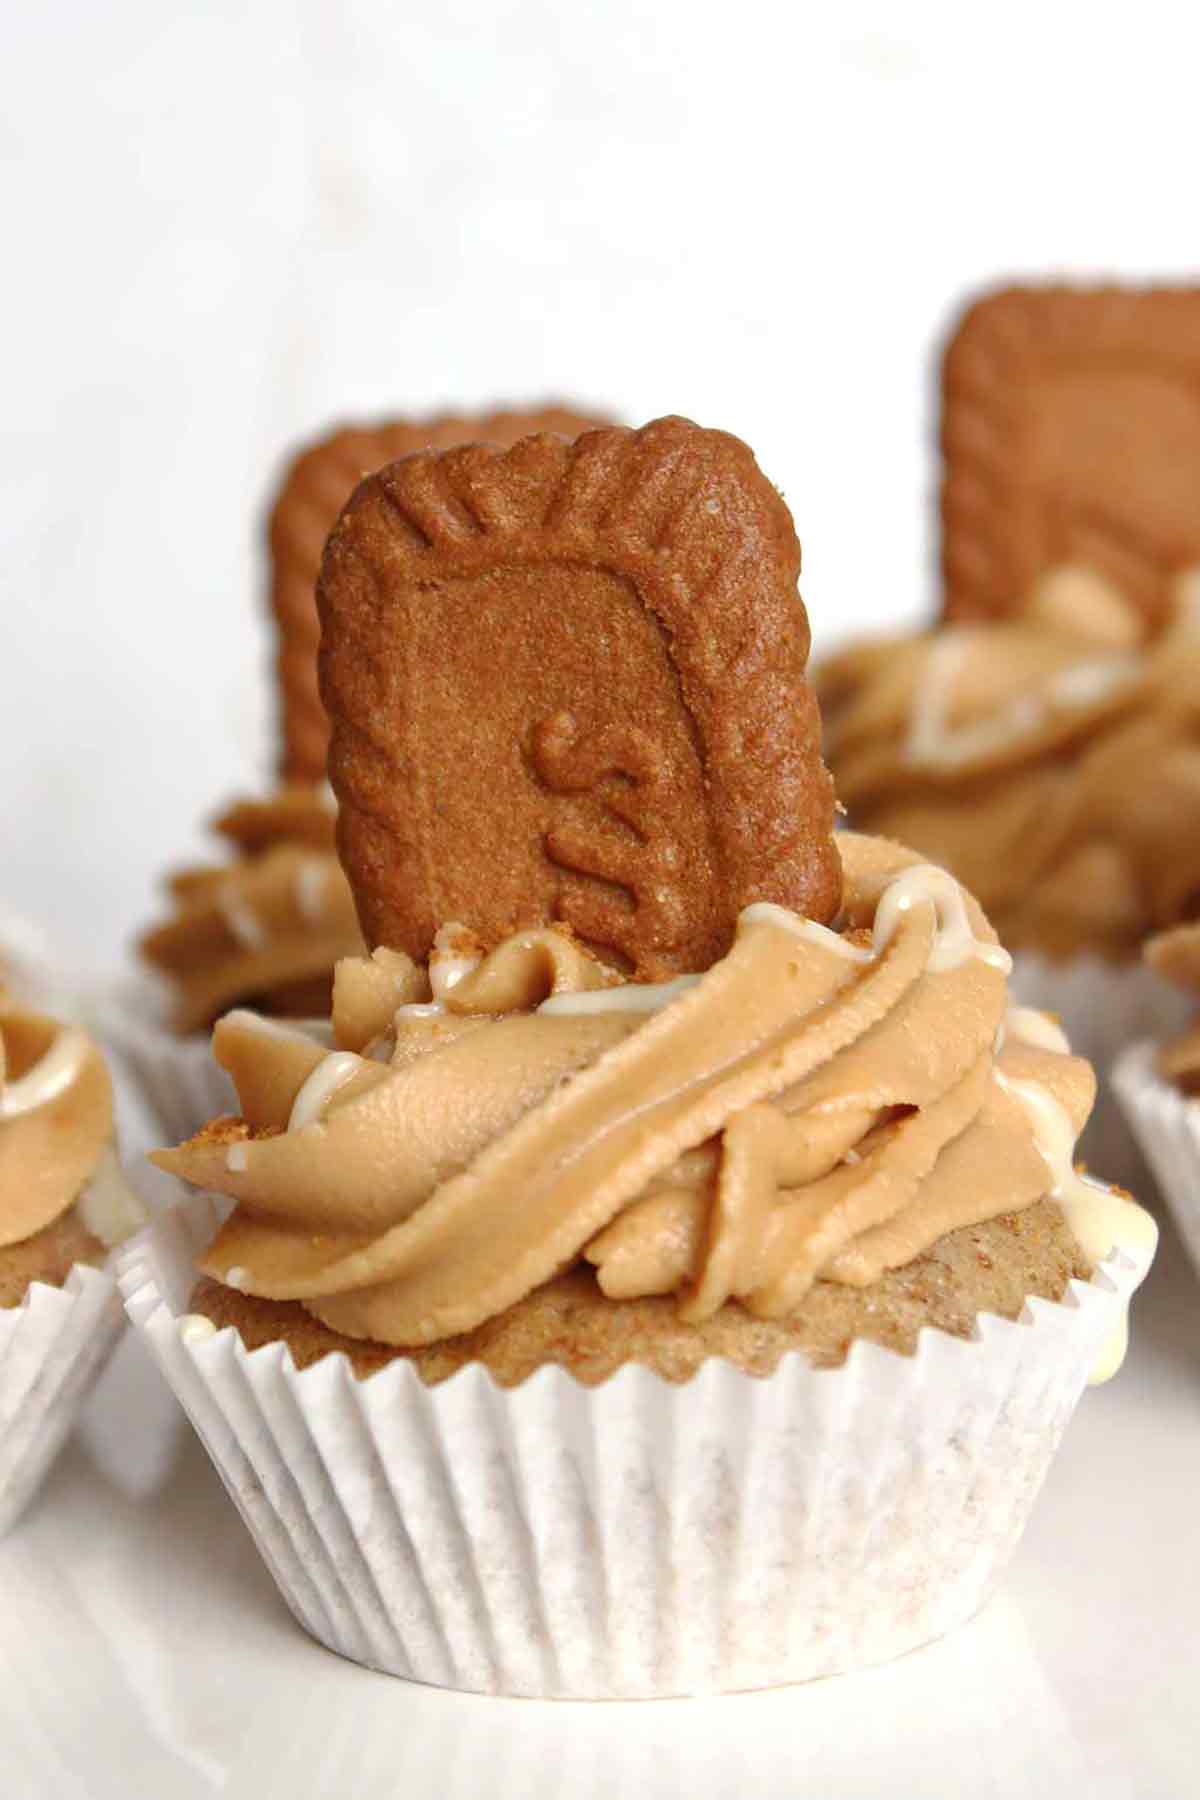
Transfer the buttercream into a piping bag with a large star nozzle and pipe a swirl onto each cooled vegan Biscoff cupcake.
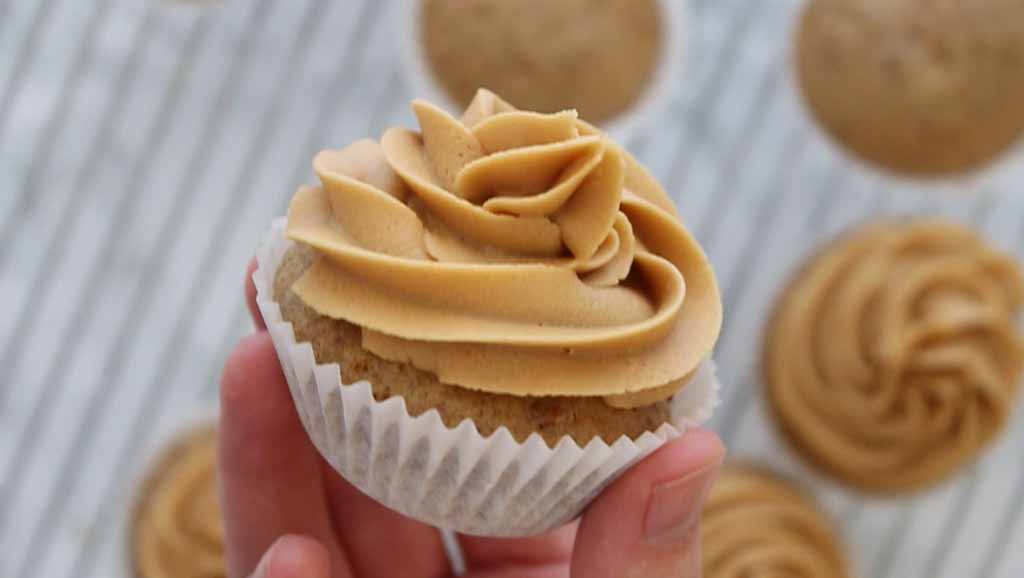
Crush up some more Biscoff biscuits into crumbs and sprinkle some over each cupcake. Then drizzle melted vegan white chocolate or melted Biscoff spread.
Finally, snap 6 Biscoff biscuits in half so you have 12 pieces. Push each piece into a cupcake so they stick out as pictured. I’d recommend doing this just before serving as it can get a little soggy otherwise.
Top tips
- As with all baking recipes, use a scale for best results.
- Soy milk works best in this recipe but oat and coconut milk are good substitutes.
- Use Smooth Biscoff spread instead of crunchy to prevent lumps from getting stuck in the piping bag.
- Add the Biscoff biscuits on top just before serving the cupcakes to prevent them from becoming soft.
- If drizzling Biscoff spread over the cupcakes, melt it in the microwave for 10 seconds to loosen it first.
FAQ
Store them in an airtight container in a cool, dark place such as a kitchen cupboard. They’ll keep well for around 4 days this way.
The buttercream will hold up perfectly well at room temperature but if you live somewhere warm, you can also store them in the fridge.
The cupcakes alone will freeze just fine.
You can also freeze the cupcakes with the frosting on top if you’d prefer but I’d recommend adding toppings such as biscuits and biscuit crumbs on the day that you plan to serve the cakes.
Freeze them in an airtight container. To defrost, let them thaw at room temperature on a wire rack for a few hours.
In the UK, it’s available at most popular supermarkets such as Tesco, Asda, Morrisons and Sainsbury’s.
If you’re elsewhere in the world, I can’t point you to exact locations but I know that it’s widely available on Amazon and sometimes called Biscoff cookie butter. You’ll want to order the “smooth” version for this recipe.
Use the same amount of all-purpose flour and add 2 teaspoons of baking powder to the recipe.
So simple! Just add more powdered sugar if it’s too runny and add a splash of plant-based milk if it’s too thick!
More Biscoff desserts:
- Biscoff cookie dough
- Biscoff tiffin
- Biscoff cinnamon rolls
- Sticky Biscoff pudding
- 2 ingredient Biscoff fudge
I hope you love this eggless Biscoff cupcakes recipe! Let me know how you get on by leaving a rating and comment below. Happy baking! xo
Vegan Biscoff cupcakes (Eggless)
Eggless Biscoff cupcakes topped with dairy-free Biscoff buttercream.
Ingredients
- 280 ml Unsweetened soy milk (1 cup + 2 tablespoons)
- 1 Teaspoon Apple cider vinegar (or white vinegar)
- 230 g Self raising flour (1+¾ cups)
- ½ Teaspoon Baking soda
- ½ Teaspoon Ground dried cinnamon (optional)
- 180 g Caster sugar (¾ cup + 2 tablespoons)
- 90 ml Melted vegan margarine or vegetable oil (6 tablespoons)
- 2 Teaspoons Vanilla extract
- 12 Biscoff biscuits, crushed into crumbs
For the dairy-free Biscoff buttercream:
- 250 g Vegan margarine (1 cup)
- 250 g Smooth Biscoff spread (1 cup)
- 500 g Icing sugar (4 cups)
To top (optional):
- 6 Biscoff biscuits, snapped in half
- Biscoff crumbs
- Melted Biscoff spread and/or melted vegan white chocolate (to drizzle)
Instructions
-
Preheat your oven to 180°C/350°F (or 160°C/325°F if using a fan or convection oven). Line a cupcake tray with 12 liners.
-
Mix together the soy milk and apple cider vinegar. Set aside.
-
In a large bowl, mix together the flour, baking soda, cinnamon and sugar.
-
Add the milk/vinegar mixture to the bowl along with the melted margarine and vanilla extract. Mix well, making sure there is no dry mixture stuck to the bottom of the bowl.
-
Fold in the Biscoff crumbs.
-
Divide the cake batter between your cupcake cases and bake for 18-20 minutes. You can check that they're ready by inserting a toothpick through the centre of one cupcake.
-
Let the cakes cool in the tin for 5 minutes then transfer them to a wire rack and leave them to cool completely.
For the buttercream:
-
Mix the vegan margarine and Biscoff spread together in a large bowl.
-
Add in the icing sugar, a little bit at a time, until you have a smooth buttercream. If it's too thick, add a splash of plant-based milk to loosen it slightly. Add more icing sugar if it's too runny.
To assemble:
-
Transfer the buttercream to a large piping bag with a star nozzle and pipe some onto each cupcake.
-
Sprinkle the Biscoff crumbs then drizzle vegan white chocolate or melted Biscoff spread over each cupcake.
-
Top each cupcake with half of a Biscoff biscuit just before serving.
Recipe Notes
- Store in an airtight container at room temperature for up to 4 days.


Louise
Thursday 12th of November 2020
Amazing recipe!!! Tried it for the first time tonight and it went down a treat with myself, my other half and his best friend :D
I made some wee tweaks as I’m not a massive fan of vinegar in baking recipes and I was missing some ingredients!
- One teaspoon of fresh lemon juice instead of white vinegar
- Almond milk instead of soy milk
- Two tablespoons of olive oil instead of three tablespoons of vegetable oil
Also used half the ingredients for the buttercream. So quarter cup of biscoff spread and quarter cup of vegan butter! Perfect amount with leftovers too.
Thanks again, this recipe was fab!
Chloe
Friday 13th of November 2020
Aw thank you so much for the feedback Louise! :)
Sarah Franks
Friday 16th of October 2020
Hi chloe Is baking soda bicarbonate of soda? Thank you!
Chloe
Friday 16th of October 2020
Yes, that's right!:)
Jamie
Tuesday 6th of October 2020
Will it work if I use coconut oil?
Chloe
Wednesday 7th of October 2020
Yes. Melt it before measuring. :)
Karen
Thursday 17th of September 2020
Such an easy recipe. It uses a lot less sugar than other cupcake recipes but they still came out perfectly sweet and not sickly. This will become a go to recipe. Thanks
Chloe
Friday 18th of September 2020
Thank you Karen. Glad you liked them! :)