Dairy-Free Custard (Vegan)
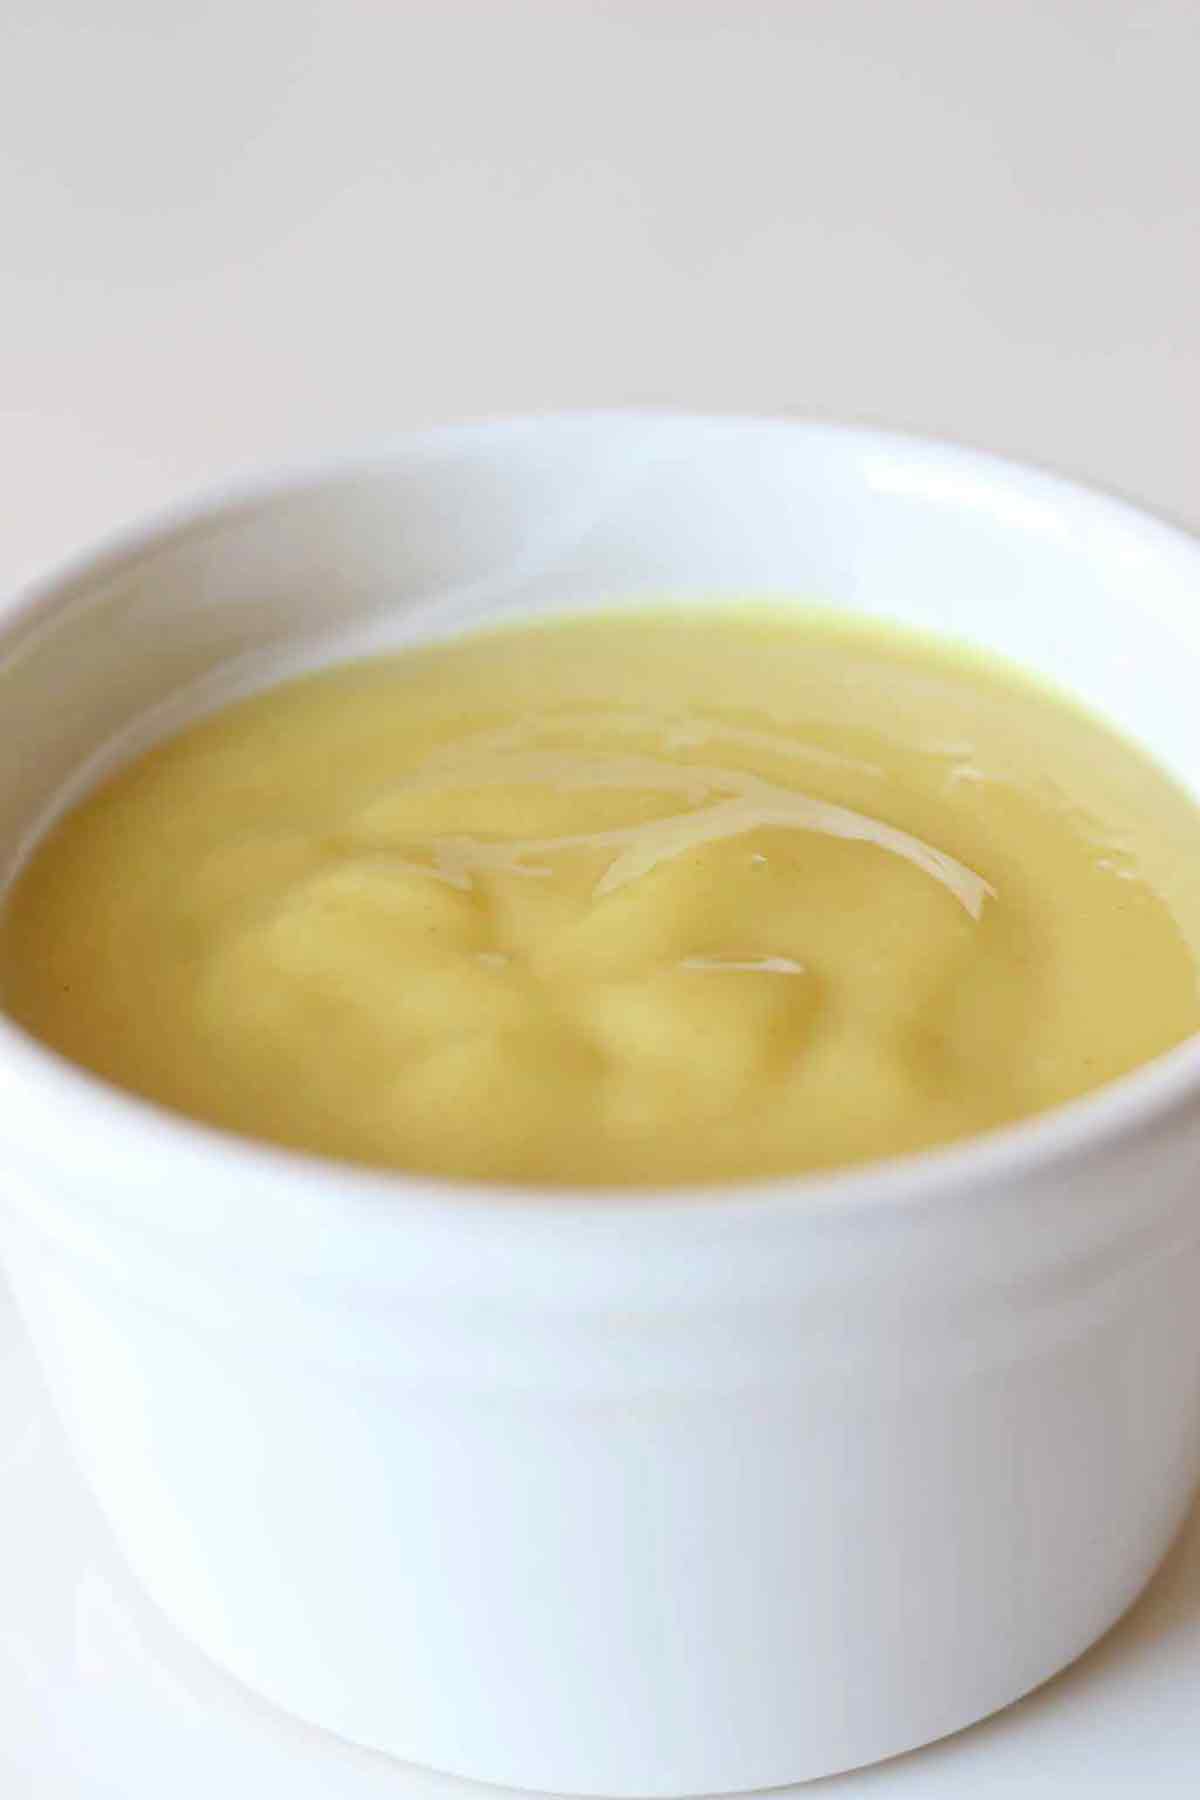
Did you know you can make dairy-free custard in only 5 minutes with just 4 ingredients? Let me show you how to make a super easy thick, pourable custard sauce without eggs or dairy!
At long last, my vegan custard recipe is finally here!
I have been going on about making it for the longest time but just had so many recipe ideas in my head that I didn’t get around to it until now!
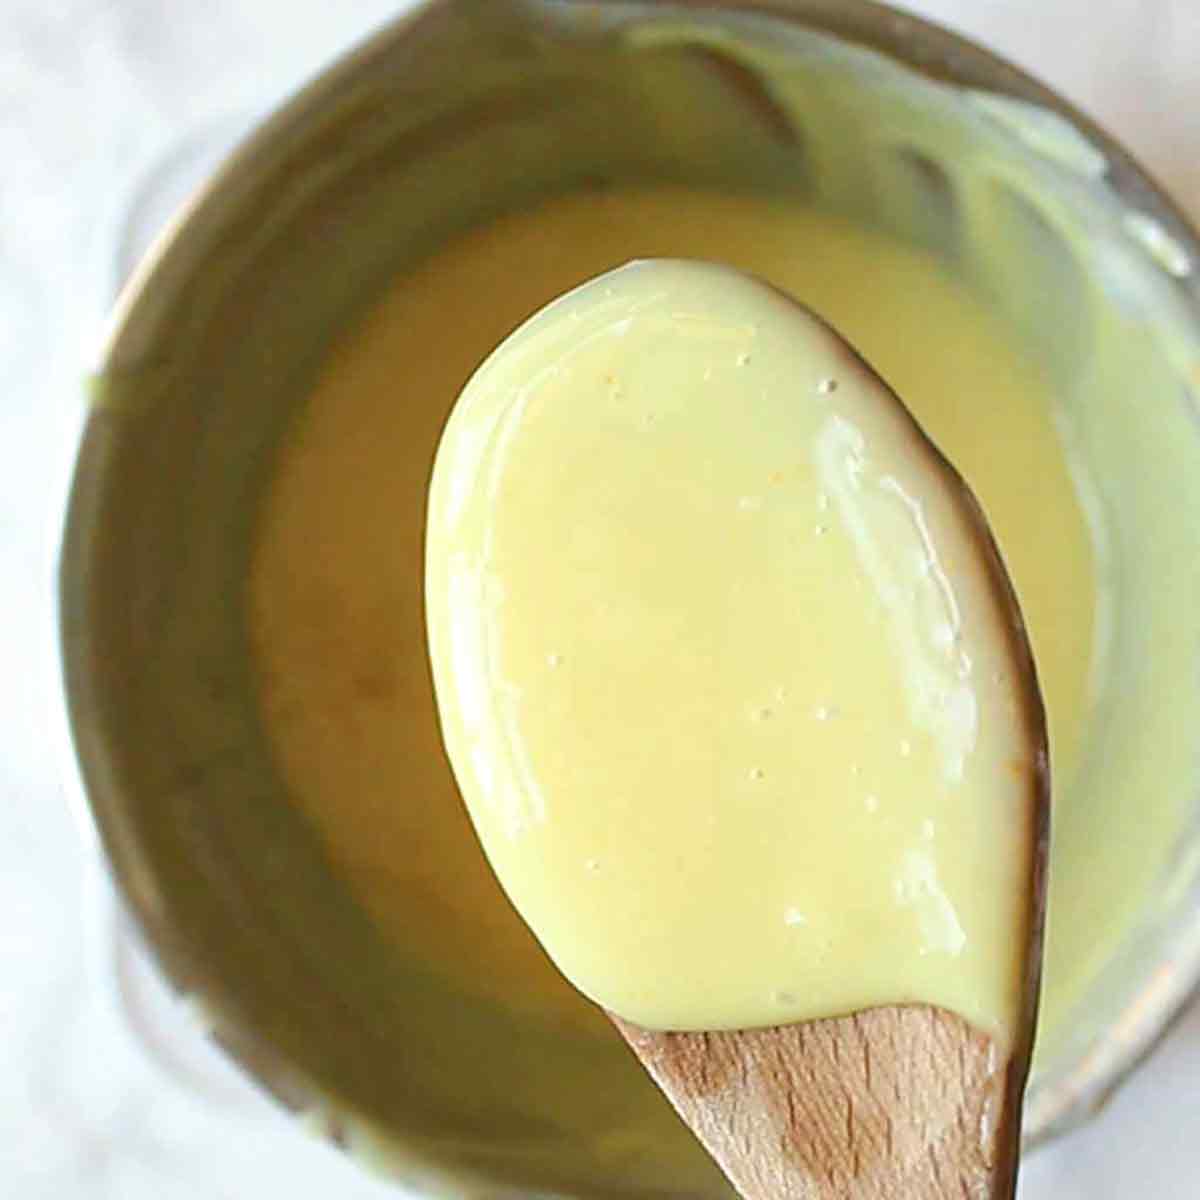
I must first start by saying that if you’re from the USA, this is not a vegan alternative for custard as you know it. I believe over there it’s known as egg custard or baked custard and as delicious as that looks, the UK version is a little bit different.
Here, it’s more of a custard sauce and we use it (usually warm) to top desserts such as apple crumble.
Oh my gosh, it’s SUCH a good addition to hot desserts in the winter. *drools*
I know there are some dairy-free custard alternatives out there already (did you know Bird’s custard powder is vegan-friendly if you make it with dairy-free milk?!) but I’m adamant that nothing beats the homemade version!
Dairy-free AND Eggless?
Typically when you make custard sauce you add eggs, which gives it thickness. When you take away the eggs, you need something to replace them to give it the same consistency.
And this is where cornflour (or cornstarch for my US people) comes in handy! It’s such a useful ingredient. It thickens liquids and gives it that creamy, pourable consistency that we’re after here.
I’ve been using cornflour quite a lot recently and have been surprised to find that you can make so many recipes with very similar ingredients. If you check out my lemon curd recipe and the caramel in my banoffee pie, you’ll see the ingredients are almost identical with a few subtle changes. It’s like magic!
How to make dairy-free custard from scratch
Aside from a small saucepan and a wooden spoon, all you will need is these 4 things:
- Cornflour (cornstarch)
- Dairy-free milk (I use always use unsweetened organic soy for my recipes but you can use coconut milk, oat milk, almond milk, or basically whatever other vegan milk you like)
- White sugar (I used caster sugar)
- Vanilla extract
Step 1:
Measure out all of the ingredients. You’ll need 4 tablespoons of cornflour, 600ml of dairy-free milk (around 2 + 1/2 cups), 90g of caster sugar (1/2 cup), and 2 tablespoons of vanilla extract (not teaspoons).
Step 2:
Mix the cornflour with 4 tablespoons of the plant-based milk in a small bowl until smooth. Add that mixture to the rest of the plant-based milk and mix well.
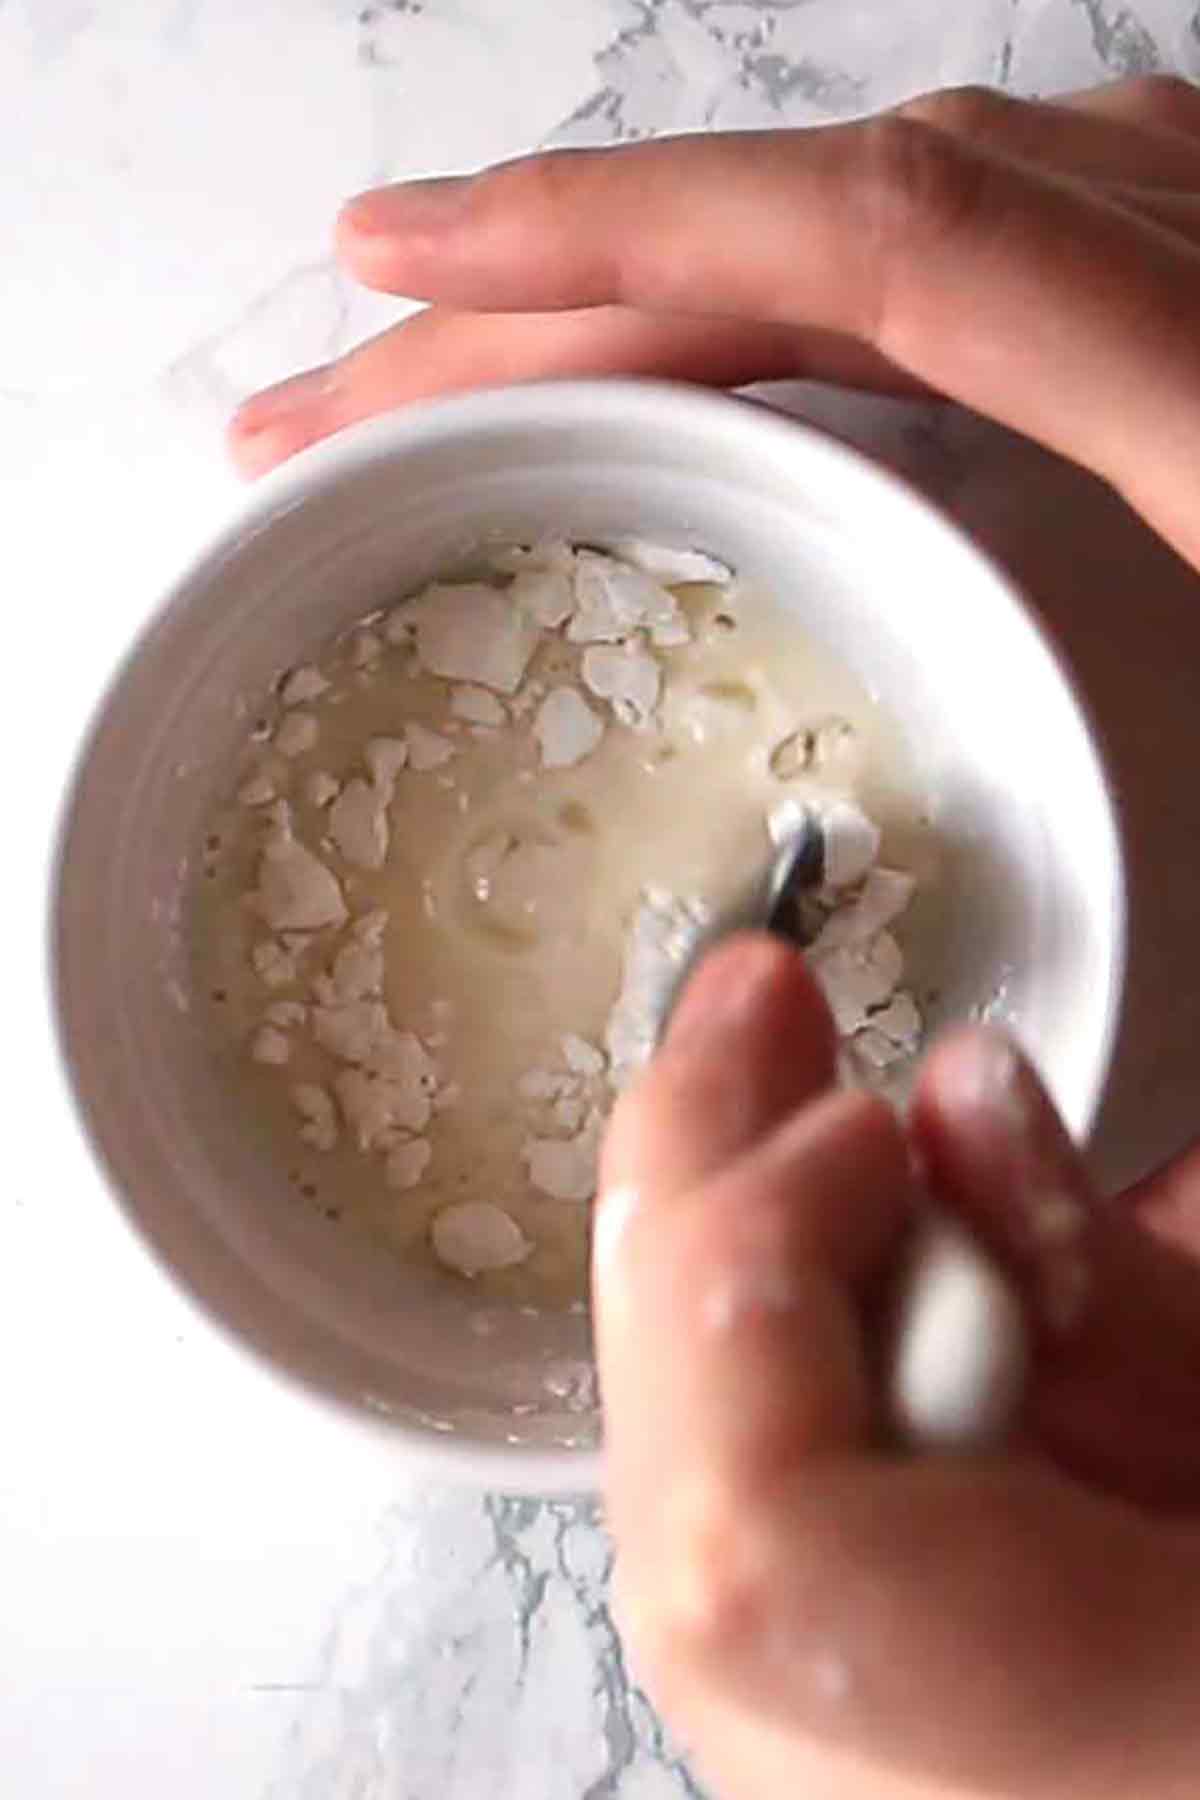
A common problem when cooking or baking with cornflour is that it clumps together easily. If you add it to a large amount of liquid or anything hot, the lumps will be super hard to get rid of. Mixing it in a small amount of liquid first helps to prevent this.
Step 3:
Add the milk/cornflour mixture to the saucepan along with the rest of the ingredients. Turn the heat up high and stir continuously until it thickens like a custard sauce. Remove from the heat and leave to cool.
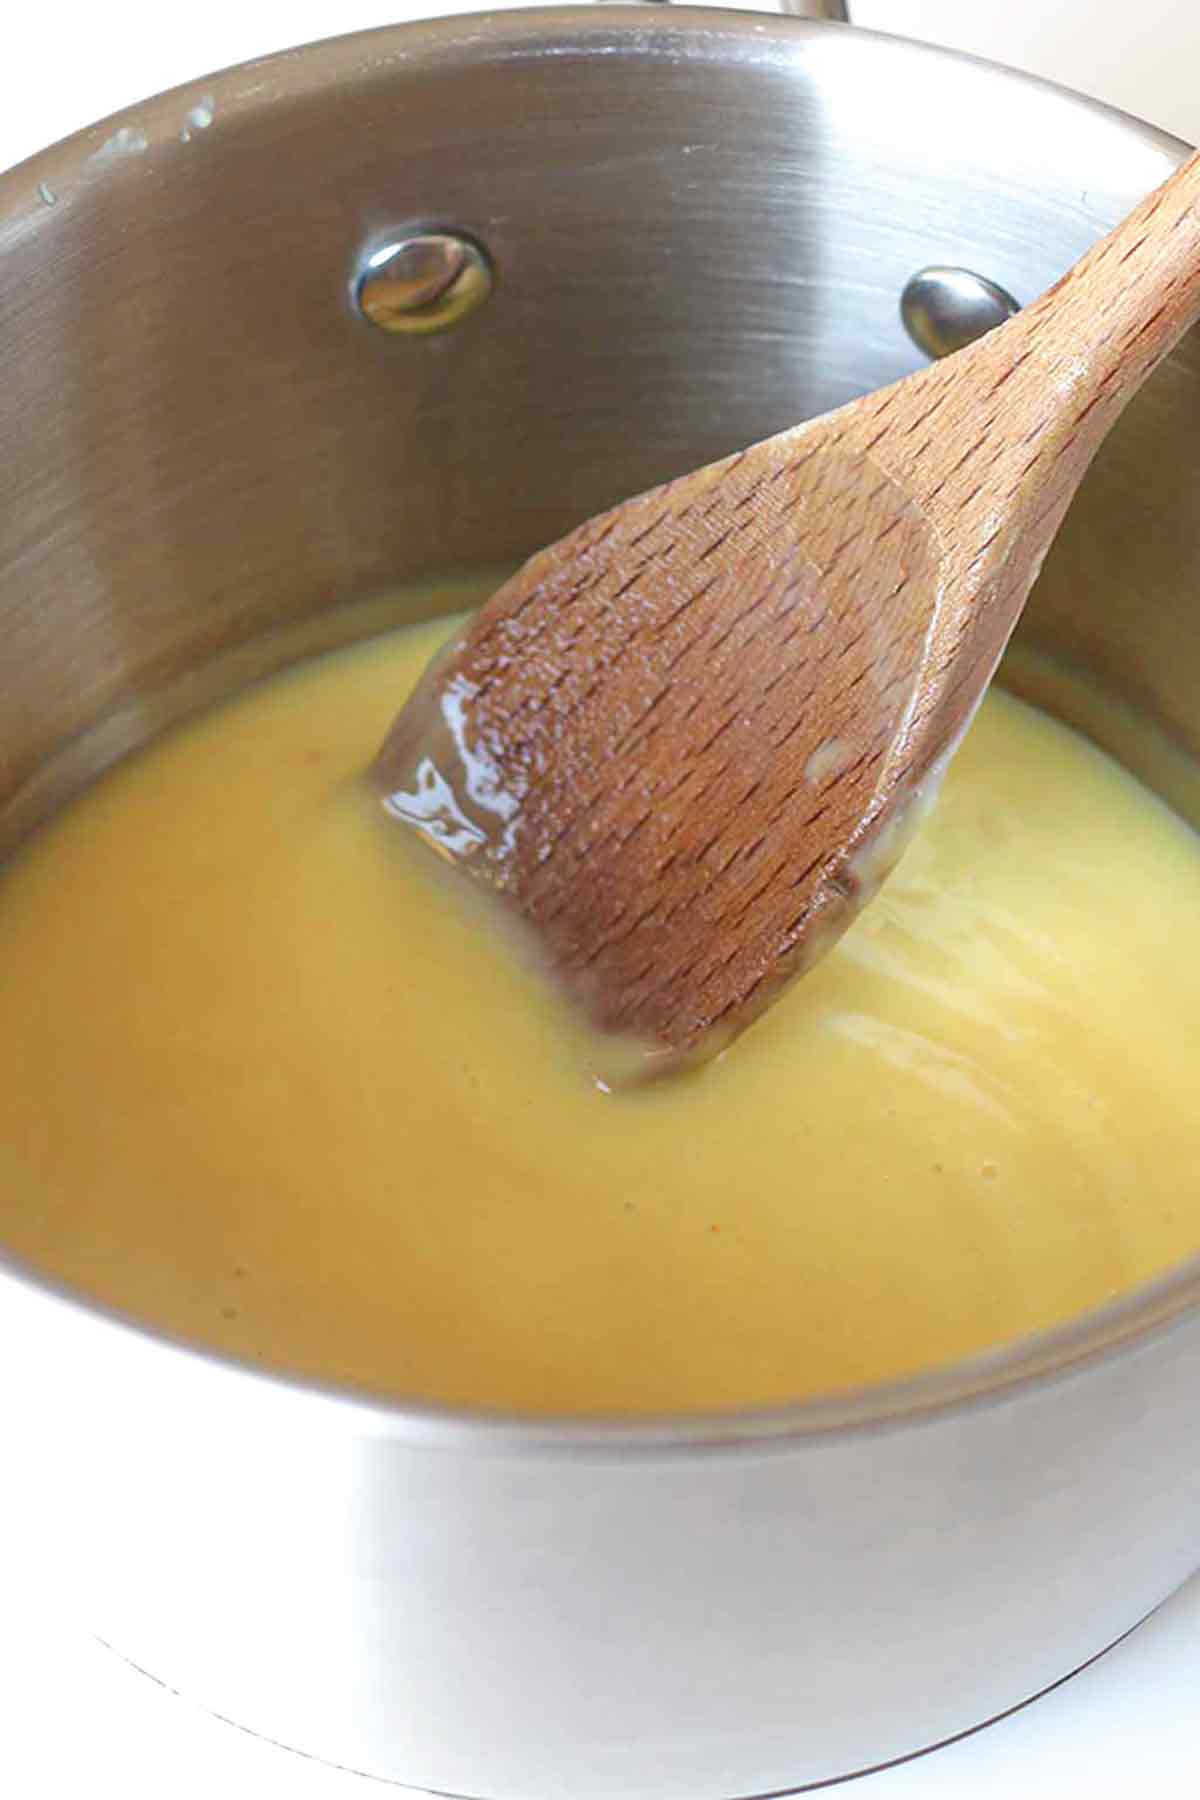
What makes the custard yellow?
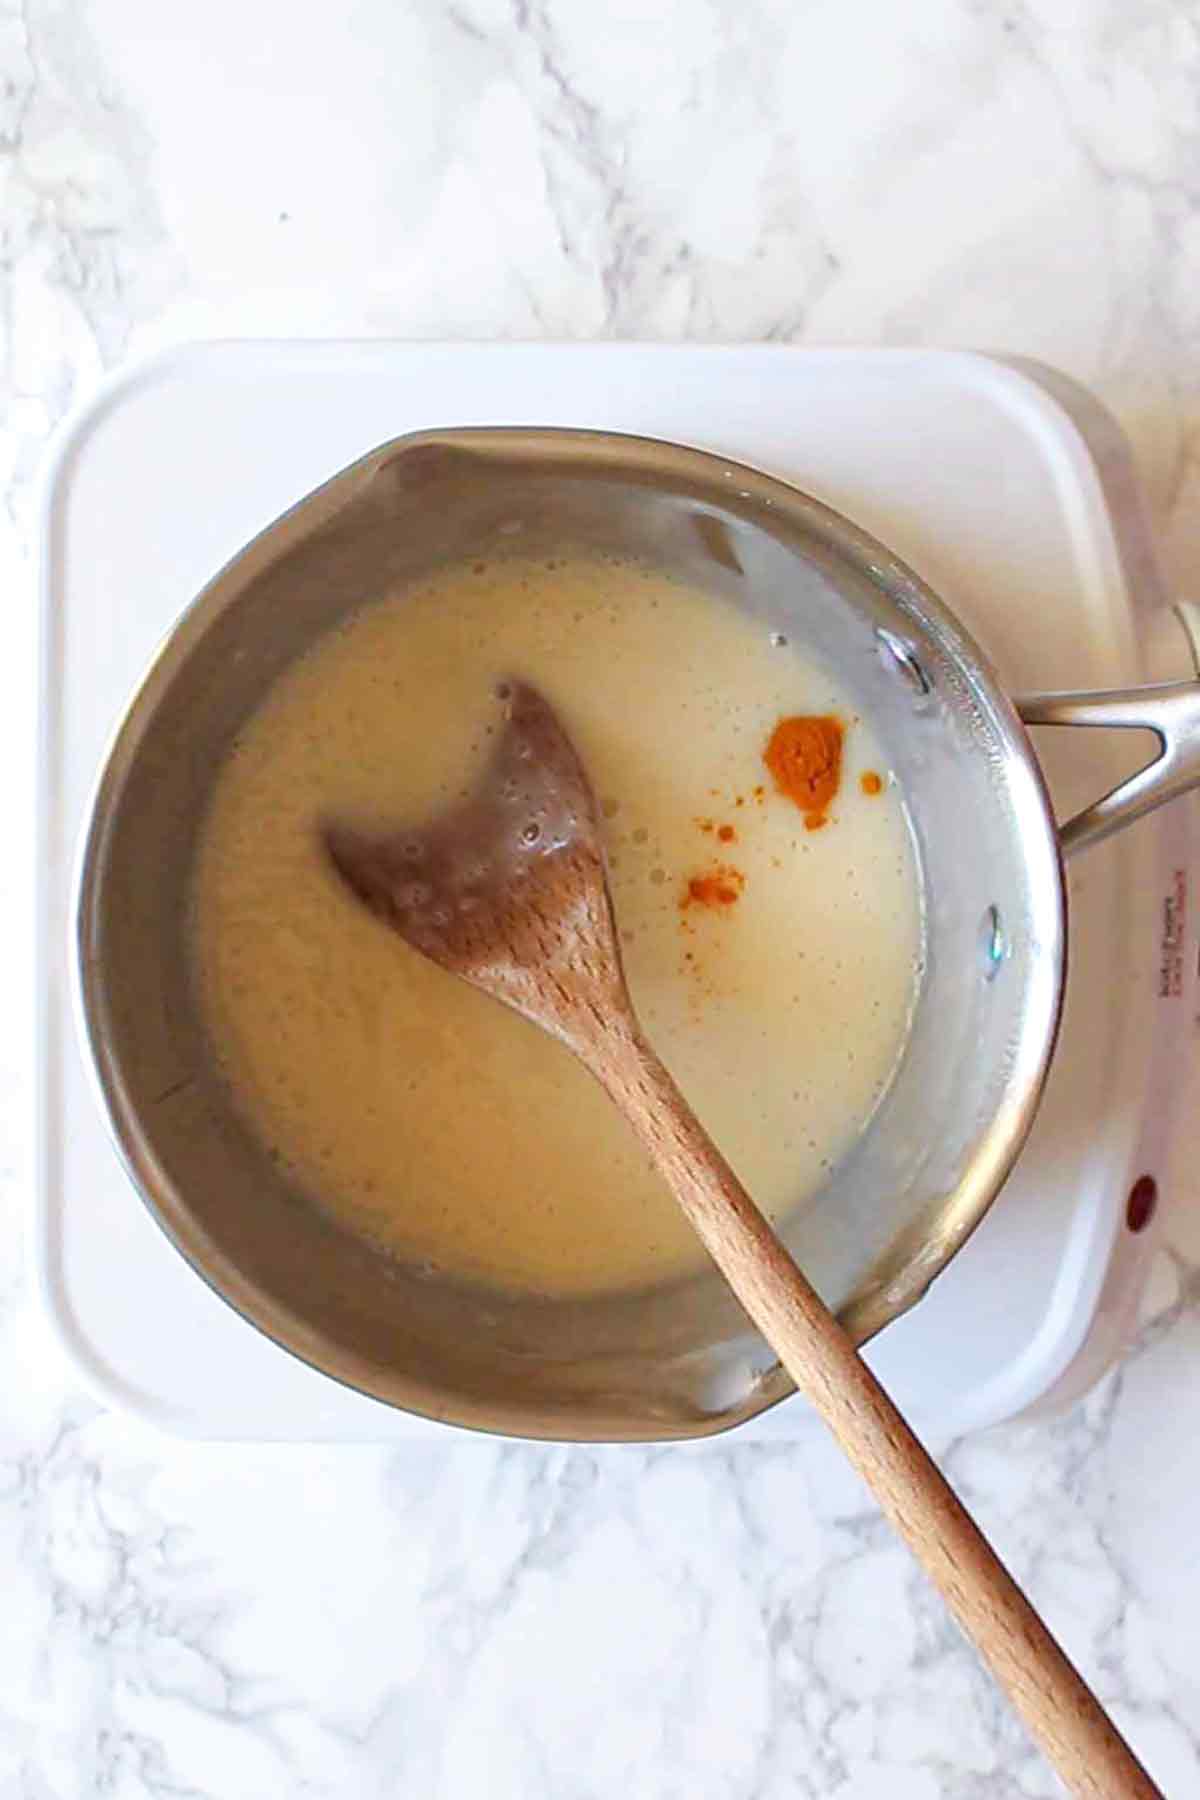
I used a tiny pinch of turmeric to make it more yellow. Normally I prefer using food colouring but in the case of this recipe, it made it look like radioactive waste. So turmeric it was!
I had always been a bit afraid of using turmeric as food colouring because I find the taste to be SO strong and didn’t want to ruin my desserts with that flavour. But the amount I used was so minuscule that it didn’t affect the final taste at all.
Because the flavour is so potent, I’d recommend only using a tiny amount of turmeric at a time. Mix it in first and if you’d like a deeper colour, add some more.
Of course, this step isn’t totally necessary and is purely for aesthetic purposes. You can skip it altogether and just have a creamy white custard instead. It’ll taste amazing all the same!
Serve it with these tasty desserts
I created this recipe mainly due to the fact that I was craving it when baking my old favourite school dinner desserts, caramel tart and vanilla sheet cake. So I’d definitely recommend pairing it with either of those. You can also use it to make a show stopping vegan trifle or pair it with any of these desserts:
- Dutch apple pie
- Sticky toffee pudding & sticky Biscoff pudding
- Cherry Bakewell tart
- Chocolate orange tart.
Alternatively, you could serve it alone as a dessert on its own. It tastes great hold or cold! I’m also planning to use it for some more upcoming recipes so keep your eyes peeled for more ideas.
FAQ
This custard will taste best if eaten within 2-3 days. It should be stored in the fridge in a covered bowl or airtight container. Mix well before use.
If the custard becomes too thick, add more dairy-free milk while it’s still on the heat and mix well. Add 1 tablespoon at a time to determine the thickness before adding more.
If it’s too runny, add some more cornflour, a little at a time. You will need to mix it with a small amount of cold water before adding it and you’ll need to continue heating the custard to allow the cornflour to do its job.
I’d recommend starting with 2 teaspoons of cornflour mixed with 2 teaspoons of cold water. Mix it into the custard and stir over high heat for a minute or two. Repeat as necessary.
Yes! To reheat, simply place it into a saucepan over low heat and stir constantly until warm. If it gets too thick, just add a little plant-based milk to loosen it.
With the recipe listed below, you’ll get around 350ml (or 1+1/4 cups) of custard. Feel free to multiply or divide the ingredients as required.
I can’t wait for you to try this vegan custard! If you like it, let me know by leaving a comment below and let me know what you’re having it with! xo
Dairy-Free Custard (Vegan Recipe)
Vegan custard alternative made from scratch.
Ingredients
- 4 tablespoons Cornflour (cornstarch)
- 600 ml Soy milk (2 + ½ cups)
- 90 g Caster sugar (½ cup)
- 2 TABLEspoons Vanilla extract
- Tiny pinch Turmeric (optional, for colour)
Instructions
-
In a small bowl, mix the cornflour with 4 tablespoons of the soy milk. Once smooth, add it to the rest of the soy milk and mix well.
-
Add this mixture to a small saucepan along with the rest of the ingredients and place over high heat on the stove. Stir continuously until it becomes thick.
-
Add the turmeric if using and stir it in. I'd recommend adding it a little at a time until you get a subtle colour as too much may affect the flavour.
-
Remove from the heat for a few minutes before serving, or leave it to cool if desired.
Recipe Notes
- Store covered in the fridge for up to 3 days. Mix well before use.
- To make the custard runnier, add a little soy milk while it’s still on the heat. To thicken it, mix 1 teaspoon of cornflour with 1 teaspoon of cold water. Add that to the custard and stir on high heat for a minute or two.
- Reheat leftover custard in the saucepan, adding a little more soy milk to loosen it as required.


daniela
Monday 17th of February 2025
hello, i need to substitute the cornstarch - what would be my best bet? Thank you for the recipe, can't wait to try it out :)))
Monique
Saturday 23rd of December 2023
Absolutely DELICIOUS!! I can’t believe how easy it is and tastes like real custard!! I made another one with eggs last night and it took forever and then curdled slightly but this is thick and smooth, creamy and like velvet!
I cut the sugar on half and did 1 Tablespoon of vanilla extract instead. I even got brave and added some turmeric! 😏
This recipe is a must have!! Thanks for sharing!
Chloe
Tuesday 26th of December 2023
Thank you so much! Glad you enjoyed :)
Marg
Saturday 27th of August 2022
Made this ,so good and easy son is vegan but will use this for us
Pam
Saturday 7th of May 2022
Hi, is the recipe supposed to call for 2 tablespoons of vanilla? Seems like a lot
Chloe
Sunday 8th of May 2022
Hi Pam, yes, I found 2 tablespoons a good amount for this recipe because the cornflour tastes quite strong. You can start with a little vanilla and add more to your taste :)
Jeanne
Wednesday 14th of April 2021
Hi there, I love custard and will make this tomorrow.
Chloe
Wednesday 14th of April 2021
Hi Jeanne, hope you enjoy! :)