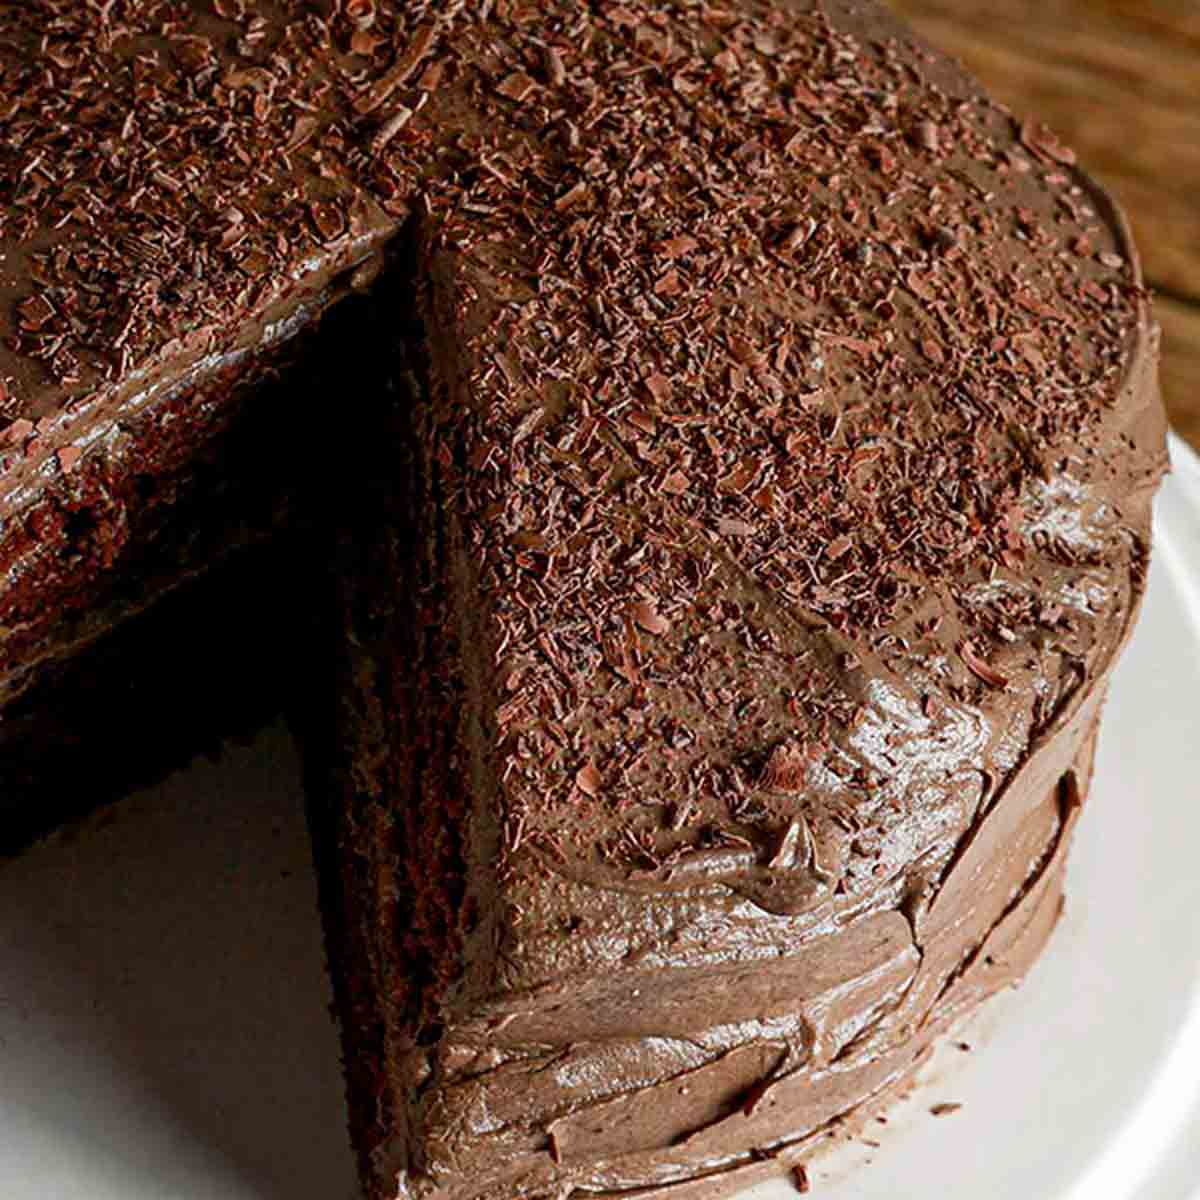
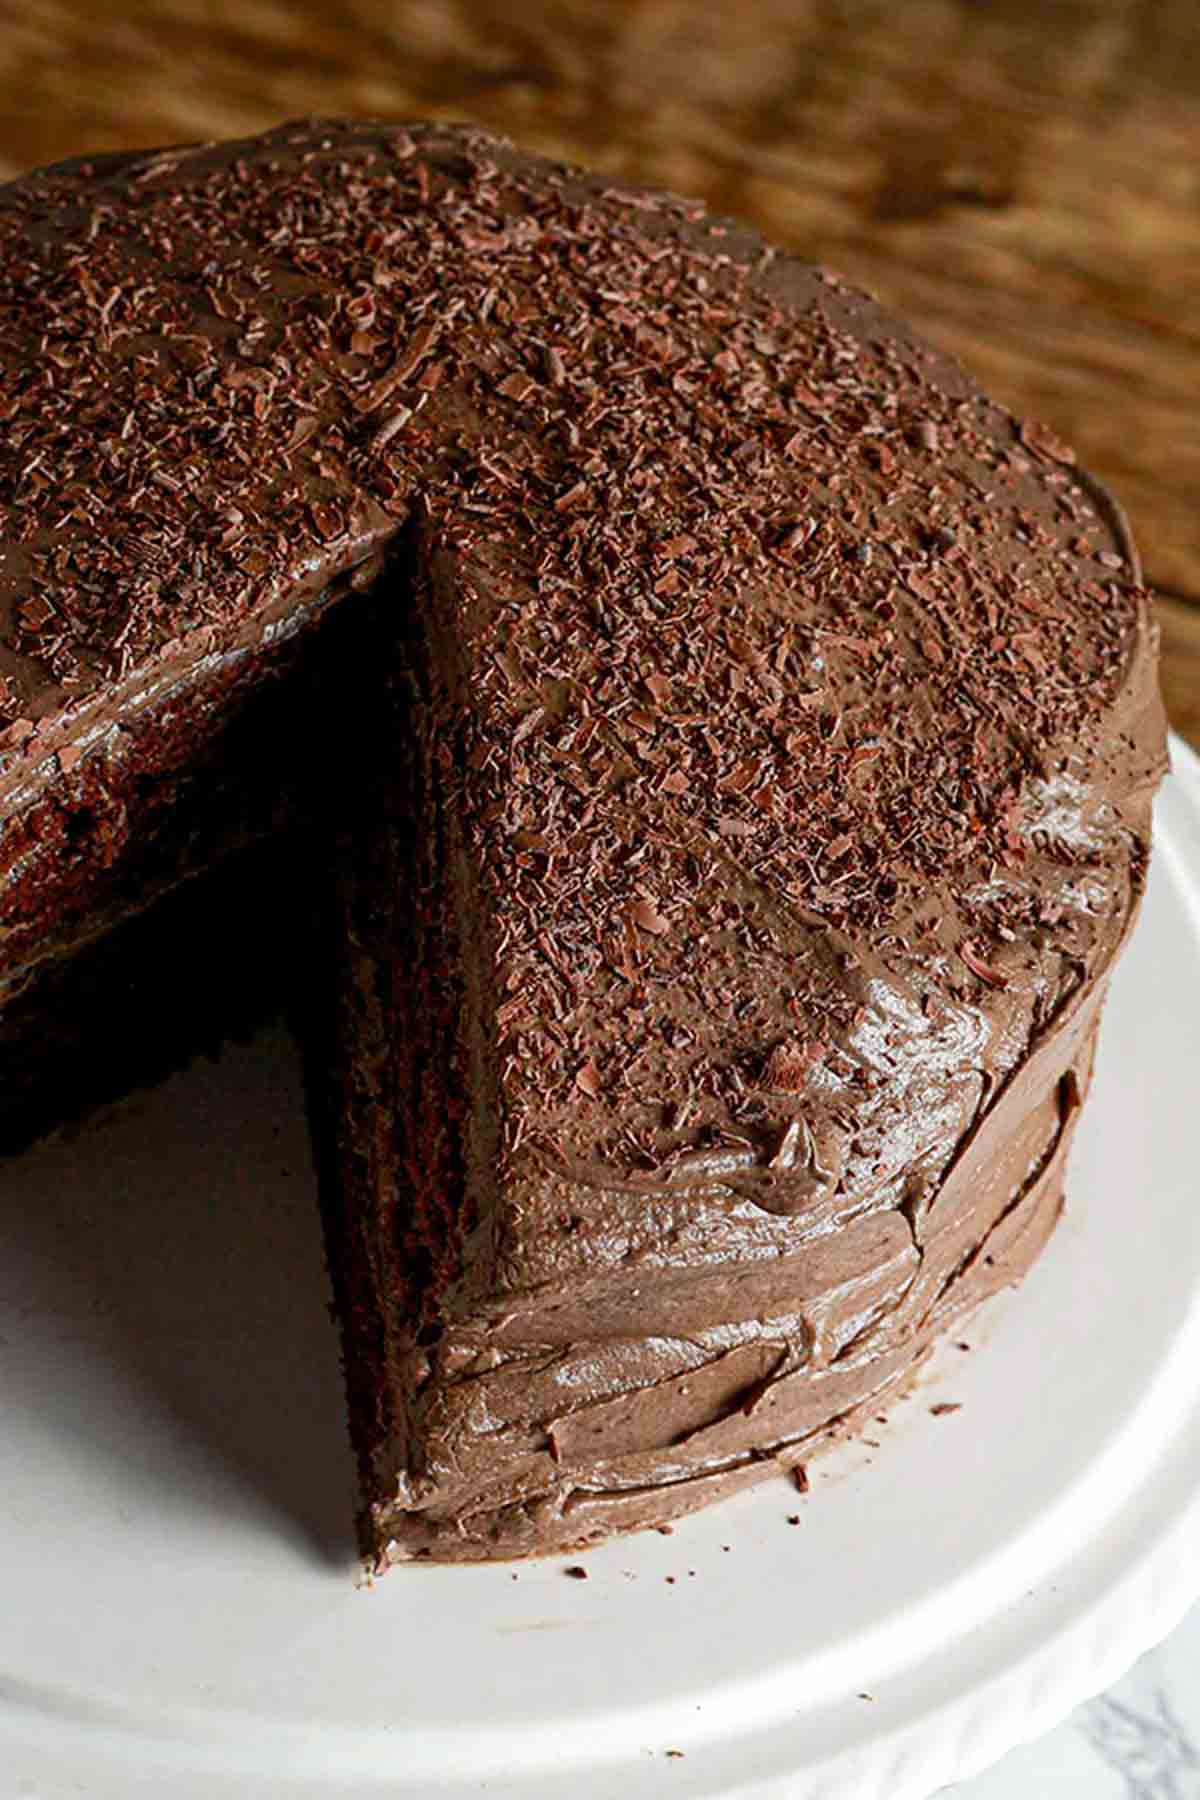
This eggless chocolate fudge cake is moist, fudgy and super easy to make! It’s a 2-layer cake filled and topped with buttercream that’s made with real chocolate. Perfect for birthdays and other special occasions!
Did you know that the 27th of January is national chocolate cake day? I actually didn’t, until my mum told me last week!
I’ve been dreaming of making a rich, dairy-free chocolate fudge cake for a while now so I figured a chocolate day holiday would be the perfect time to do it!
I had originally pictured this cake in my head to be like that super rich, chocolatey cake that Bruce Bogtrotter eats on the Matilda movie.
It didn’t quite look like that. I’m now realising that my dark chocolate ganache would’ve been better for that rather than buttercream. But it did taste very fudgy and was delicious all the same!
That’s all that matters, right?!
Rest assured though, I WILL be making the Matilda style cake for this blog someday!
More chocolate cakes:
- 3-layer cake with chocolate truffle frosting
- Chocolate sheet cake
- Cupcakes with chocolate buttercream
- Oreo cupcakes
- All eggless chocolate cakes
- See more vegan dessert recipes
So… What’s the difference between dairy-free chocolate cake and dairy-free chocolate fudge cake, I hear you ask?
The texture!
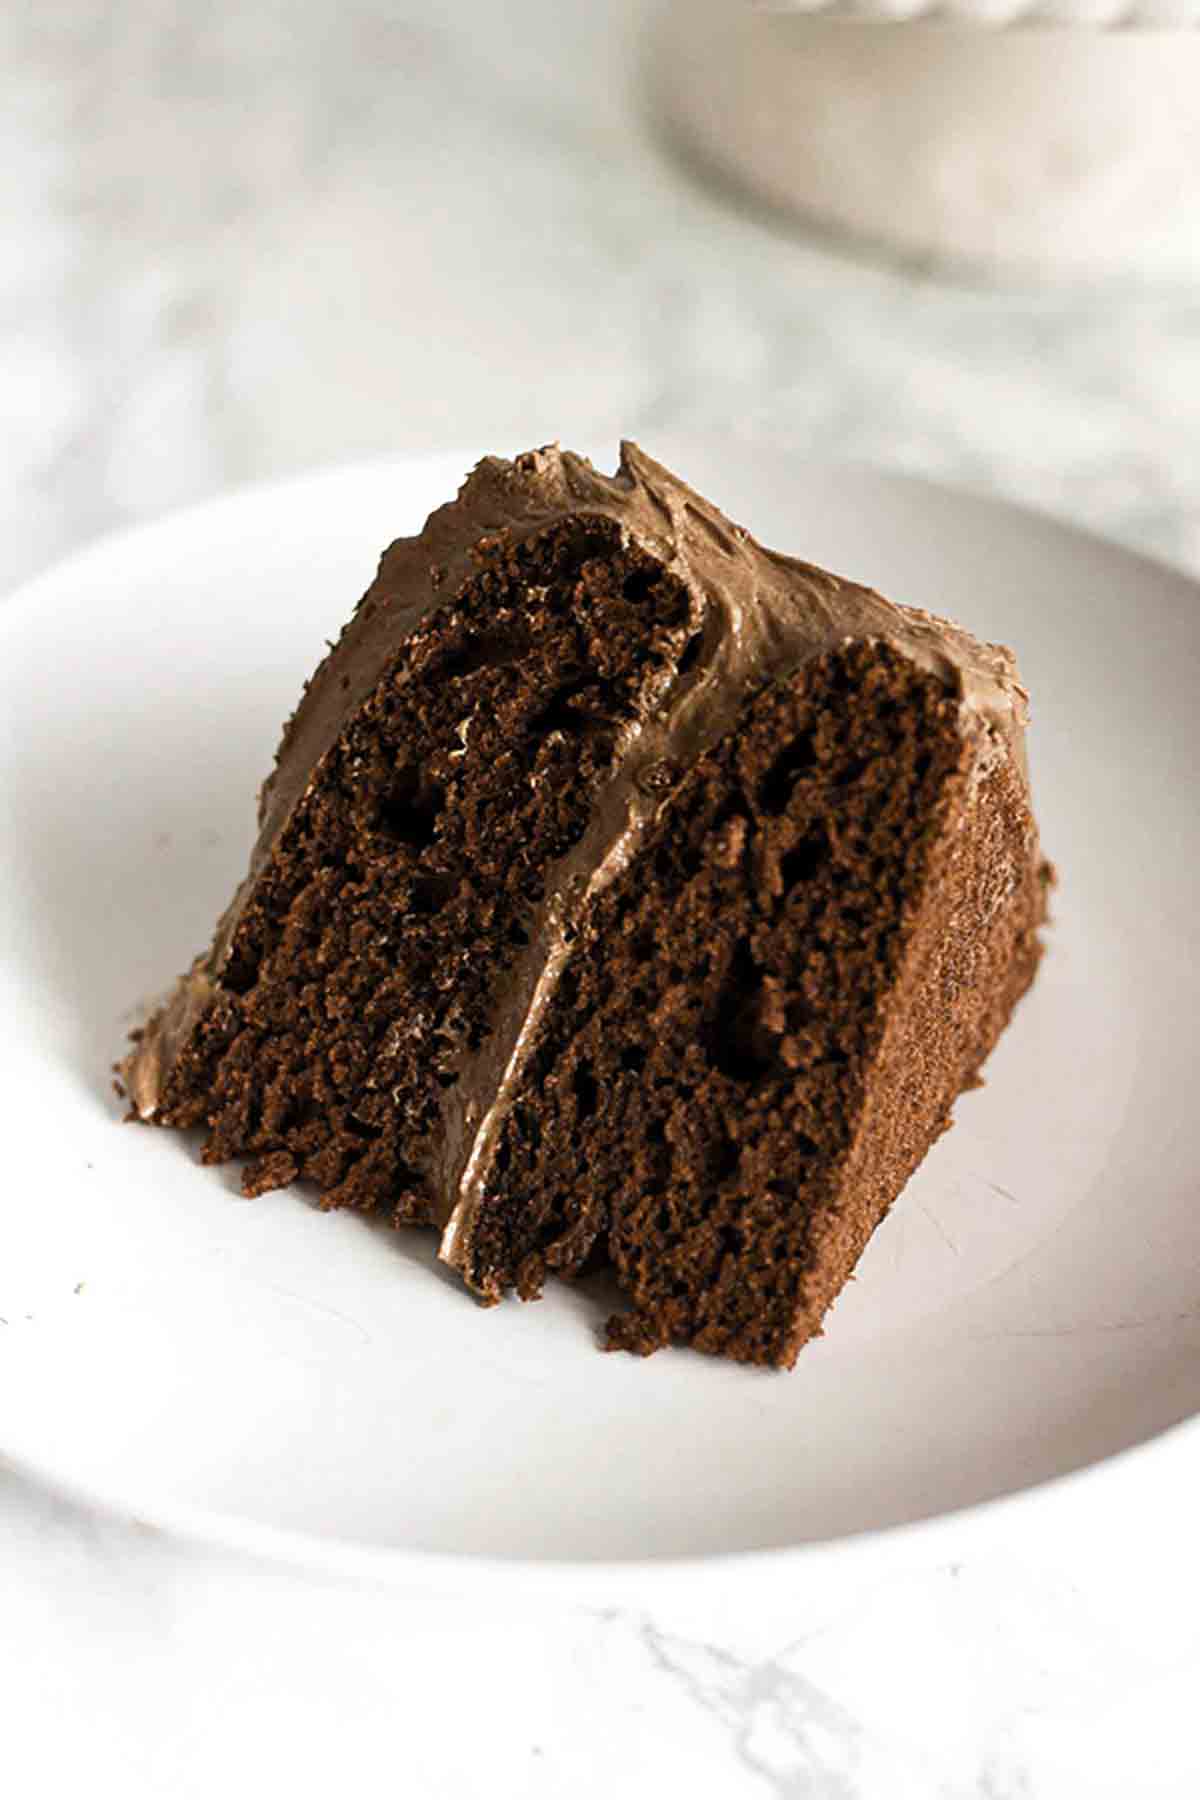
The biggest difference is that regular cake is usually very light and fluffy but chocolate fudge cake is typically moister and sometimes denser too.
This cake is somewhere in between. It is very moist and paired with a super rich, fudgy frosting but it’s not dense at all. I personally think that texture is best saved for brownies!
How to make eggless chocolate fudge cake
Step 1:
Preheat your oven to 180°C/350°F (or 160°C/325°F if you’re using a fan or convection oven).
Grease, flour and line two 7-inch cake tins. It’s very important to use the correct size of tin otherwise the layers will be quite flat.
Step 2:
In a mug or small bowl, mix together 315ml of soy milk (1 + 1/4 cups) with 1/2 a tablespoon of apple cider vinegar.
Leave it to sit while you prepare the rest of the ingredients. It should become slightly thick and curdled.
Give it another quick mix using a fork before adding it to the cake mix and this will act as dairy-free buttermilk.
Step 3:
In a large bowl, mix together 325g of self-raising flour (2 + 1/2 cups), 1/4 teaspoon of baking soda, 3 tablespoons of unsweetened cocoa powder and 250g of caster sugar (1+ 1/4 cups).
Step 4:
Add in the dairy-free buttermilk from earlier along with 180g of melted dairy-free butter (3/4 cup, measure it before melting) and 1 teaspoon of vanilla extract.
Mix everything together really well until you have a smooth cake batter.
Step 5:
Divide the cake batter equally between your two cake tins. I like to use a scale to make sure there is exactly the same amount of batter in each tin.
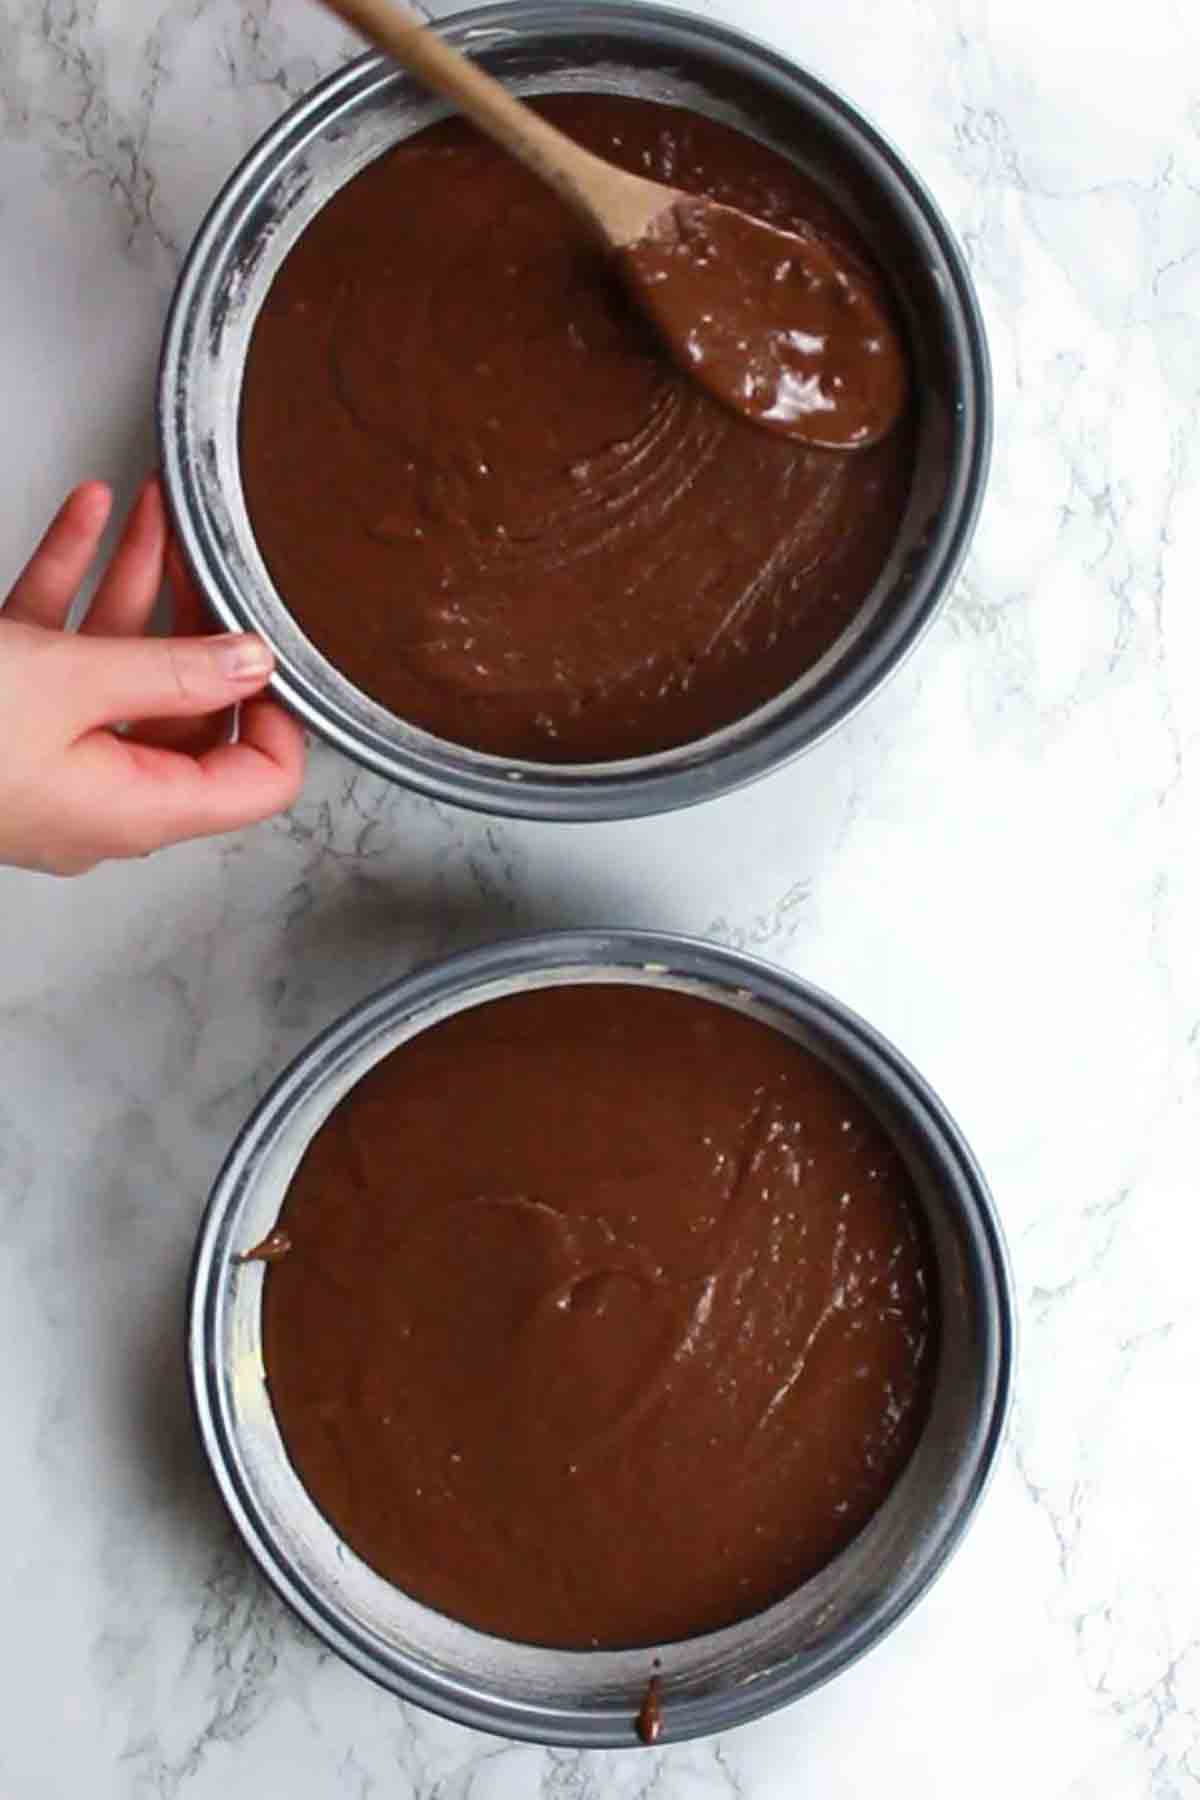
Step 6:
Pop them in the oven and bake for 15-20 minutes.
You can test if they’re ready by inserting a toothpick through the centre. If it comes out clean without any cake batter on it then you’ll know they’re ready.
Let the cakes cool for 5-10 minutes in the tins, then flip them out onto a wire rack.
Peel the baking paper off of the bottom and leave them to cool completely.
Dairy-free chocolate fudge frosting
While the cakes are cooling, you can prepare your dairy-free chocolate buttercream.
Step 1:
In a saucepan or microwaveable bowl, melt 200g (7oz) of your favourite dairy-free chocolate. Use a low heat or microwave in short bursts to prevent burning.
Once the chocolate has melted completely, leave it to sit at room temperature to cool down while you prepare the buttercream.
Step 2:
In a large bowl, mix together 185g of dairy-free block butter (3/4 cup) with 500g (4 cups) of icing/powdered sugar using a wooden spoon.
Once it’s combined, add 5 tablespoons of plant-based milk and give it a good mix with an electric whisk or stand mixer.
The frosting will be slightly runnier than regular buttercream would be but don’t worry! It will firm up enough to spread once you add the chocolate in.
Step 3:
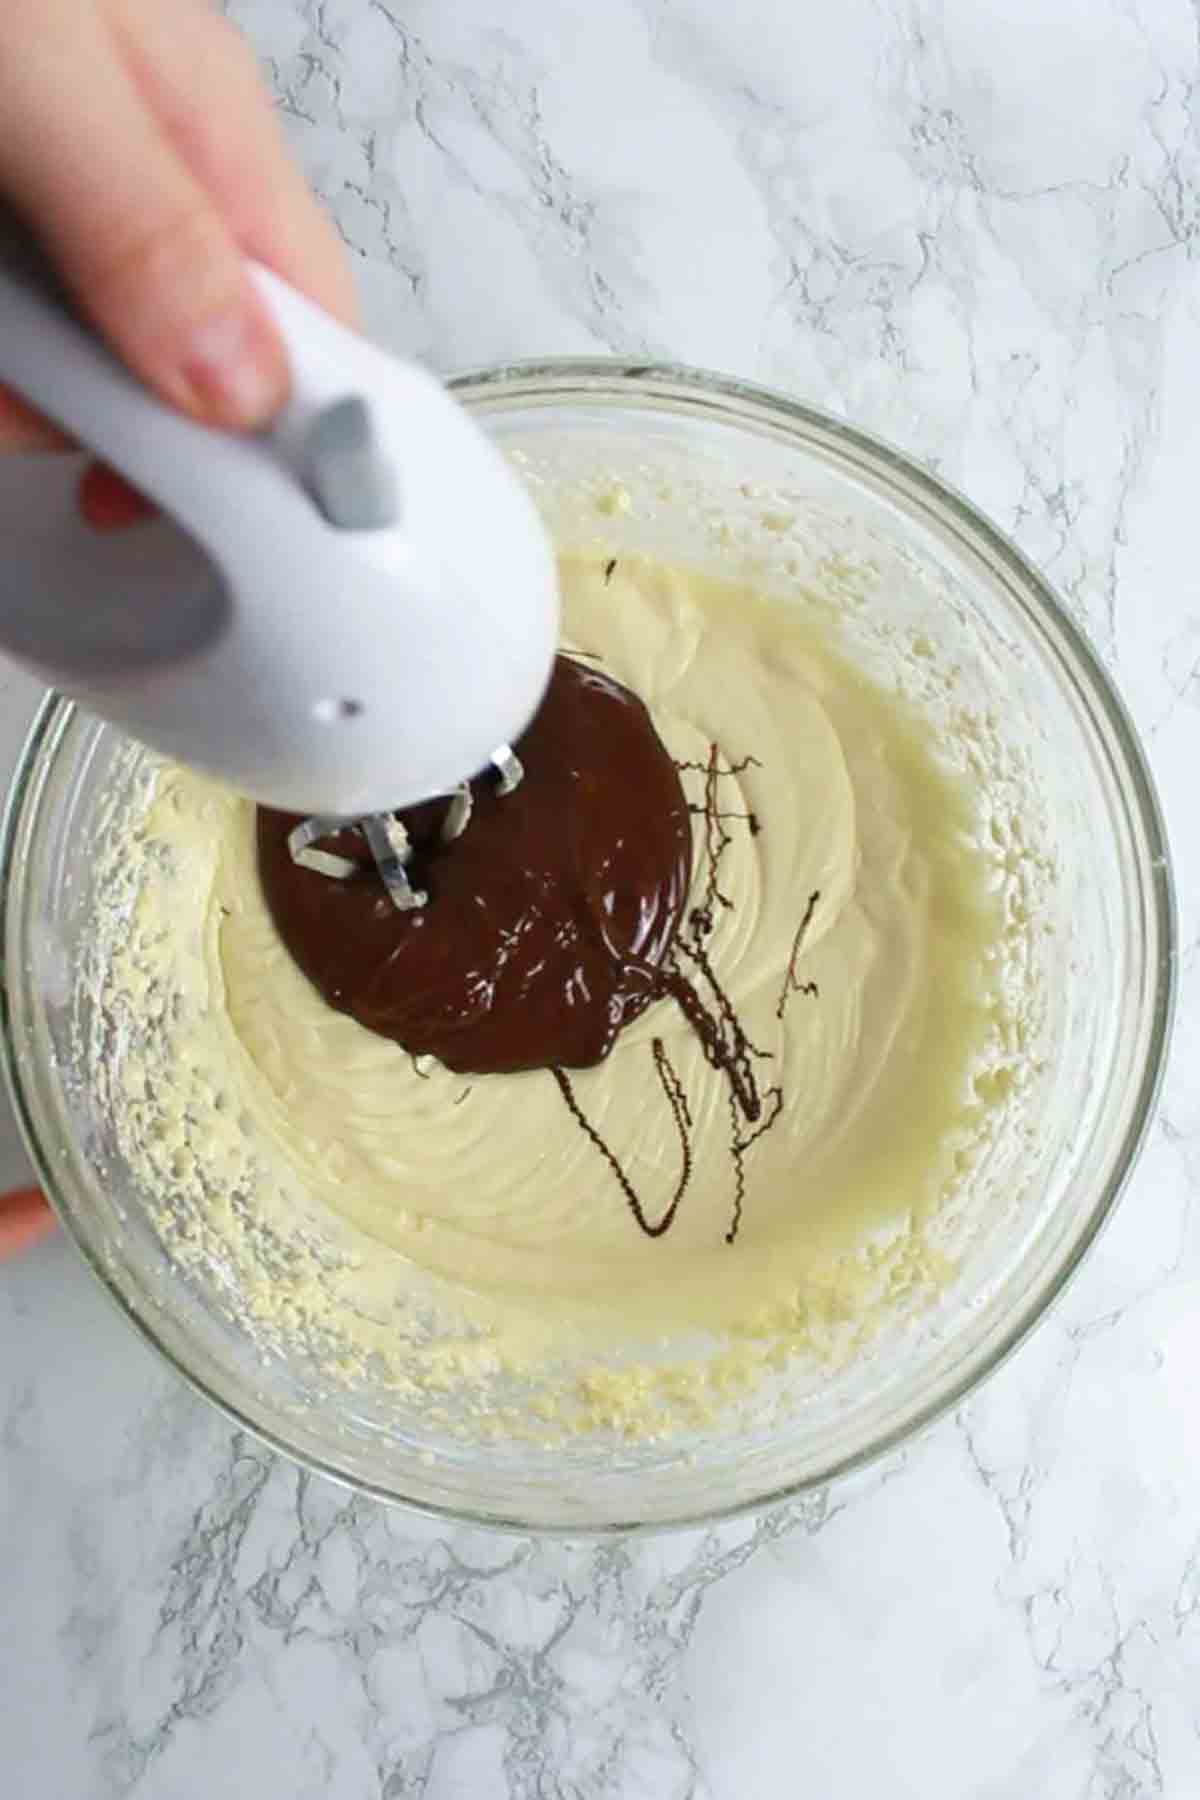
Check the chocolate has cooled.
It should be still runny but completely cool. If it’s even a little too warm, it will melt the buttercream.
Add the cooled chocolate into the bowl with the buttercream. Mix it in with an electric whisk for a few minutes until the buttercream becomes thick and smooth.
If you need to, you can add a little extra icing sugar to thicken it up or a splash of plant-based milk to loosen it. This will depend on which type of dairy-free butter you use.
If you don’t want to make your own, you can always use ready-made frosting. Betty Crocker’s chocolate fudge frosting is dairy-free.
Assembling the cake
Now that your buttercream is ready and the cakes are cool, it’s time to get stacking!
Step 1:
Place your first cake layer onto a cake stand or plate and spread over a generous layer of the buttercream using an offset spatula.
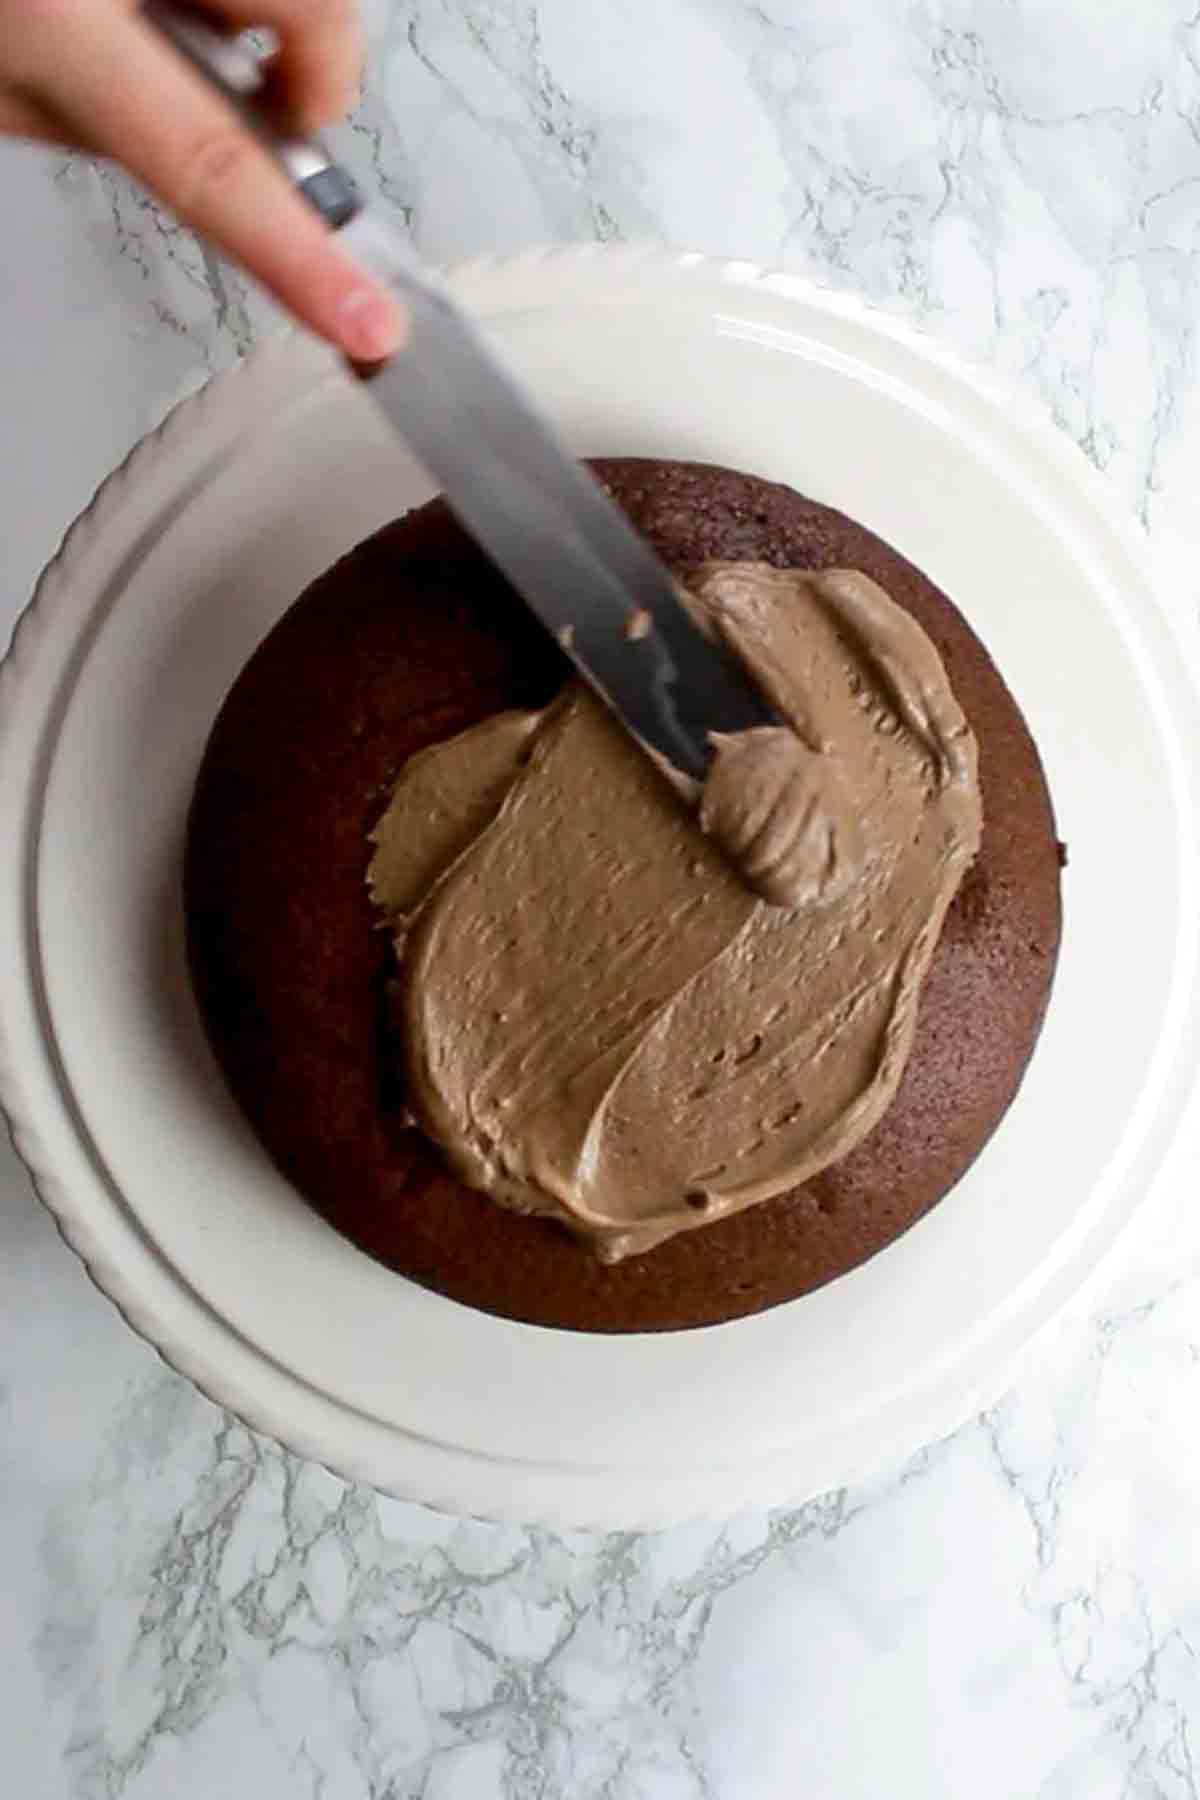
Add the second cake layer and repeat.
Step 2:
Spread some buttercream around the sides until the whole cake is covered.
Place the frosted cake into the fridge for around 1 hour to let the icing set.
Step 3:
Top with some chocolate shavings if desired then cut into slices and enjoy!
FAQ:
In an airtight container or covered cake stand/plate in the fridge.
Around 4-5 days if stored correctly as above.
Yes. You can use another plant-based milk if you prefer, such as almond or oat.
It might not curdle as much as soy when mixed with the vinegar but don’t worry, it will still work.
If you don’t like buttercream, I suggest using dark chocolate ganache instead! It’s less sweet but still rich and fudgy, and I think it’d taste perfect with this cake. I also have a recipe for chocolate buttercream without melted chocolate in it.
I recommend using 7-inch tins where possible otherwise the layers could end up quite flat.
8-inch tins should be fine but anything larger than that, I’d recommend putting all of the cake batter into one tin to make a larger 1-layer cake. Baking time will vary too so you’ll have to keep an eye on it.
I hope you enjoy this dairy-free chocolate fudge cake recipe! Check out my vegan chocolate guide for more chocolate ideas. If you make this cake yourself, please let me know by leaving a review and/or comment below.
Happy baking! xo

Eggless Chocolate Fudge Cake
A moist, 2-layer eggless chocolate cake that's filled and topped with dairy-free buttercream.
Ingredients
- 315 ml Soy milk (1 + ¼ cups)
- ½ Tablespoon Apple cider vinegar (or lemon juice)
- 325 g Self-raising flour (2 + ½ cups)
- ½ Teaspoon Baking soda
- 3 Tablespoons Unsweetened cocoa powder
- 250 g Caster sugar (1 + ¼ cups)
- 180 g Dairy-free butter (¾ cup, melted before measuring)
- 1 Teaspoon Vanilla extract
For the chocolate fudge frosting:
- 185 g Dairy-free butter (¾ cup)
- 500 g Icing sugar (4 cups)
- 75 ml Soy milk (5 tablespoons)
- 200 g Vegan chocolate (7oz)
To top (optional):
- Few Tablespoons Vegan chocolate shavings
Instructions
-
Preheat your oven to 180°C/350°F (or 160°C/325°F if you're using a fan or convection oven).
-
Grease, flour and line two 7-inch cake tins.
-
Mix the soy milk and vinegar together in a small bowl and set aside. This will become your dairy-free "buttermilk".
-
In a large bowl, mix together the flour, baking soda, cocoa powder and sugar.
-
Add the dairy-free buttermilk to the bowl along with the melted butter and vanilla. Mix well until you have a smooth cake batter. Make sure to get any dry bits from the edges and bottom of the bowl.
-
Divide the batter between the two cake tins and bake for 15-20 minutes. You can check if they're ready by inserting a toothpick through the centre. You'll know they're done when the toothpick comes out clean.
-
Leave the cakes to cool in the tins for 5 minutes then flip them out onto a wire rack. Peel off the baking paper and leave them to cool completely.
For the chocolate fudge frosting:
-
Melt the chocolate gently until it's smooth with no lumps. Set it aside to cool.
-
Soften the butter slightly in a large bowl by mixing it with a wooden spoon. Add the icing sugar little by little and mix well.
-
Pour in the soy milk and mix it in. I recommend using a stand mixer or electric whisk if you have one. The buttercream should look runnier than a usual frosting.
-
Once the chocolate has cooled, add it to the buttercream*. Give it another good whisk for 1-2 minutes until it becomes fluffy.
Assembly:
-
Place the first cooled cake layer onto a plate or cake stand. Spread a generous layer of buttercream over it.
-
Stack the second cake layer on top and repeat. Then spread the frosting around the edges until the whole cake is covered.
-
Top with chocolate shavings if desired.
-
Place the cake in the fridge for 1 hour to let the buttercream set, then cut into slices and enjoy!
Recipe Notes
- *You want the chocolate to still be runny but it must be completely cool, otherwise it will melt the buttercream.
- Store covered in the fridge for up to 5 days.