Vegan Biscoff Cheesecake
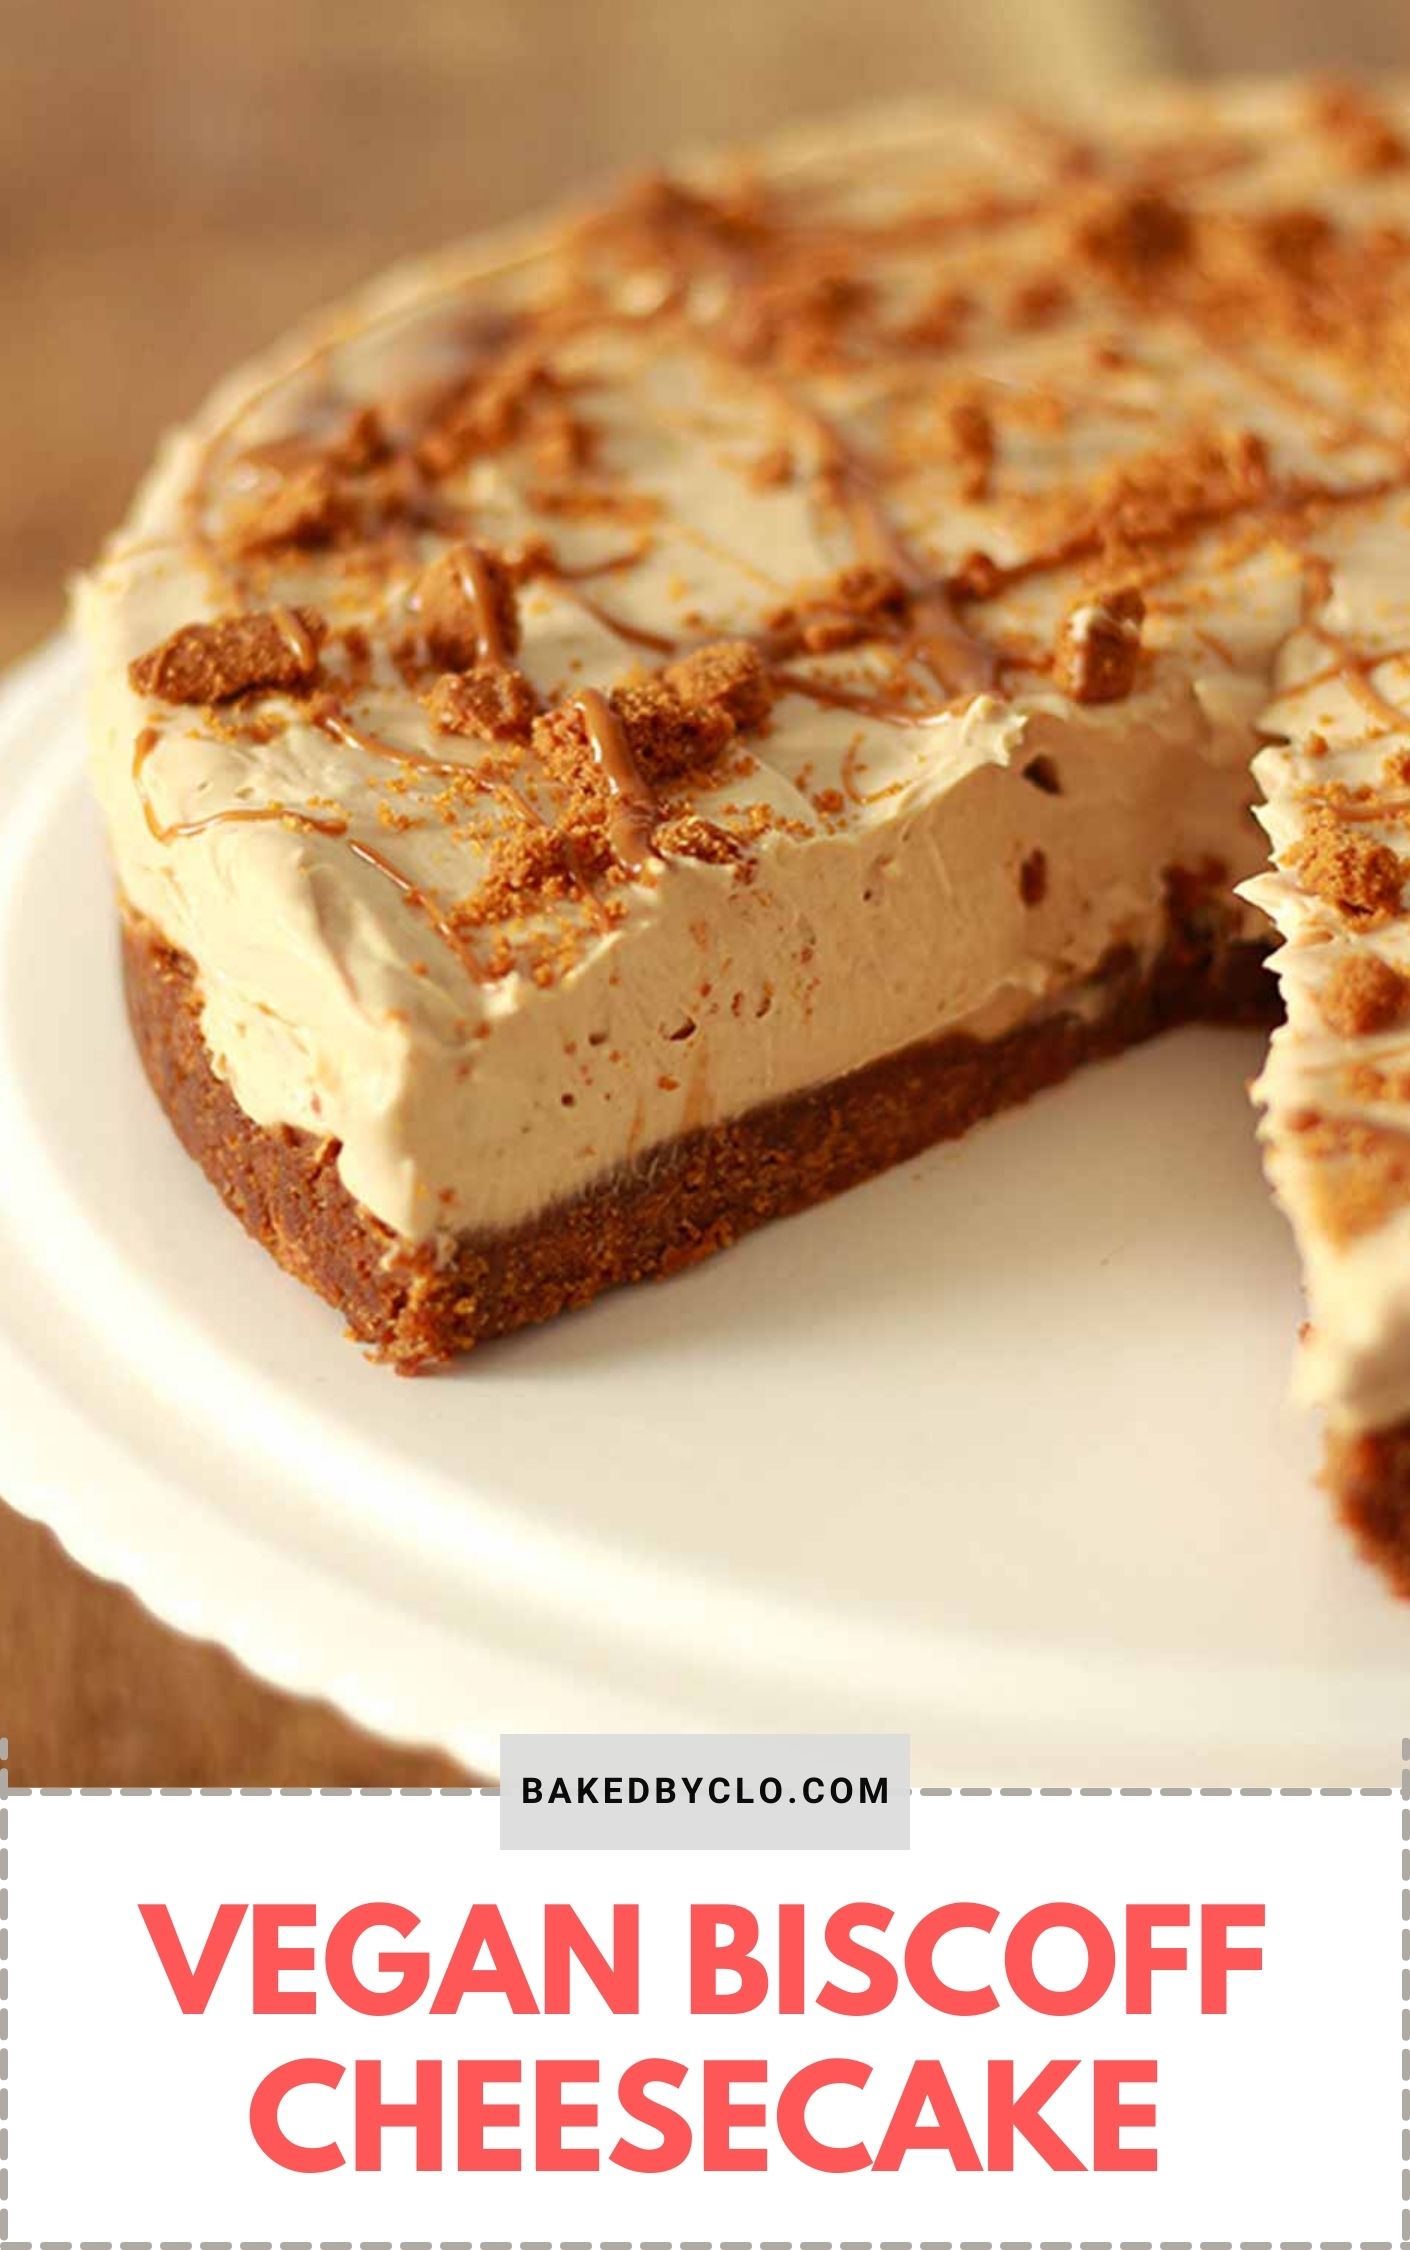
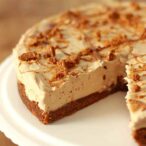
This vegan Lotus Biscoff cheesecake is smooth, creamy, and is a great no-bake dessert made without cashews that everyone will enjoy. You’ll never know that it’s dairy-free!
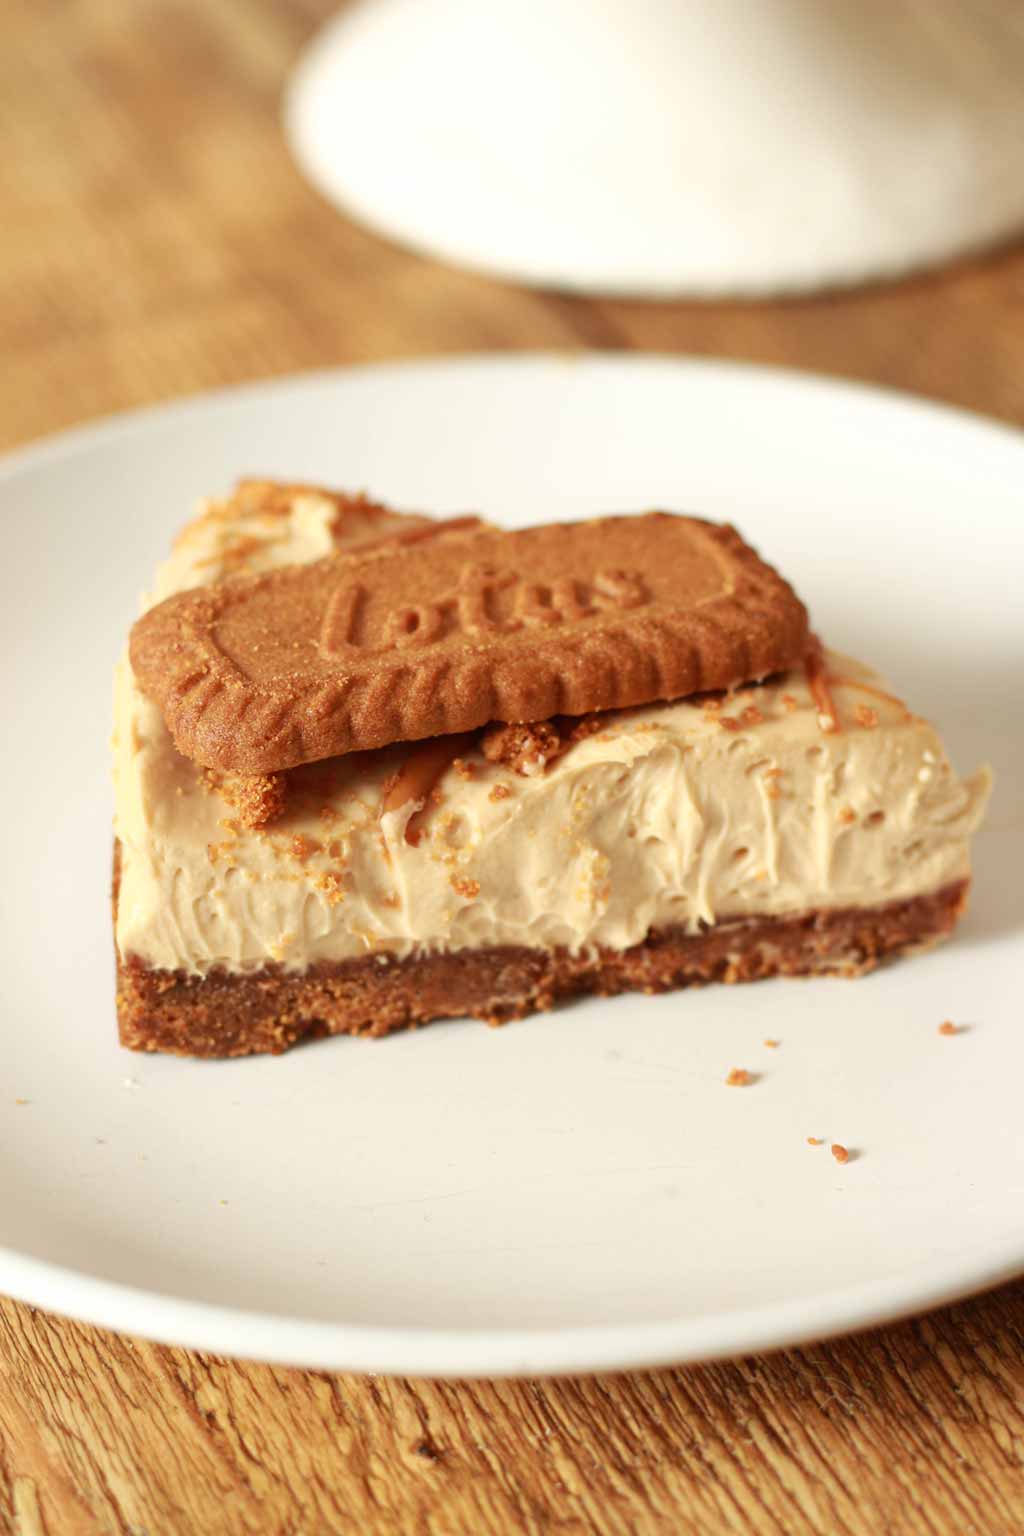
Ahh! It’s finally here!
I have been wanting to make a vegan Lotus Biscoff cheesecake for the LONGEST time. I’m slowly building up my collection of Biscoff desserts and obviously a no-bake cheesecake had to be part of that collection!
I’ve been testing out a recipe for quite a few months now but I haven’t quite nailed it yet.
The one I’m still working on is made without vegan whipped cream because I want everyone to be able to make it, even if they can’t find vegan whipping cream in their area.
And I also want it to be a recipe without cashews or nuts of any kind because to be very honest, I think that nuts have no place in a cheesecake unless it’s a completely raw dessert.
It’s definitely a work in progress, though I’m sure I’ll get there soon!
This week, I finally decided that I couldn’t wait any longer and I just went ahead and made one with the dairy-free whipped cream (I have to say this was a much easier process).
I’ve listed some potential alternatives in this post for those of you who don’t live in the UK and can’t get the brand that I mention.
It only took a couple of tests to get this one spot on and I am so happy with it! It’s super light, airy and creamy and it definitely has to be one of my favourite Biscoff desserts out of everything I’ve made so far.
More vegan Biscoff desserts:
- Biscoff cake
- Mini Biscoff cheesecakes
- Chocolate Biscoff cupcakes
- Sticky Biscoff pudding
- White chocolate and Biscoff fudge
- Biscoff yule log
- Biscoff cupcakes
See also: 68 of the best vegan dessert recipes.
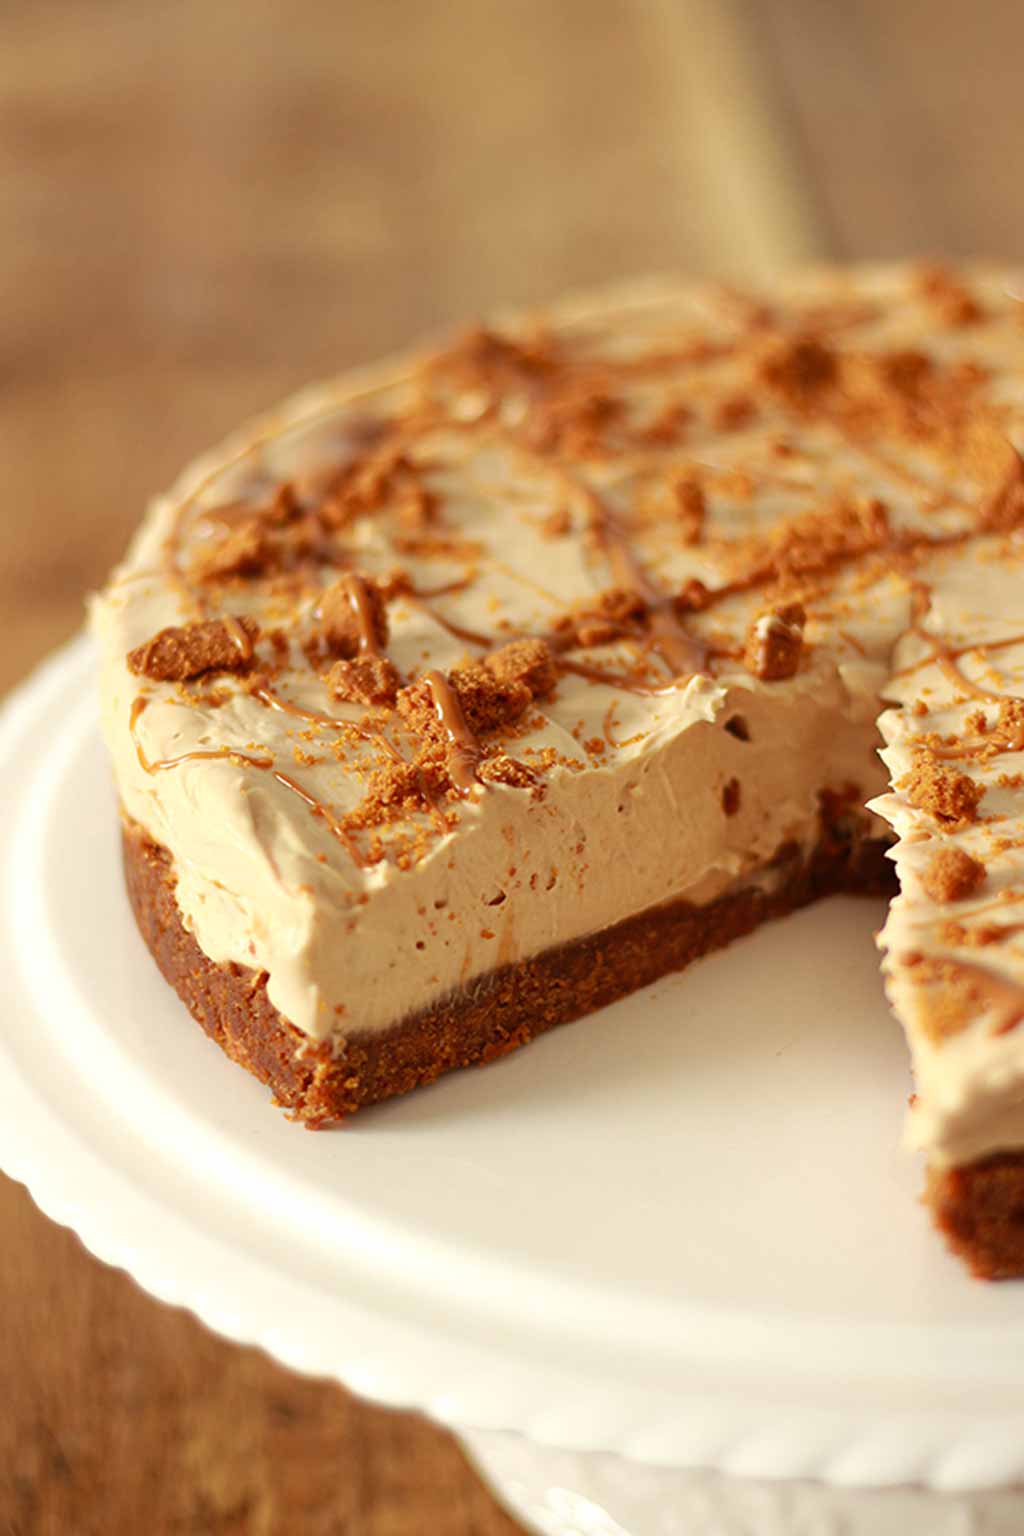
The good thing about the dairy-free Biscoff filling for this recipe is that it’s no-bake and you don’t need to heat anything up either. All you need is an electric whisk or stand mixer to whip it into peaks. I just use a cheap mixer that I purchased from Argos.
For the cheesecake base, you can use a high-power blender or food processor to make the biscuit crumbs and you’ll need to melt the margarine in the microwave or over the stove.
But if you don’t have a blender or food processor, you can use the end of a heavy rolling pin to crush the biscuits instead. It takes a little longer but works just as well!
More dairy-free cheesecakes:
- Strawberry cheesecake
- Chocolate cheesecake
- White chocolate cheesecake
- Lemon curd cheesecake
- Oreo cheesecake
- Vanilla cheesecake
Use Violife cream cheese for best results
I have only made this recipe using Violife cream cheese. I highly recommend using this one if you can, as it is a lot more sturdy than other vegan cream cheese for baking.
I’ve tried other cheesecake-y recipes (like my dairy-free Biscoff cheesecake bites) using non-branded vegan soft cheeses and the results are not as good. They turn out a lot more “wet” and more soft than firm.
I haven’t tested this particular recipe with other brands though so while the cheesecake may possibly set the way it’s supposed to, I can’t make any guarantees. Don’t say I didn’t warn you!
PS. If anyone does make this recipe successfully without using Violife, please leave a comment to let me and other readers know!
Where to buy Lotus Biscoff spread
Anytime I post a recipe flavoured with Biscoff, I tend to get a few questions from people asking me where they can buy Biscoff spread.
If you’ve never used it before, it can seem like a really hard to find and somewhat luxurious ingredient. But if you live in the UK, you might be surprised to know that you will actually be able to find it in most large supermarkets. It’s usually stocked near the peanut butter, jams and other spreads.
It typically costs around £2-3, depending on which deals are on at the time. You’ll only need to buy 1 jar for this recipe.
And if you don’t live in the UK, don’t worry! I got you.
Biscoff spread is available to purchase from a few online stores. You can buy it from The Vegan Kind Supermarket, Amazon US (it’s also known as cookie butter over there), and Amazon UK.
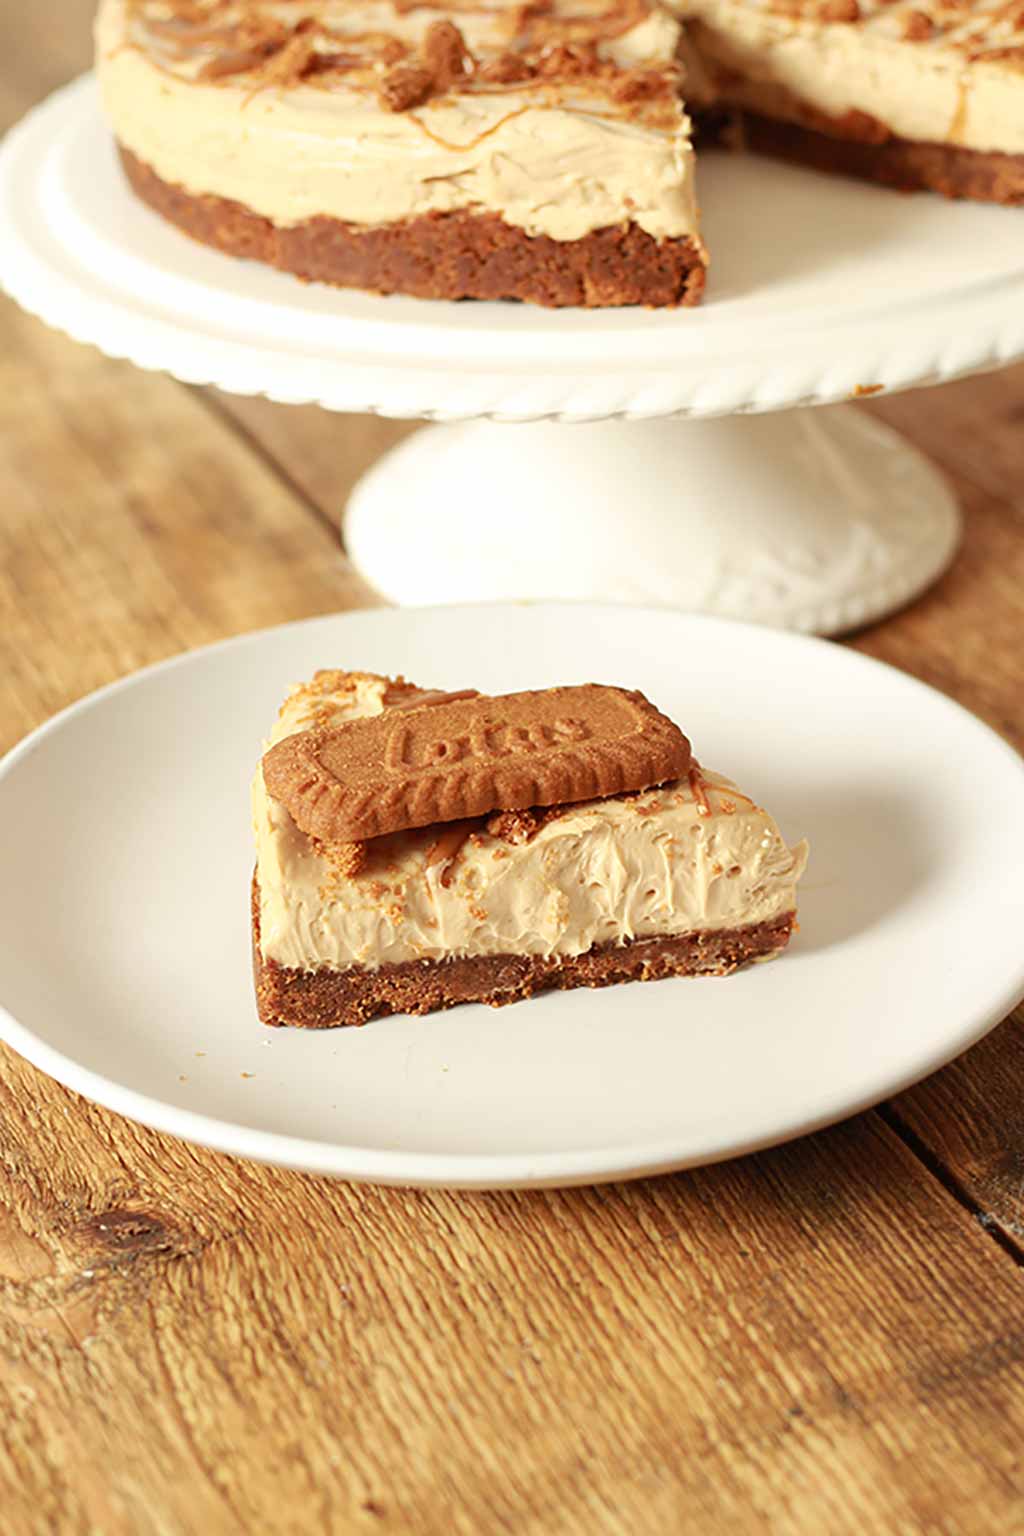
How to make vegan Biscoff cheesecake
You’ll need a few pieces of equipment to hand before you begin the recipe. You will need:
- A high-power blender or food processor (or a heavy rolling pin)
- A large bowl and wooden spoon
- A 22cm springform cake tin (the kind that opens and releases the bottom)
- An electric whisk or stand mixer, to whip the filling into peaks
Step 1:
Weigh out 400g (14oz) of Lotus Biscoff biscuits. Place them into your blender or food processor and blitz them into fine crumbs. The Ninja blender I used is quite small so I did three separate batches.
Alternatively, place the biscuits into a large bowl and crush them into crumbs using the end of a rolling pin.
Run your hands through the biscuits and crush any remaining lumps with your fingers.
Step 2:
Measure out 120g or 1/2 cup of vegan margarine (I used Vitalite) then gently melt it over the stove or in the microwave.
Add the melted margarine to a large bowl along with the biscuit crumbs and mix well until all of the crumbs are coated in margarine.
Step 3:
Pour the biscuit mixture into your springform tin and spread it out evenly. Then use your (clean) fingers or the bottom of a glass/measuring cup to press it in very firmly.
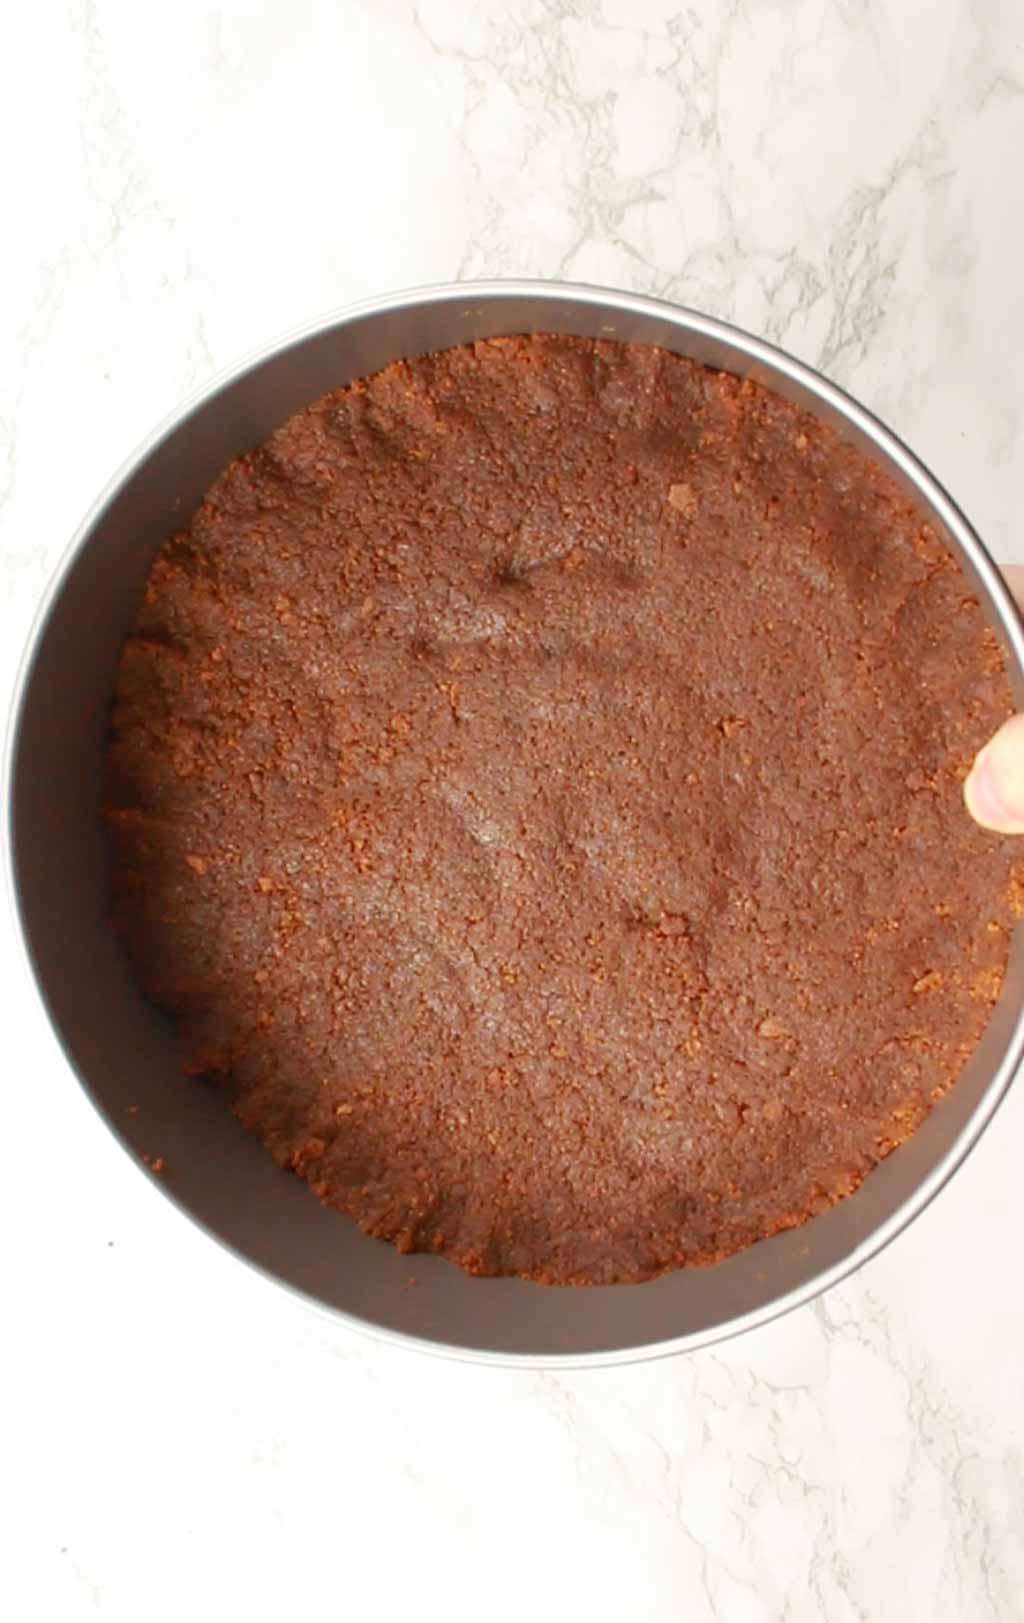
The tighter you press the mixture in, the less chance there is that it will crumble when you try to remove it from the tin.
Place the base in the fridge while you prepare the next part.
Step 4:
Now time for the filling! As I said above, this cheesecake is made without cashew nuts so I used a mixture of vegan double cream, vegan cream cheese and Biscoff spread to help it stay firm and sliceable.
To a large bowl, add 400g of Violife cream cheese (14oz), 80g of icing sugar (1/2 heaped cup) and 200g of Biscoff spread (3/4 cup + 1 tablespoon).
Mix it together with a wooden spoon until smooth.
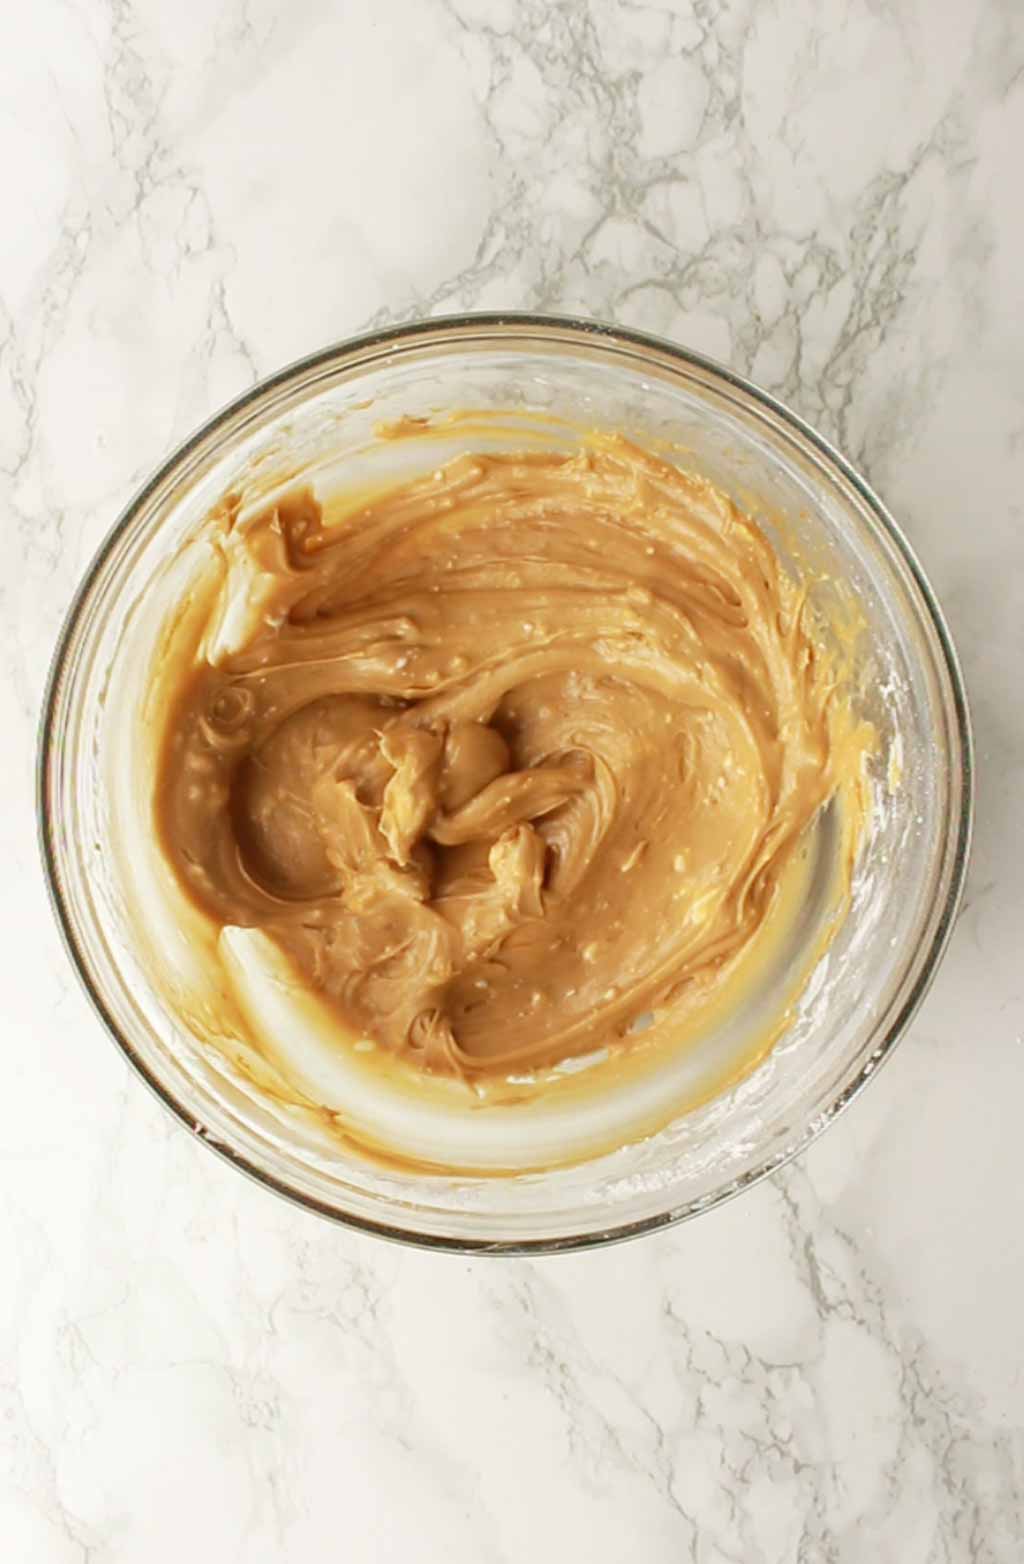
Top tip: It’s a lot easier to mix if you let the cream cheese soften a bit first. You can do this by leaving it out at room temperature for ~30 minutes.
Step 5:
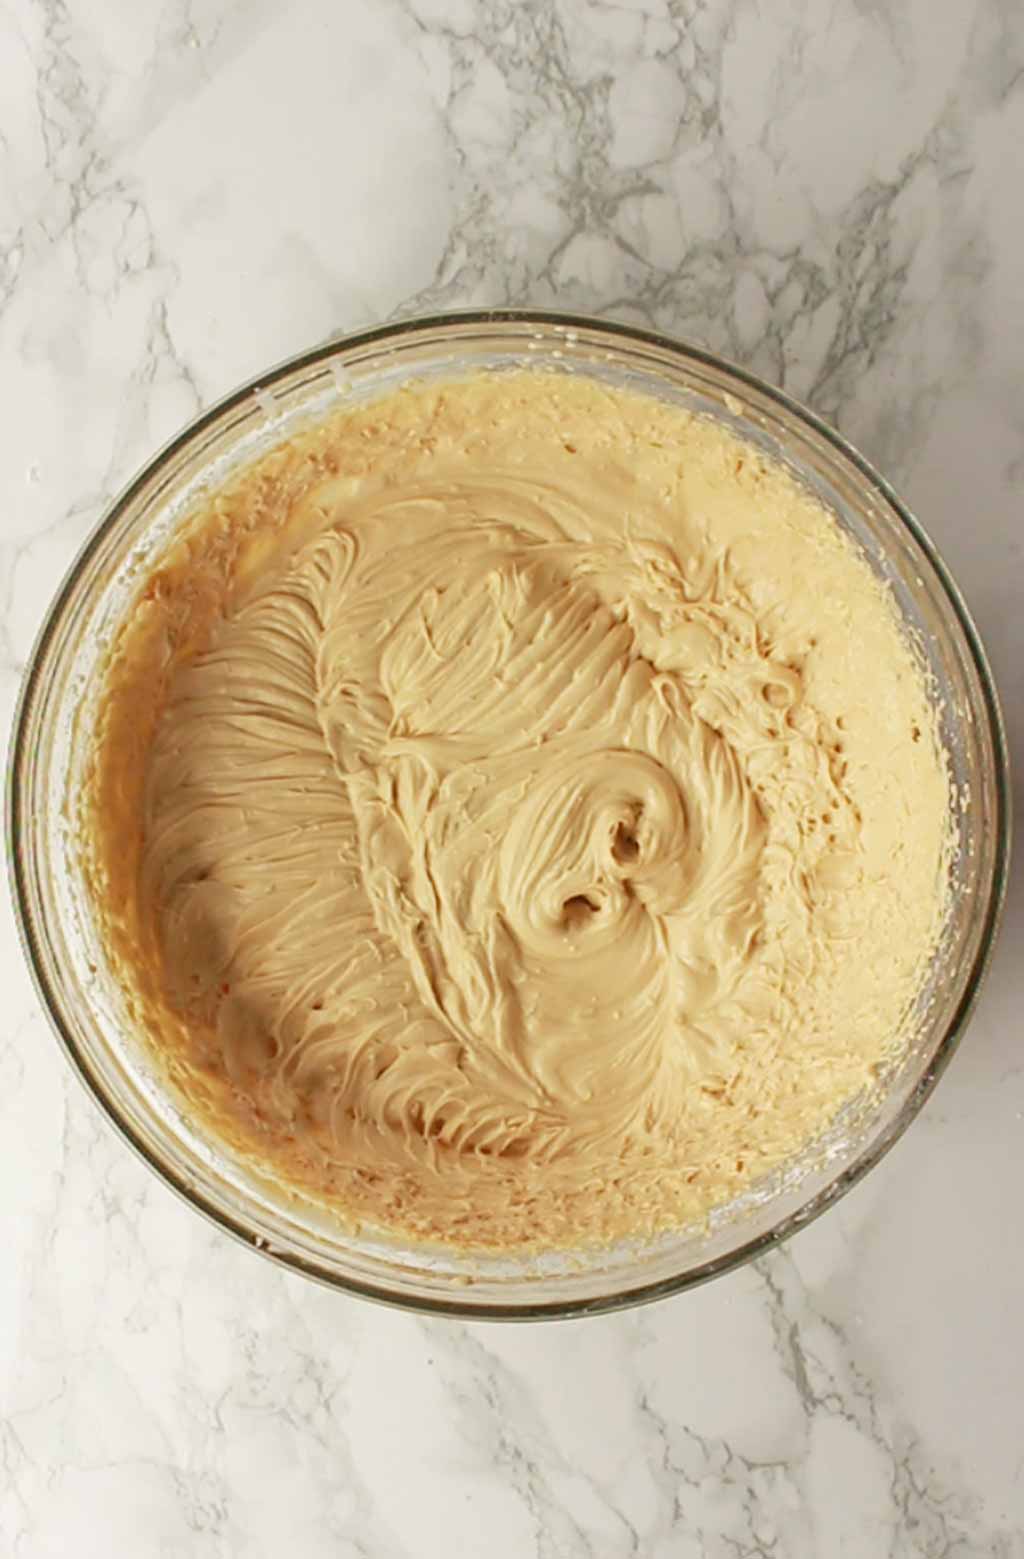
Once the rest of the ingredients are mixed, add 150ml of Elmlea vegan double cream (~1/2 cup + 2 tablespoons).
Using your stand mixer or electric whisk, whisk the mixture for a few minutes until it becomes thick and holds peaks. The peaks won’t be completely stiff or heavy, due to the vegan cream being so light, but they should be able to hold shape on their own.
Step 6:
Gently spoon the filling mixture onto your cheesecake base. Spread it out evenly using the back of your spoon or an offset spatula.
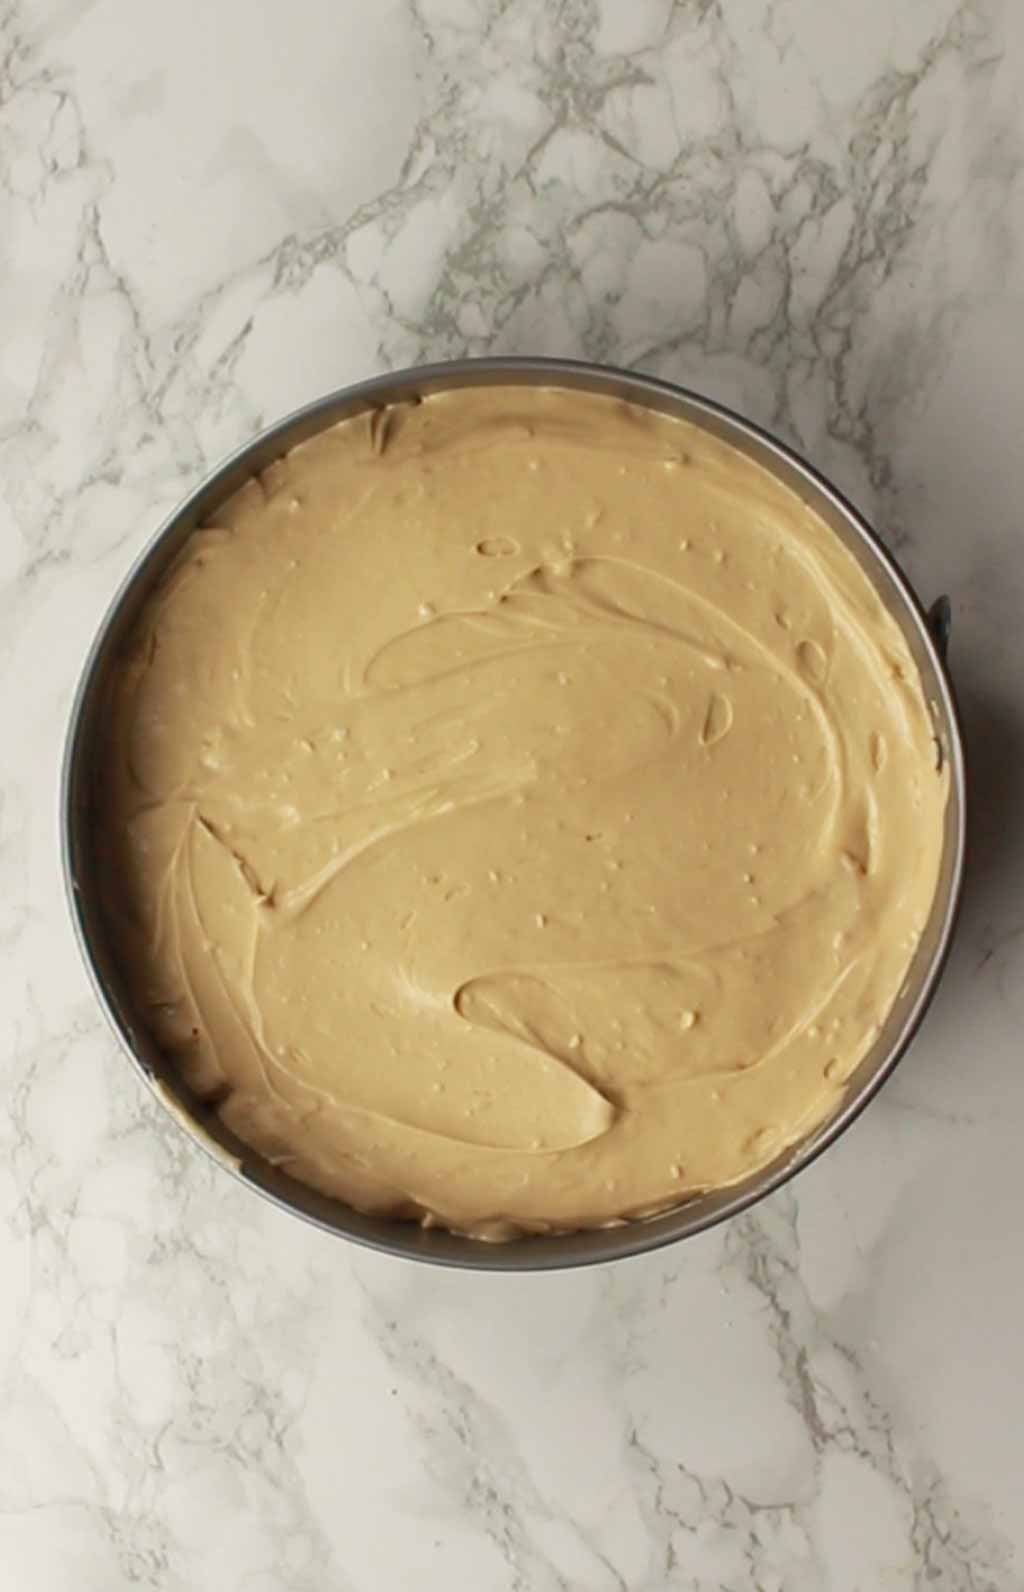
Place the whole thing in the fridge for 12 hours to set. This will ensure it holds its shape properly when you cut into it, while still being light and creamy.
Step 7:
After the 12 hours have passed, remove the springform and gently transfer the cheesecake to a cake stand or plate. I used a cake slice to carefully loosen the base all the way round before trying to move it.
Step 8:
Crush up a few Biscoff biscuits and lightly sprinkle the crumbs over the top of your cheesecake.
If you want to, you can also add a Biscoff drizzle. I did this by melting 2 tablespoons of smooth Biscoff spread in a small saucepan over a low heat, then I drizzled it over the cheesecake using a teaspoon.
FAQ:
Store it covered in the fridge for up to 4 days. An airtight container is best if possible.
I don’t recommend leaving it in there any longer than 4 days as the base starts to get a little bit soggy after this time.
It sure can! I tried freezing a small portion of the cheesecake in an airtight container.
To defrost just transfer it to the fridge and let it thaw for a couple of hours and you’re good to go! It tastes just as delicious as it does before freezing!
I haven’t tried this myself yet but I don’t see any reason why you couldn’t use it. Of course your cheesecake filling would have crunchy bits in it instead of being completely smooth, but if that’s your thing then by all means, go for it!
Elmlea double plant cream is available in most UK supermarkets but I don’t think it is available to purchase elsewhere. You can buy it from The Vegan Kind Supermarket although unfortunately, they don’t ship chilled goods outside of the UK.
For those of you in the US, I’ve heard that Silk whipping cream is an excellent alternative to dairy whipping cream so I think that could work well in this recipe.
If you’re in the EU, Schlagfix is one that I saw in a lot of health food shops when I travelled so that could be a good option too.
There are also a few more options on Amazon, including Soyatoo, coconut whipping cream and Flora double cream (although this one is slightly on the pricey side).
Absolutely! This will obviously make your cheesecake either thinner or thicker depending on the size of tin you use.
If you use a smaller-sized tin, you’ll also need to leave it in the fridge a little bit longer as the filling will be more condensed and take longer to set.
That’s all for now. I really hope that you enjoy this no-bake recipe! Let me know how you get on by leaving a rating and/or comment below!
Alternatively, tag me in your pictures on Instagram @bakedbyclo. I really love seeing your creations. xo
Vegan Biscoff Cheesecake
No-bake, dairy-free Biscoff cheesecake recipe.
Ingredients
For the base:
- 400 g Biscoff biscuits (14 oz)
- 120 g Vegan margarine (½ cup)
For the filling:
- 400 g Violife cream cheese* (14 oz)
- 200 g Smooth Biscoff spread (¾ cup + 1 tablespoon)
- 80 g Icing sugar (~½ cup, heaped)
- 150 ml Elmlea plant double cream** (½ cup + 2 tablespoons)
To top:
- 2 Tablespoons Smooth Biscoff spread
- 3 Biscoff biscuits, crushed into crumbs
Instructions
-
Before you begin, make sure you have a 22cm springform tin to hand.
For the base:
-
Place the Biscoff biscuits into a high power blender or a food processor and blend until you have fine crumbs. Alternatively, you can crush them in a bowl using the end of a rolling pin.
-
Melt the margarine and pour it into a large bowl along with the Biscoff crumbs. Mix well until all of the crumbs are coated in margarine.
-
Pour the biscuit mix into your tin and press it in very firmly. I used the bottom of a cup to help me do this.
-
Place in the fridge while you prepare your filling.
For the filling:
-
In a large bowl, mix together the cream cheese, Biscoff spread and icing sugar until smooth.
-
Add the cream to the bowl and whisk using an electric whisk or stand mixer. Keep whisking until the mixture thickens and can hold firm(ish) peaks on its own.
-
Pour the filling on top of the biscuit base, smooth it out evenly and return to the fridge for 12 hours.
To top:
-
After the 12 hours have passed, remove the cheesecake from the fridge and gently release the springform.
-
Gently melt the Biscoff spread in a saucepan until runny. Drizzle it over the cheesecake.
-
Sprinkle over the Biscoff crumbs and cut into slices.
Recipe Video
Recipe Notes
- Keep covered in the fridge for up to 4 days.
- *I have only tested this recipe using Violife. Other brands of vegan cheese tend to be quite watery and may not set the cheesecake fully.
- **Elmlea plant double cream can be substituted for any other whippable vegan cream such as Schlagfix or Silk. A few readers have reported good success with Oatly.



Mandy
Monday 12th of May 2025
Hi used philli cheese(plant based) instead of violife big hit with family never lasts long lovely cheesecake.thank you
Chloe
Monday 12th of May 2025
Thanks Mandy, so glad to hear that :)
Becky
Monday 23rd of December 2024
First time making a vegan dessert as my daughter has dairy allergy but wanted her to have a treat at Christmas. Oh my it’s still setting in the fridge but we licked the bowl clean and her face said it all. Will be surprised what family say when they taste it.
Chloe
Wednesday 25th of December 2024
Thanks Becky, so nice to hear this!
Liz
Sunday 13th of October 2024
I made this recently and WOW it was delicious , I’m not vegan but I’m dairy intolerant and this just hit the spot , i couldn’t get elmlea plant based cream so used one from coco lab which worked really well
Chloe
Monday 14th of October 2024
Thanks Liz, glad you enjoyed! :)
Katharine
Monday 30th of September 2024
Really tasty cheesecake which has been loved by the whole family. I only needed the recipe to be lactose free so I used one tub of violife cream cheese and one of lactofree cream cheese and it did still set. Thanks so much for providing a recipe which finally allowed me to make a cheesecake which didn't upset my tummy, set, and everyone enjoyed!
Chloe
Wednesday 2nd of October 2024
Thanks so much for your feedback, I'm so happy you enjoyed the recipe!🫶
Ian M
Tuesday 18th of June 2024
Thanks for this, went down a treat with the Wife. I used Aldi brand biscoff spread and biscuits and tastes great. Re cream cheese, I used half violife and half own brand (I missed the bit about thickness). I think it would definitely work best with Violife! However it still tastes great. 😍
Chloe
Wednesday 19th of June 2024
So glad to hear, thanks Ian!